The Tree View makes it easy to browse, find and insert data fields directly from Dynamics 365/Dataverse into your Word template.
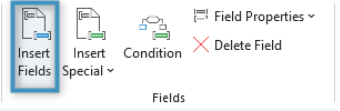
To begin inserting fields from the Tree View, navigate and click on the Insert Fields button in the DocumentsCorePack menu.
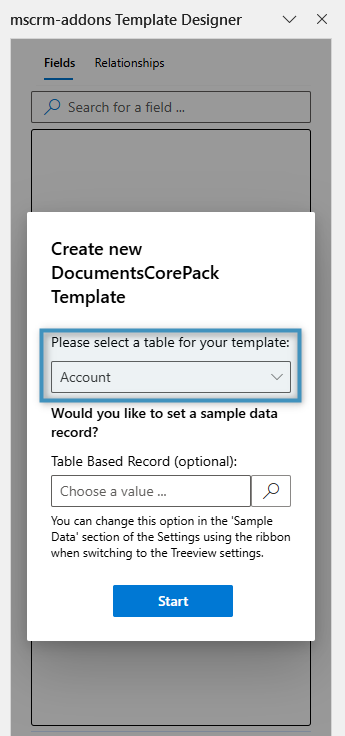
You will be prompted to select a base table for your template. Please keep in mind that once you have selected a base table, you will not be able to change it again.
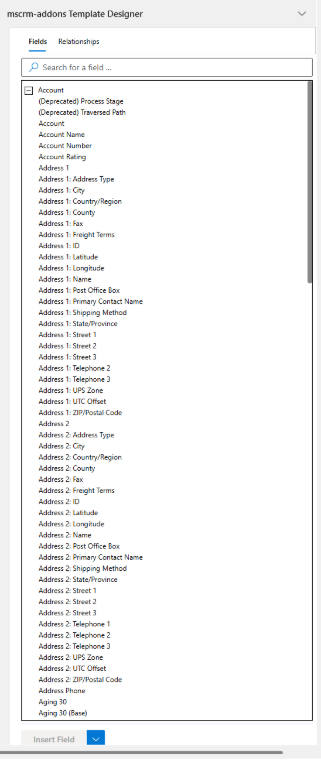
Once you have selected a base table, the Template Designer task pane will open, allowing you to start adding fields.
Step-by-Step Walkthrough
In this walkthrough, we’ll use an “Account Summary” example template. The idea is to generate a simple one-page document that pulls in key account information (like company name, city, and revenue) to quickly share with a client.
1. Start/Open a New Template: Open Microsoft Word and create a document that you would like to send to a client (ex. Account summary).

2. Launch the DocumentsCorePack Template Designer. Select “Account” as your primary entity.
3. Begin Inserting Single-Value Fields from the Tree View
- In the Tree View (on the right), locate and double-click the following fields with your cursor in the desired location of the field:
- accountname → Inserts the company name
- address1_city → Inserts the city
- revenue → Inserts the annual revenue
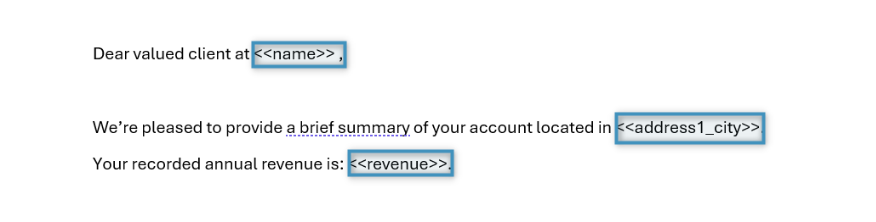
Your template should now look like this:
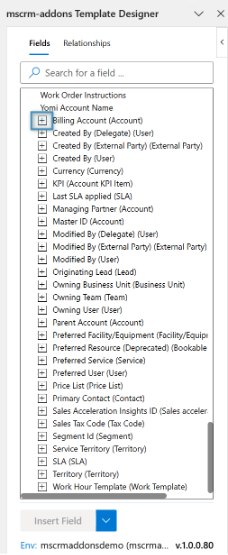
Note: Records related via lookups appear as expandable items in the Tree View. For example, the Billing Account field can be expanded to directly access and insert fields from the related Billing Account (such as Billing Account → Address1_City) into your template. (See screenshot below.)
4. Preview the Template
After all of your desired fields have been inserted into the template, its important to preview your document before sending it to clients. To do this, select the “Create Document” button from the DCP ribbon.
Once opened, you will be able to select an account to preview the template for. Select your desired account and press OK.
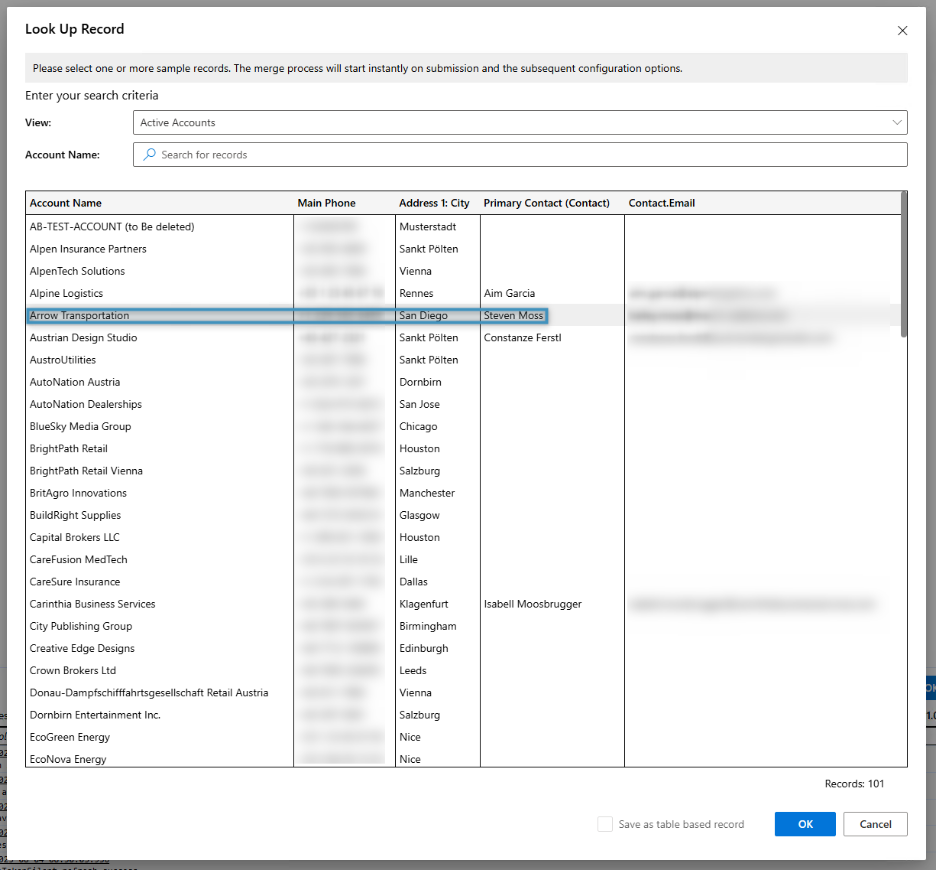
After selecting OK, you will be presented with a preview of your template with the sample contacts information.