This article provides a step-by-step guide for creating a personalized welcome letter template for a new contact in Dynamics 365 using the DocumentsCorePack Template Designer.
Step 1: Set the base table
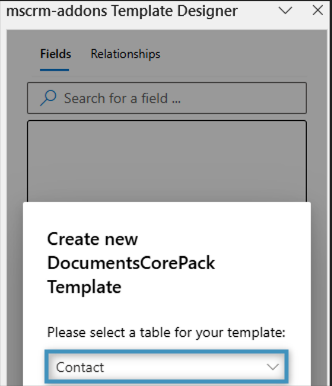
The first thing that needs to be defined before you can begin designing a template is the base table. This choice determines which fields will be available in the Template Designer. Keep in mind that once a field is added, the base table cannot be changed. For this walkthrough, click on the Insert Fields button located in the Fields group under the DocumentsCorePack tab. Once the Template Designer opens, we will select the base table Contact.
Step 2: Add your text
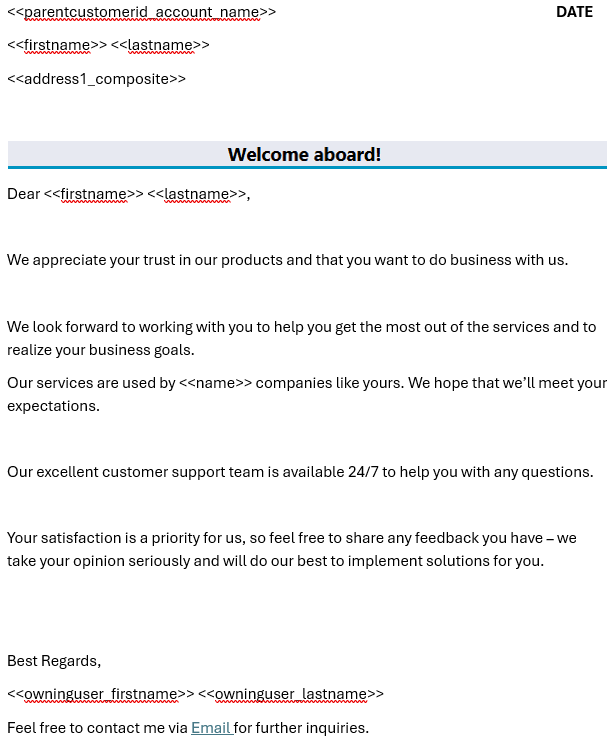
Now we can begin by writing the main content of our welcome letter. For this example, here is what the body of our letter looks like:
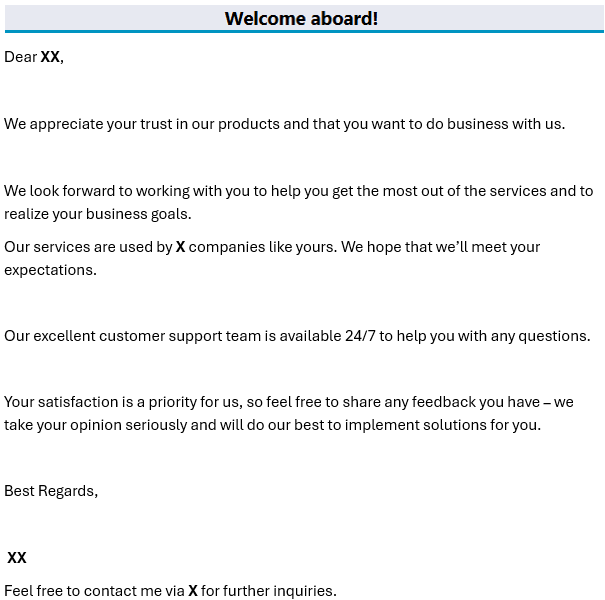
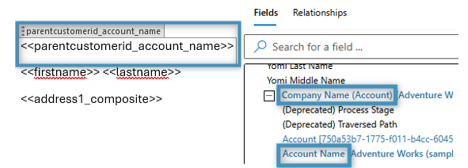
Take note of where the Xs are placed – these mark the spots where we will insert our fields.
Step 3: Adding standard fields
Next, we will insert some standard fields into our template, which will be pulled directly from the base table that we have chosen via the “insert Fields” option.
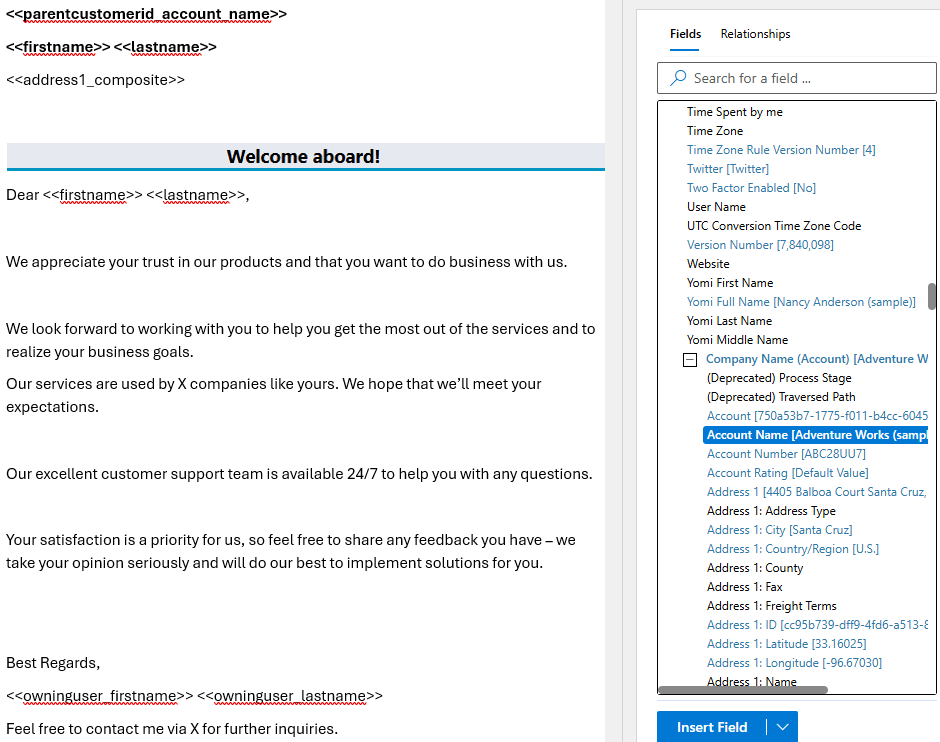
Lookups are represented as expandable items at the bottom of the field-list, which allow us to include data from records related via Many-to-one relationships. In our example, we need to retrieve the Account Name field from Company Name (Account) lookup.
Step 4: Adding the current date via Advanced String
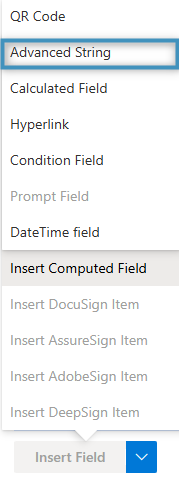
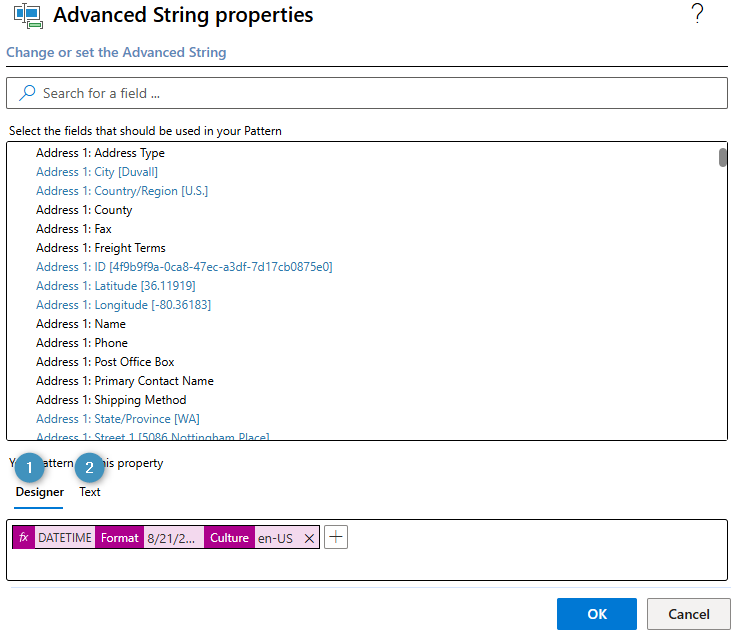
To add a date field in the Template Designer, open the Insert Field menu. Then, under the Insert Computed Field submenu, select Advanced String to open the Advanced String properties window.
In the Your Pattern for this property field, the current date can be added either through the ❶ Property Designer or through ❷ text.

Step 5: Adding the total number of accounts via aggregation
To calculate the total number of accounts in the environment, we can use the aggregation feature. Start by opening the Relationship Designer, set the existing relation to N:1 (Lookups), and enable Activate aggregation option.
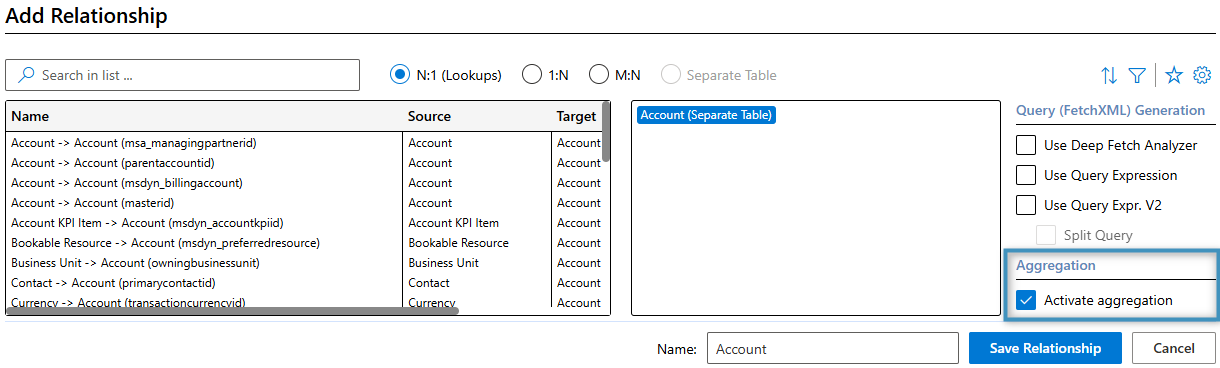
Next, right click the Account Name attribute, Group By and choose Count as the aggregation method. This will return the total number of accounts in the environment.

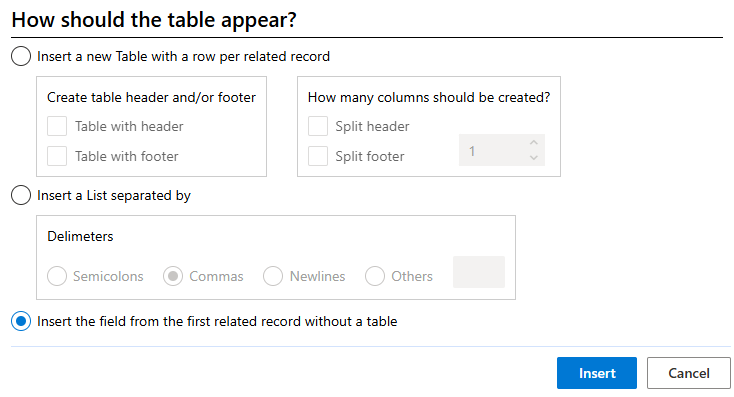
Then, insert the desired field from the fields list into the template. When you are asked to insert it as a table, choose No – we only want to add it as a field, not as a table.

Step 6: Adding an email using the Hyperlink field
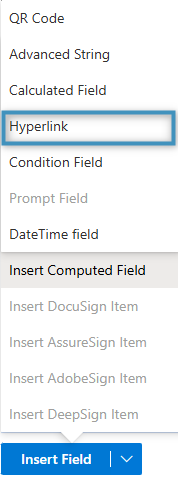
To include a link in the email, use the Hyperlink field. Just like using the Advanced String field, it can be accessed via the Insert Field menu in the Template Designer. This time, go to the Insert Computer Item submenu and choose Hyperlink.
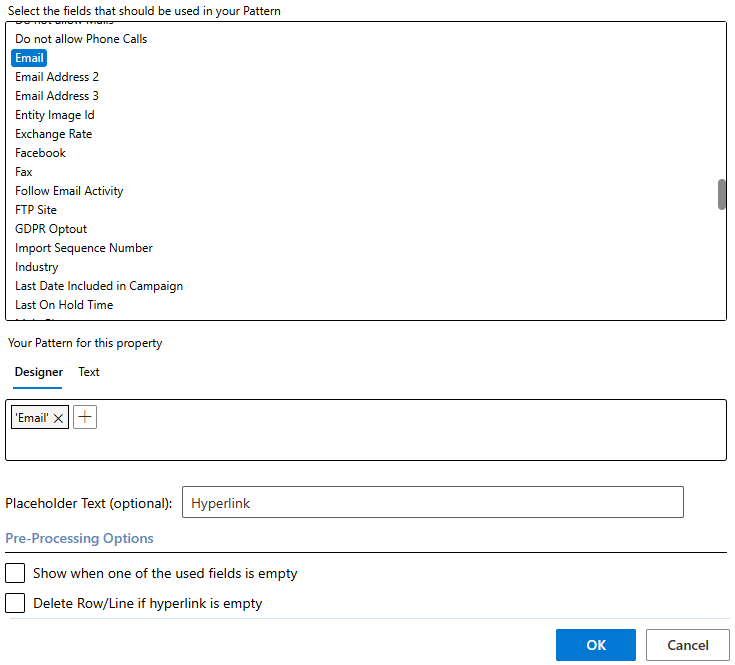
In the Hyperlink properties window, select the Email field. Then, under Designer, click the plus icon to Add new Text. Enter “Email” as the label and confirm by clicking OK.
A new window will appear, once again asking how the table should be displayed. Here too, select the third option to insert the field from the first related record without using a table. After clicking Insert, the field will be added to the template.

The final step: The result
We have now added all the necessary fields to our template. This is how the completed template looks like:
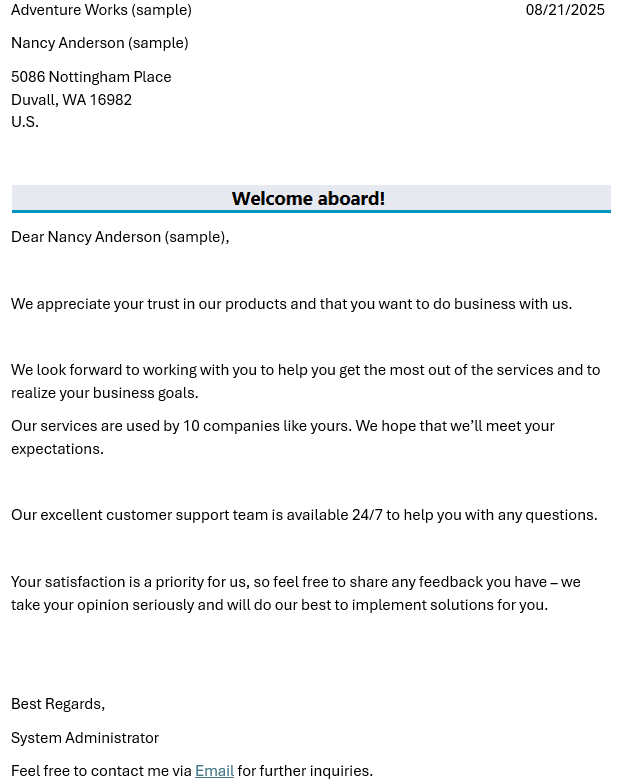
Once the template is saved, it can be merged with a record from the system. The resulting document will include data pulled directly from your environment.
Here is our final result: