This guide shows you how to create a Create a One Click Action (OCA) to generate and email documents in Dynamics 365. The goal is to automate the process of generating a document, attaching it to an email, and sending it with a single click.
Step 1: Create the OCA
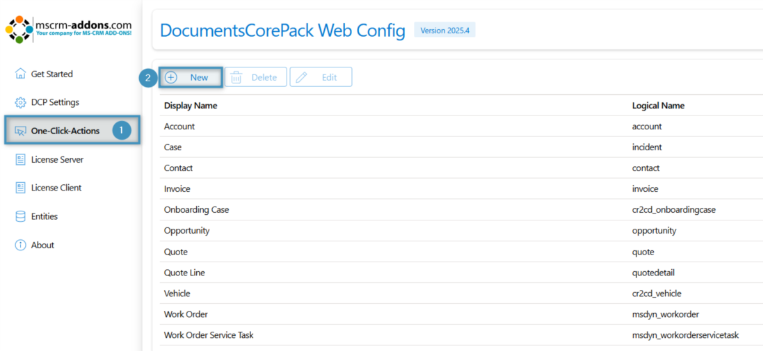
- Navigate to DocumentsCorePack → One Click Actions
- Select New (+)
- Configure the ❶ Type, ❷ Table and ❸ Name of the OCA.
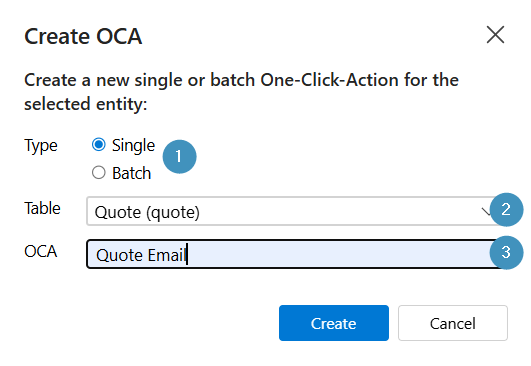
Click Create.
Step 2: General Settings
After you create the OCA, the dialog opens the General Settings section.

Before you begin, your desired OCA is selected, and then you can begin ❶ configuring its name and ❷ description. Optionally, you can choose to ❸ hide the OCA from the DCP Dialog or ❹ define display rules. Once you finish configuring these options, proceed to the Template Settings section.
Step 3: Template Settings
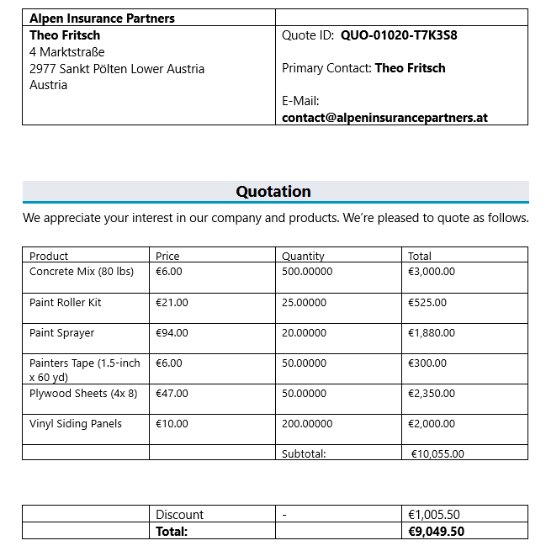
Now we will configure the Template Settings. We will need to select ❶ predefined template and choose our ❷ template. In this case, it will be a quote template.

Step 4: Processing Settings
The Processing Settings allow users to select the attached file, and format other conditions that will configure the OCA.
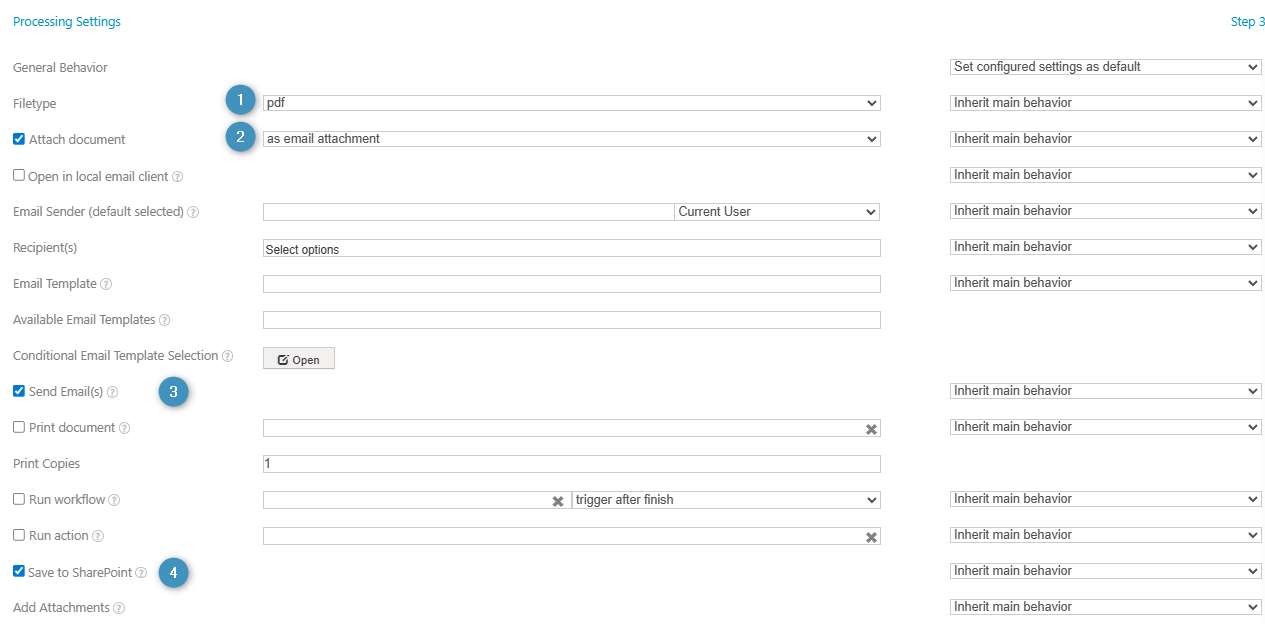
For this example, we want our document to be emailed to our client(s) as a PDF and saved to SharePoint. We will configure the following settings:
- Select PDF in Filetype
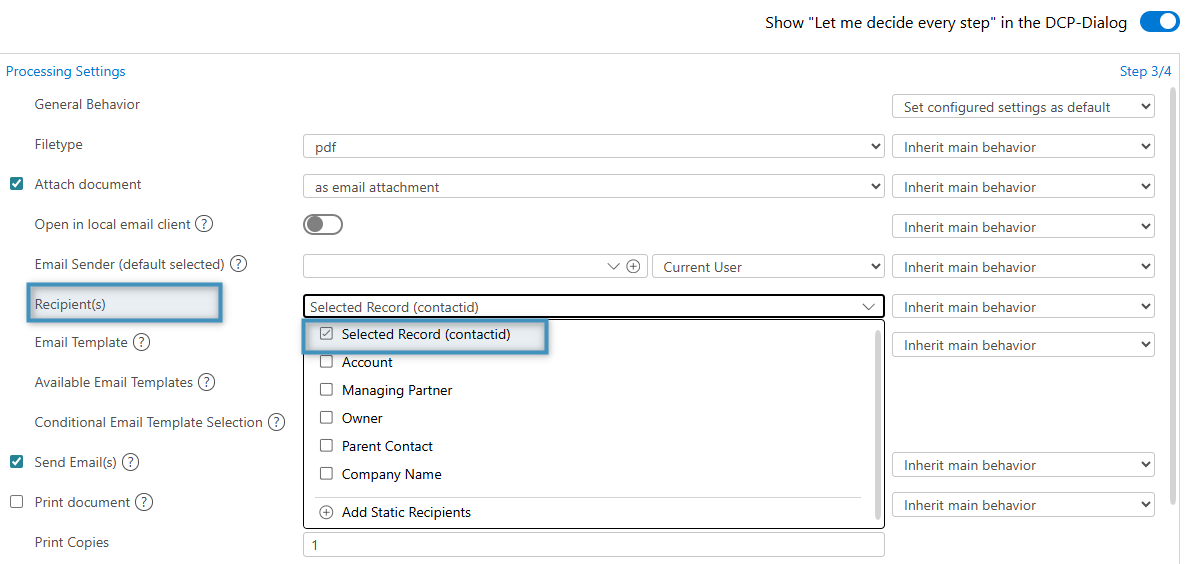
- Check the Attach Document box and select as email attachment from the drop down. Under this, you can configure the recipient (see more info below).
- Select Send Emails
- Enable Save to SharePoint
Adding a Recipient
A recipient is selected dynamically based on the record from which the OCA is executed from. For example, you can choose the Primary Contact of the current record or another related entity.
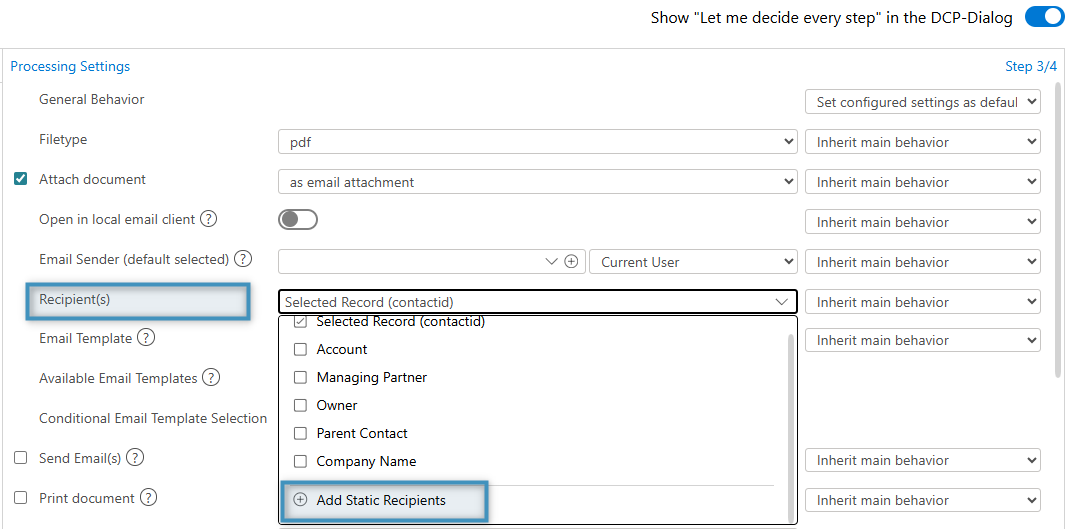
Adding a Static Recipient
Alternatively, you can add a static recipient. Our Static Recipient feature allows you to add a static, non-record-related email recipient from a Contact, System User, or Queue record.
To add a static recipient, go to Recipient(s) and select Add Static Recipients. In the Lookup Records window, select the recipient you want and click Add.
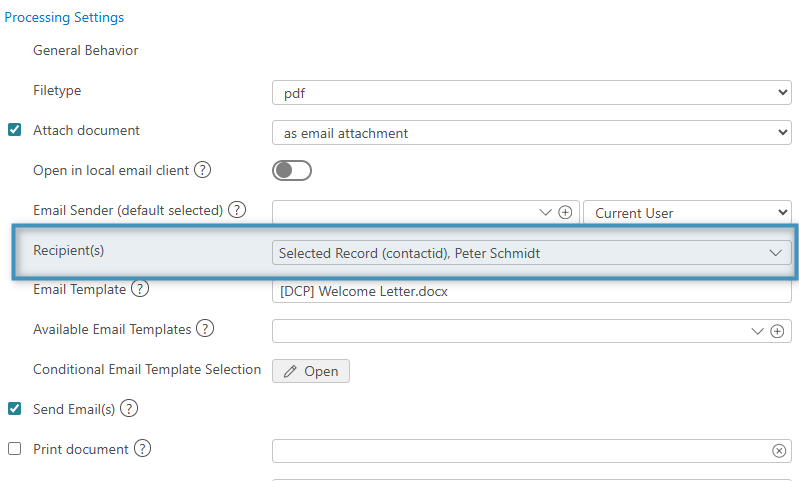
Your chosen static recipient will then be listed under Recipient(s).
Step 5: Configure Review Settings
After you have configured your processing settings, you can proceed to the Review Settings. The Review Settings will appear at the final stage of the document generation process when running an OCA.
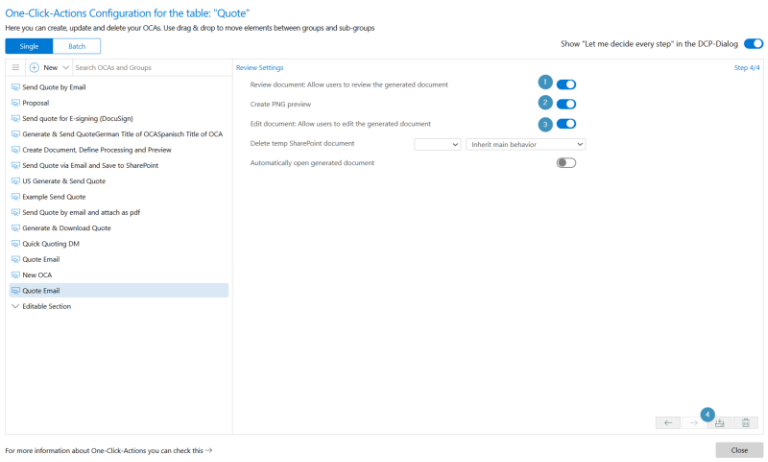
For this example, we will use the following settings:
- Review Document – to allow users to preview the quote document before it is sent to the email recipient
- Create PNG Preview – to create a PNG preview of the email and contents
- Edit Document – to allow users to edit the generated document if there are any adjustments they would like to make prior to sending
- Save – Click the save button in the bottom right hand corner to save your OCA
Step 6: Test the OCA
Now that you have successfully created the “Quote Email” OCA, it’s time to test the results. To do so, first head to Accounts and select the desired client you would like to email the quote to.

After selecting the account you’d like to create the quote email for, select Create Document.
Next, the OCA dialog will open, prompting you to select the desired OCA. In this case, we will use the “Quote Email” that we previously created.
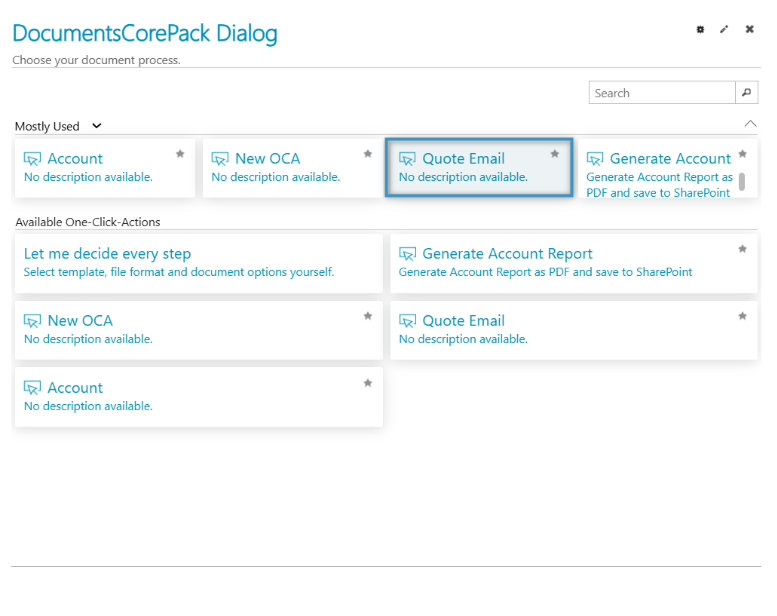
Finally, the document and email will be automatically created and sent to the contact.