SettingsKeys allow administrators to adjust settings directly within Microsoft Dynamics 365 without requiring a new product installation or update.
In most cases, SettingsKeys are created automatically during product setup. However, in certain scenarios like troubleshooting, or when instructed by support, you may need to create a SettingsKey manually.
Creating a SettingsKey
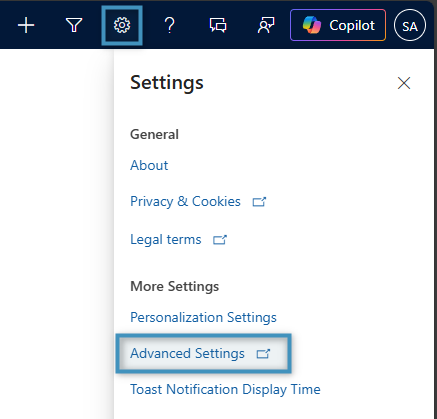
First, open Dynamics 365 and select the Settings icon from the top right. Next, click Advanced Settings from the drop-down menu.
After the advanced settings page opens, find and select the ❶ Products page from the menu on the left, and click the product the key should be added to. In this case, we are selecting ❷DocumentsCorePack.
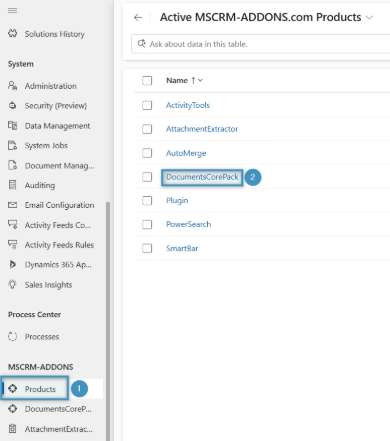
Now, switch to the ❶ SettingsKeys view. To create a new SettingsKey, click ❷ + New SettingsKey.

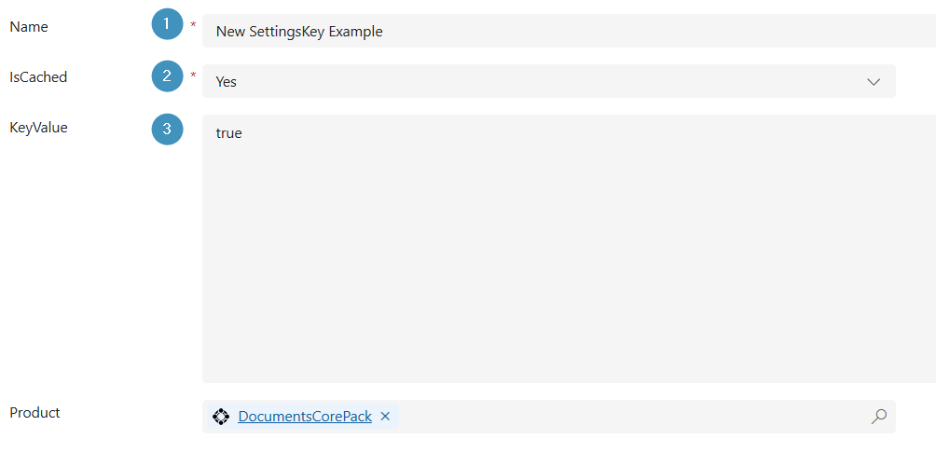
A new window will open. Here, input the values for ❶ Name, ❷ IsCached, and ❸ KeyValue. Note that the product you previously selected is correctly displayed in the bottom search bar.
Once finished entering the relevant information, Save your newly created SettingsKey.
Note: If the new SettingsKey is intended for a client application, the client must be restarted for the setting to take effect.