The Template Designer Word Add-In is built to assist users in creating business templates of any kind, ranging from the simple to the complex. This guide helps illustrate the basics behind template creation by demonstrating how to insert fields and tables for a quote template.
Setting the starting entity
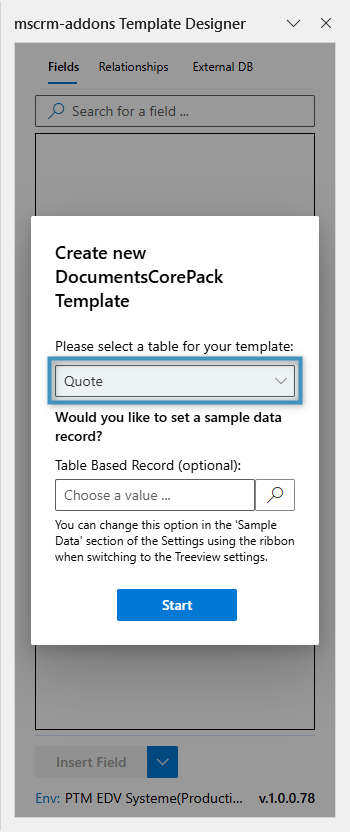
When beginning to create any template, start by clicking the Insert Fields button in the Fields group of the DocumentsCorePack tab. This will open the Template Designer. You will be prompted to select a table for your template. In this case, we will select the Quote table, since we want to create a quote template. Optionally, you can set a record to be used as sample data.
Note: Once you have selected a table for your template, you cannot change it. You will have to create a new template if you need to change the table.
Inserting fields
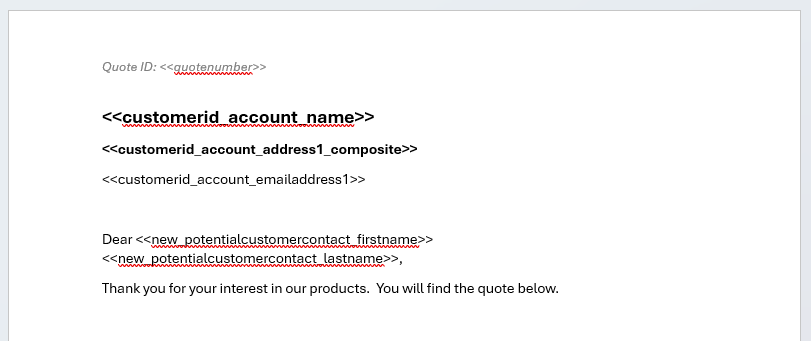
With our entity selected, we can now insert our fields. Fields can be added to the template simply by double-clicking on them. They will be placed at the cursor’s location. Since we are creating a quote template, we will add some fields relating to the quote itself, including the quote’s ID, and some of the related account’s information.
Adding a relationship and creating a table
To include the quote’s products, we will need to create a table by resolving a relationship to the Quote Product table. This is done through the Relationships tab. Navigate the Relationships tab in the template designer and click the “+” button.
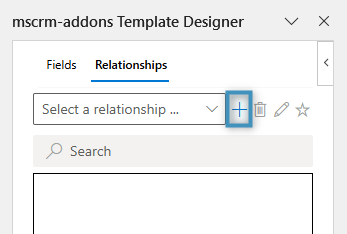
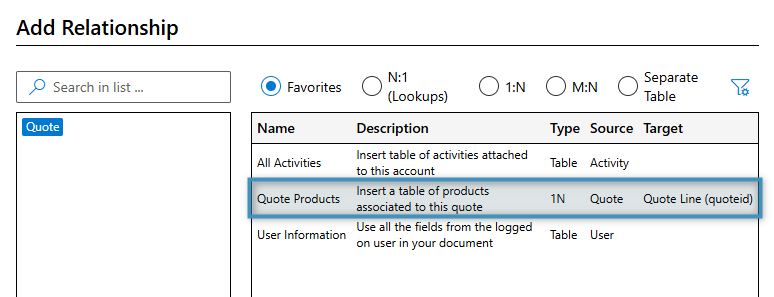
This will open the Relationship Designer. Here, you can resolve relations between any two entities that have an existing connection.
We need to resolve a relation to the Quote Product table. In our case, the Quote Product table is under Favorites by default. Double-click the table to add it and then click Add Relationship.
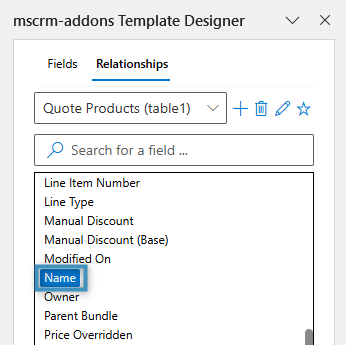
To add a table of our products to the template, double click any of the fields from the Relationships tab. For this template, we’ll double-click the Name field, as this corresponds to the name of the product.
Double-clicking a relationship field will cause a new window to open. In this window, you can decide how the table should be formatted. For this example, we’re configuring the table so that it has a split header and four columns.

The table will be inserted into the document like so:
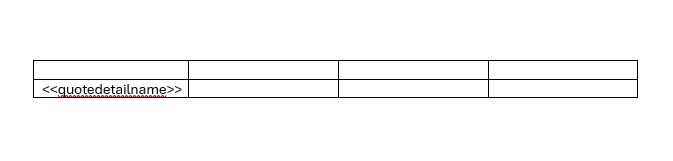
This table looks empty, but we can add additional fields in the same row as the Name field to fill it with more data. You can also add text to the header, allowing you to name the columns.
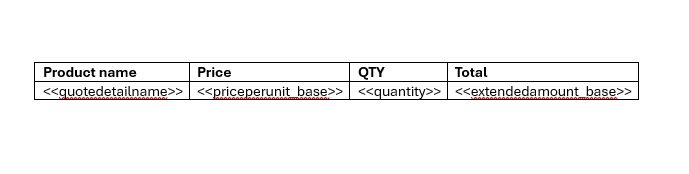
The result
After a few more modifications, our template looks like this.
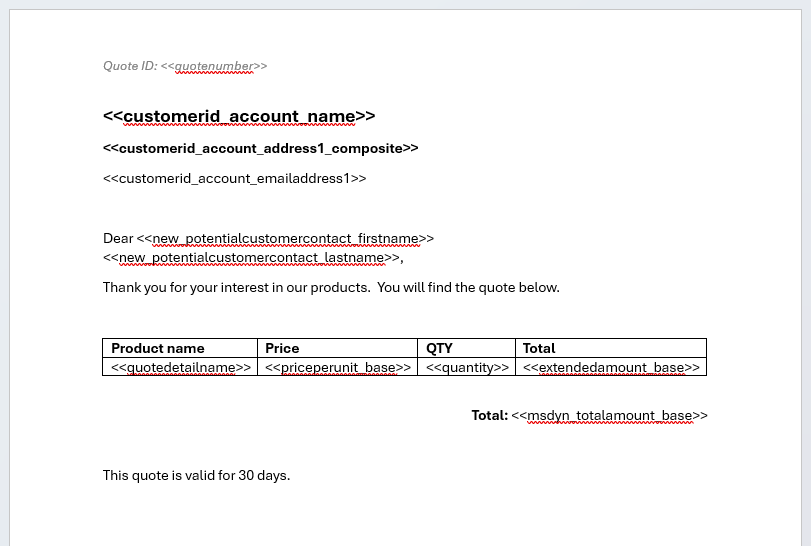
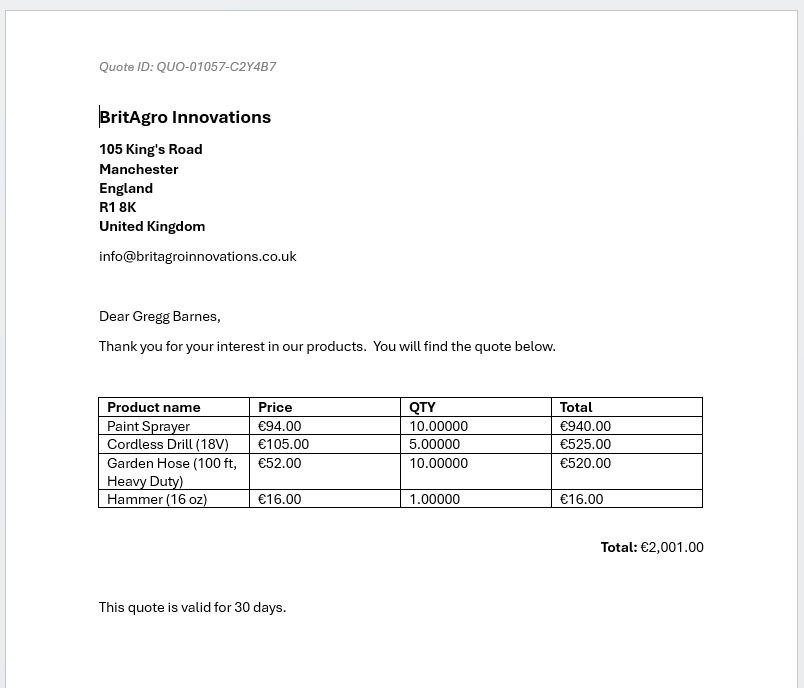
Once the template has been designed to your liking, save the template using the Save Template button in the DocumentsCorePack tab. With the template saved, you can test the template by clicking the Create Document button and selecting some data.
You can view our result document below.