This guide offers a comprehensive walkthrough of each button in the DocumentsCorePack (DCP) ribbon, grouped by functional category.
Below, you will find a full view of the DocumentsCorePack ribbon within Microsoft Word.

Templates Category
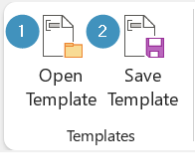
- Open Template: Opens an existing DocumentsCorePack template stored in your Dynamics 365 or Dataverse environment. This button allows you to open and edit pre-existing
- Save Template: Save your current template to Dynamics 365 to enable document generation. Saved templates can later be selected during document generation.
Fields Category
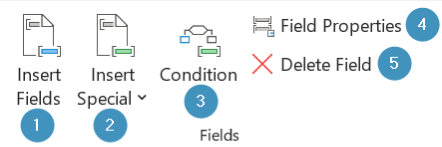
- Insert Fields: Opens the DocumentsCorePack Template Designer, allowing you to browse and insert fields from the selected Dynamics 365/Dataverse table (e.g., Account Name, Email, Invoice Date).
- Insert Special: The Insert Special menu allows users to insert advanced field types that enable more dynamic, interactive, or complex behavior within your document templates. Below are the available options:
- QR Code – Adds a scannable code using Dynamics 365 data (like a URL or ID).
- Advanced String – Combines text and fields into one smart line.
- Calculated Field – Performs math or logic using Dynamics 365 numbers or dates.
- Hyperlink – Inserts a clickable link from a Dynamics 365 field.
- DateTime Field – Shows a date or time with custom formatting.
- Condition – Adds a conditional field.
- Static Document – Inserts an existing file.
- Document – Adds another dynamic DCP template into this one.

- Condition: Conditions allow content in the document to appear only when specific criteria are met. For example, you could conditionally show a discount table if the total invoice amount exceeds a certain value. The logic is based on Dynamics 365 field values and supports “if/else” statements.
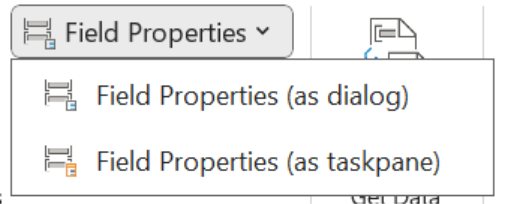
- Field Properties: Configures behavior, formatting, and fallback options for a selected field (e.g. date format for date fields) and allows you to display field properties as dialog or as taskpane.
- Delete Field: Removes a previously inserted field from the document.
Get Data Category
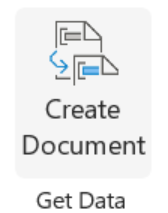
Create Document: Click to merge a template using sample or live Dynamics 365 data. Also guides you through selecting a Dynamics 365 record and merging it with your template. This generates a real document preview, allowing you to test your template before using it in workflows or making it available to others.
Explorer Category
Template Explorer: Provides a structured overview of all DCP related elements in the template. The Explorer pane lists inserted fields, tables, conditions, and other dynamic elements. You can navigate through elements quickly, edit properties, or remove fields directly from this panel, making complex templates easier to manage.
Tables Category
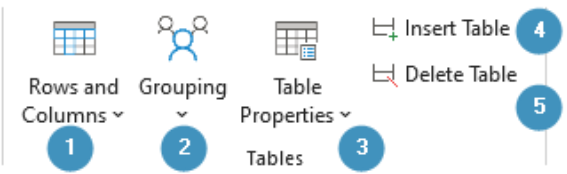
- Rows and Columns: Used to structure and modify tables in your template. Helpful when working with repeating data like product lists, invoice lines, etc. The following options are available:
- Split Column – Divides a column into two parts.
- Merge Columns – Combines two or more columns into one.
- Insert Columns to the Left – Adds a new column to the left.
- Insert Columns to the Right – Adds a new column to the right.
- Add Header Row – Adds a row at the top, usually for column or group titles.
- Add Footer Row – Adds a row at the bottom, often used for totals.
- Remove Header Row – Deletes the top (header) row.
- Remove Footer Row – Deletes the bottom (footer) row.
- Remove Row – Deletes the selected row.
- Grouping: Allows the user to group items in a table by a shared value and customize group headers and footers. The following options are available:
- Mark Groupingfield – Select the field you want to group by.
- Mark as Sum-field – Marks a field to be summed within each group.
- Mark as Count-field – Marks a field to count how many items are in a group.
- Add Groupingheader – Adds a header row at the start of each group.
- Remove Groupingheader – Deletes the header row from groups.
- Add Groupingfooter – Adds a footer row at the end of each group.
- Remove Groupingfooter – Deletes the group footer row.
- Remove Grouping – Completely removes the grouping structure.
- Configure Grouping – Opens advanced options for grouping layout and behavior.
- Table Properties: Configures behavior, formatting, and fallback options for a selected table and allows you to display table properties as dialog or as taskpane.
- Insert Table: Inserts a new dynamic table into the template.
- Delete Table: Removes a dynamic table from the document.
Labels Category
Used to create and format mailing labels in Word.
- Insert Labels: Adds labels to your document.
- Note: Page size and margins must be set using the Word Layout menu (not available in the web version).
- Mark as Label Cell: Select the first label cell by placing your cursor in it and clicking this button.
- Duplicate Labels: Copies the content from the first label cell to the rest of the cells on the page.
Settings Category
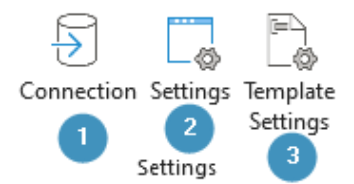
- Connection: Connects the DCP Add-In to your Dynamics 365/Dataverse environment .
Clicking this launches a dialog where you enter your Dynamics 365 URL and credentials. You must be connected to utilize many DCP functions like inserting fields or opening templates.
- Settings: Opens settings for the add-in, where you can configure your desired settings. You can also access application settings and the template explorer through the settings tab.
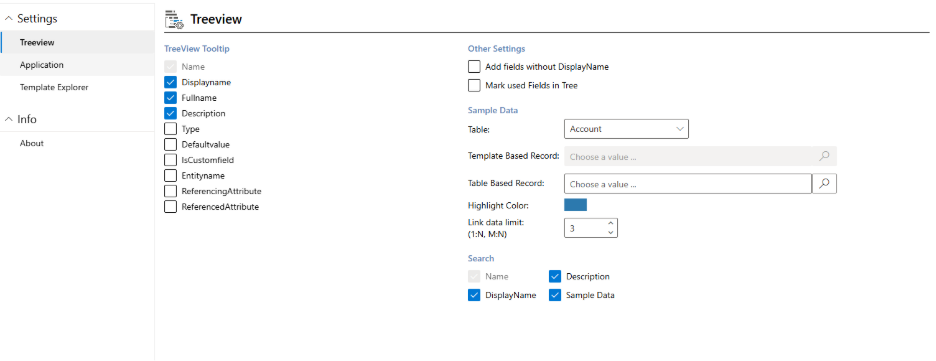
- Template Settings: Here you can find all of the template settings for your document as well as advanced settings, like debugging or accessing SharePoint Metadata.
Help Category
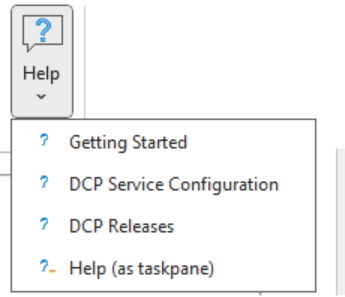
The help tab provides access to help documentation and support. This button links to official DCP documentation, user guides, and support resources. It’s a helpful starting point if you’re unsure how to use a feature or troubleshoot an issue.