Microsoft Dynamics 365 offers great solutions as an advanced system, but the data storage costs for saving data in Microsoft Dynamics 365 can become quite costly. To address this problem, we created the AttachmentExtractor. Learn more about the AttachmentExtractor Online Service Configuration below.
Prerequisite: Enable SharePoint integration in Dynamics 365
Please see our video tutorial and step-by-step description for AttachmentExtractor below, which shows how to start the AttachmentExtractor Online Configuration.
Step-by-Step video:
Step-by-Step description:
Begin by logging in to www.mscrm-addons.com. Under your account, select Manage Services.

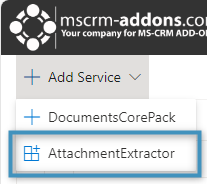
To configure a service, click the Add Service button and select the type of service you would like to create. In this case, select AttachmentExtractor.
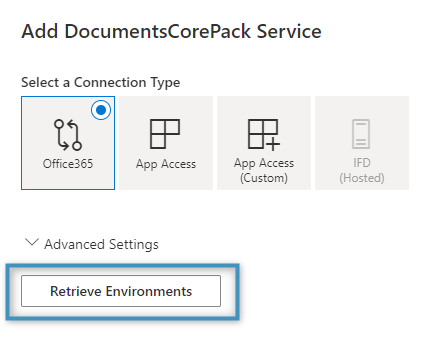
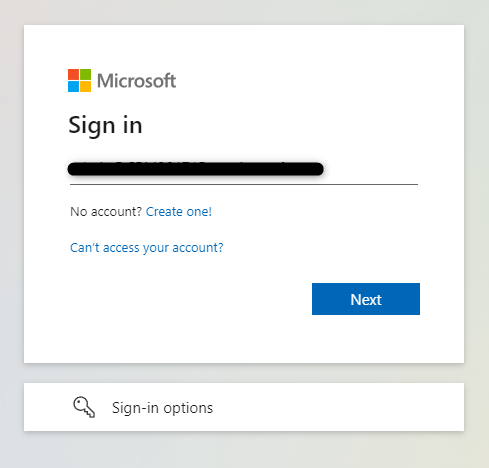
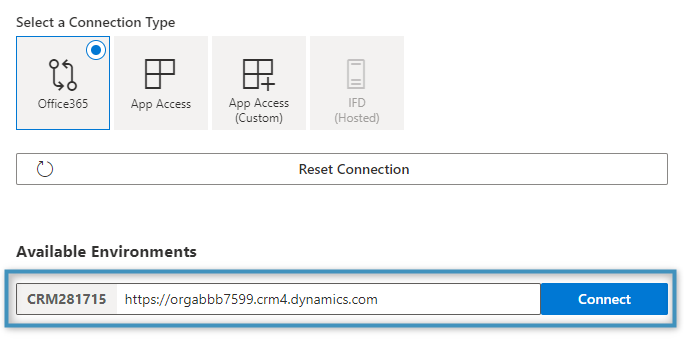
In the following window, click the Retrieve Environments button. This will bring up a prompt to sign in with the credentials of your environment. Enter your credentials and proceed.
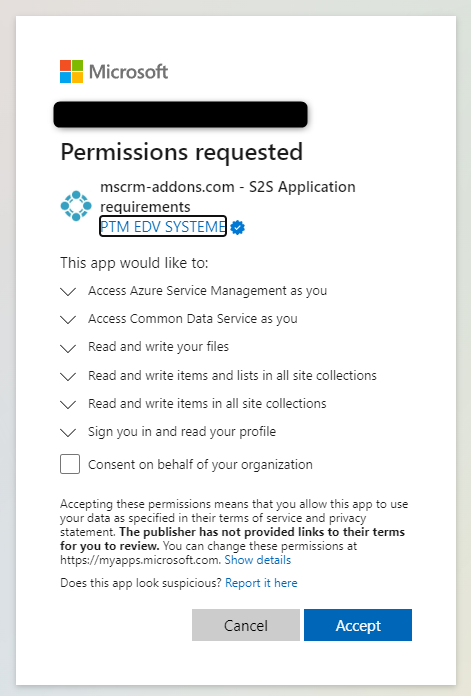
When prompted, accept the required permissions.
Once accepted, the environment’s URL should appear under Available Environments. Click Connect to proceed.
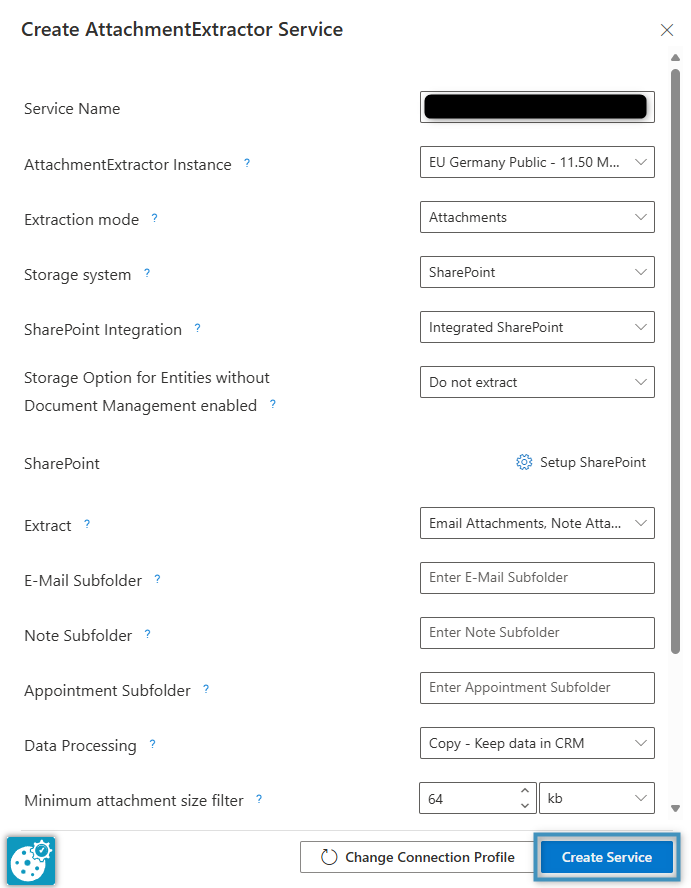
The service’s settings can be altered or reviewed prior to creation. After configuring these settings, click on Create Service to continue.
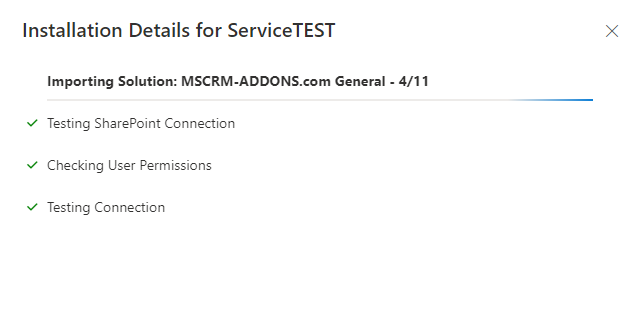
The setup process will then begin. This process will take some time before finishing.
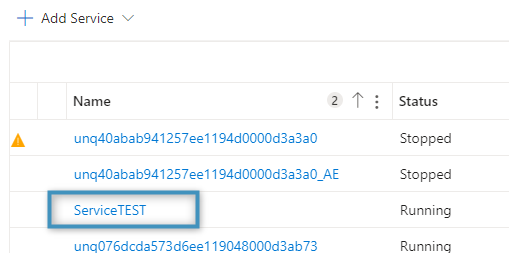
Once finished, your service should appear in the service list.
That’s it! We appreciate your feedback! Please share your thoughts by sending an email to support@mscrm-addons.com.