DateTime fields (Dynamics 365) allow you to perform basic calculations with dates. You can add a certain amount of time to a current date or calculate the difference between two. The following step-by-step description will show you how to insert a field of this type into your template and give a general overview of its features.
Please note: If you want to insert just the current date, please use the Advanced String field instead.
Step-by-step description
Step 1: Open the ❶ Insert Field menu and navigate to the ❷ Computed Items section. Within this section, select the ❸ DateTime Field button.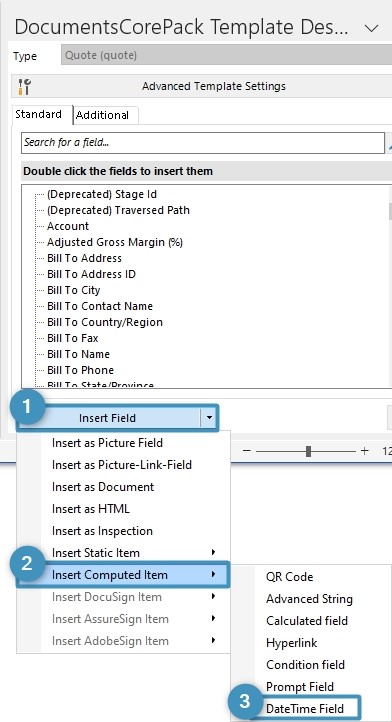
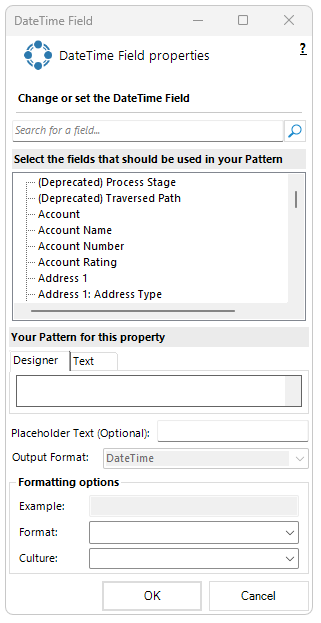
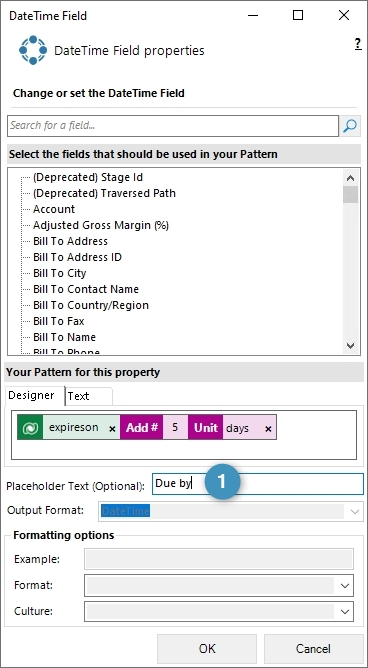
Step 2: The DateTime Field properties will open. This dialog box allows you to specify your DateTime Field based on the options provided.
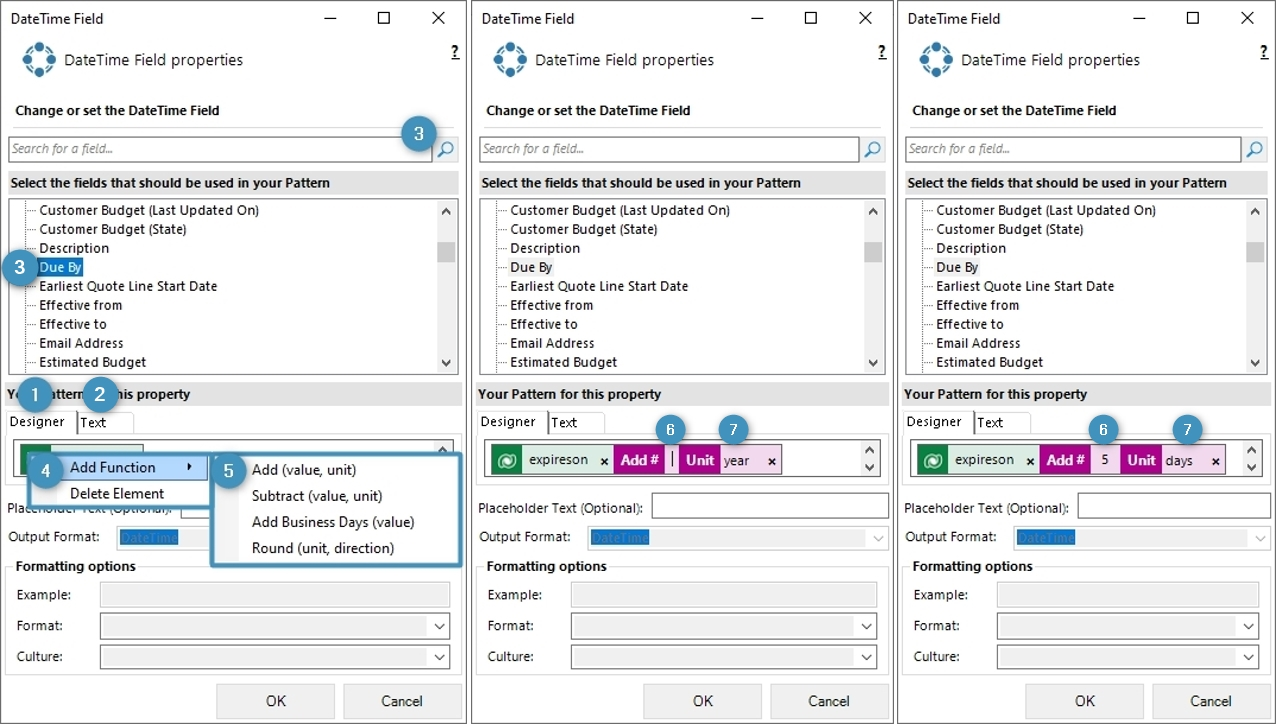
- Add (value,unit)
- Subtract (value, unit) (Note: choosing this function will alter the formatting options – see Step 5)
- Add Business Days (value)
- Round (unit, direction)
Note:
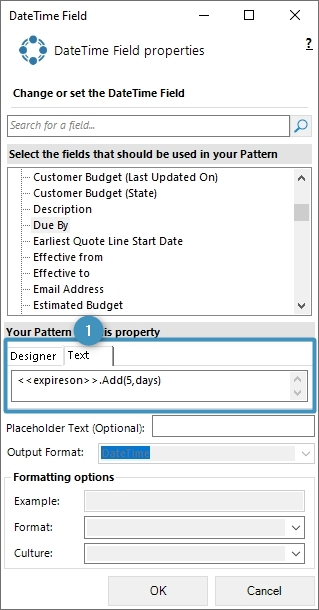
If the formula doesn’t display correctly, enlarge the window to ensure the entire input is visible.
Note: The syntax for Text property designer is here.
Step 5: The system shows Formatting options at the bottom of the window. When applied, the resulting date formats based on the values defined in the Format and Culture dropdowns.
Note:
Learn more about custom date and time formatting strings here. For culture formatting strings, see this link.
The formatting options will change depending on if ❶ standard formatting is being applied, or if the entered dates are being ❷ subtracted. If the difference between dates is being found, then the formatting options change to what is shown below on the right.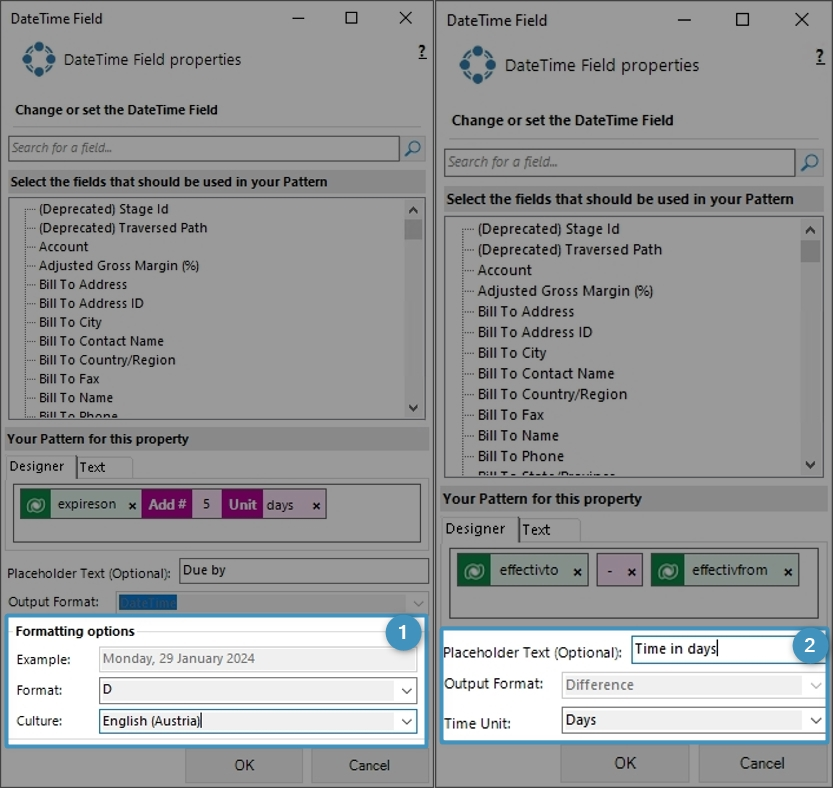
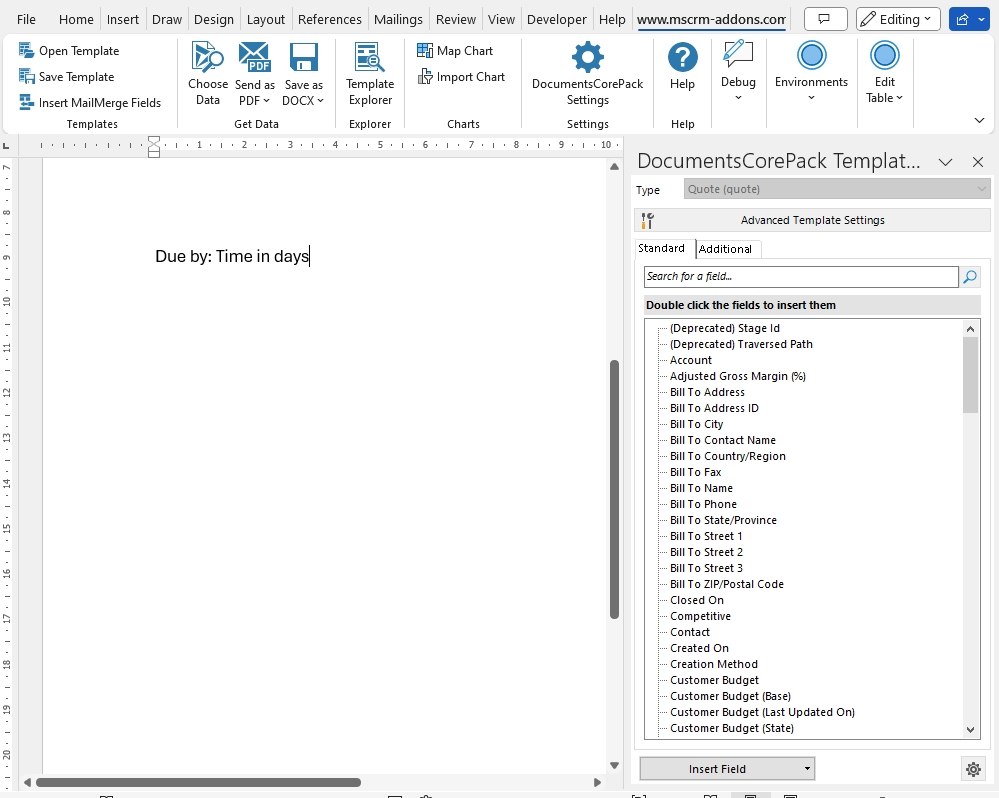
Step 6: Insert the field by clicking OK. This will add the field to the document.
Step 7: Save and test your template. You can save the template locally using the standard Save or Save As functionality of Word, or through the Save template option in DocumentsCorePack to publish it to Dynamics 365. Test the template by following the steps found here.
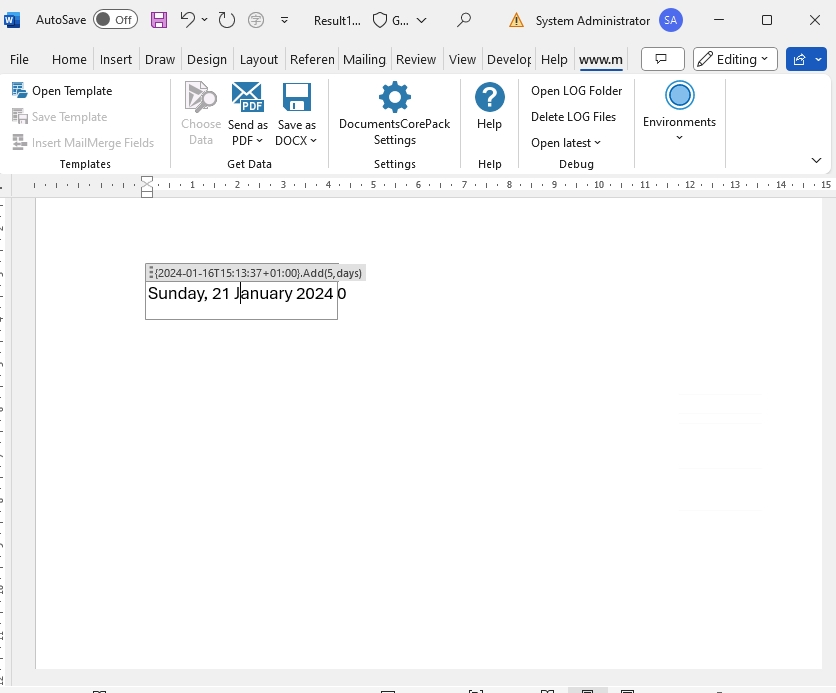
The results of our merged field are below.
That’s it! We appreciate your feedback! Please share your thoughts by sending an email to support@mscrm-addons.com.