One-Click-Actions (OCAs) are predefined settings for the DocumentsCorePack dialog to simplify and streamline document generation and delivery within Dynamics 365 and PowerApps. The purpose of display rules is that users only see OCAs that are relevant to them. In this article, learn how to set the display rules for OCAs.
If you first need more information about how to access and configure an OCA, have a look at this article.
How to set display rules for One Click Actions
- Set display rules via Conditions
- Display rules via Use Conditions – This option is commonly used for simple conditions.
- Display rules via Fetch – Enter a Fetch-XML query for complex conditions.
- Display rules via Security Roles – Select the role(s) a user must have to be able to see the OCA.
- Display rules via Business Units – Select the business unit(s) a user must be a member of to be able to see the OCA.
- Display rules via Teams – Select the team(s) a user must be a member of to be able to see the OCA.
Please Note: These four types of display rules (Conditions, Security Roles, Business Units, and Teams) are linked. This means that at least one condition from each configured tab must apply for the OCA to be displayed.
.
Set display rules via Conditions
Open the DocumentsCorePack settings and navigate to the ❶ One-Click-Actions tab. An overview will open and will show the ❷ OCAs that have been created for the respective entity. To ❸ open it, click on the entity and a One-Click-Actions window will pop up. To open the display rules dialog, press the ❹ [+] button. (Note: if a display rule has already been configured, you will see an [eye]-icon.)
You can choose between Use Conditions (for simple conditions) or Use Fetch/View (enter a Fetch-XML query for complex conditions).
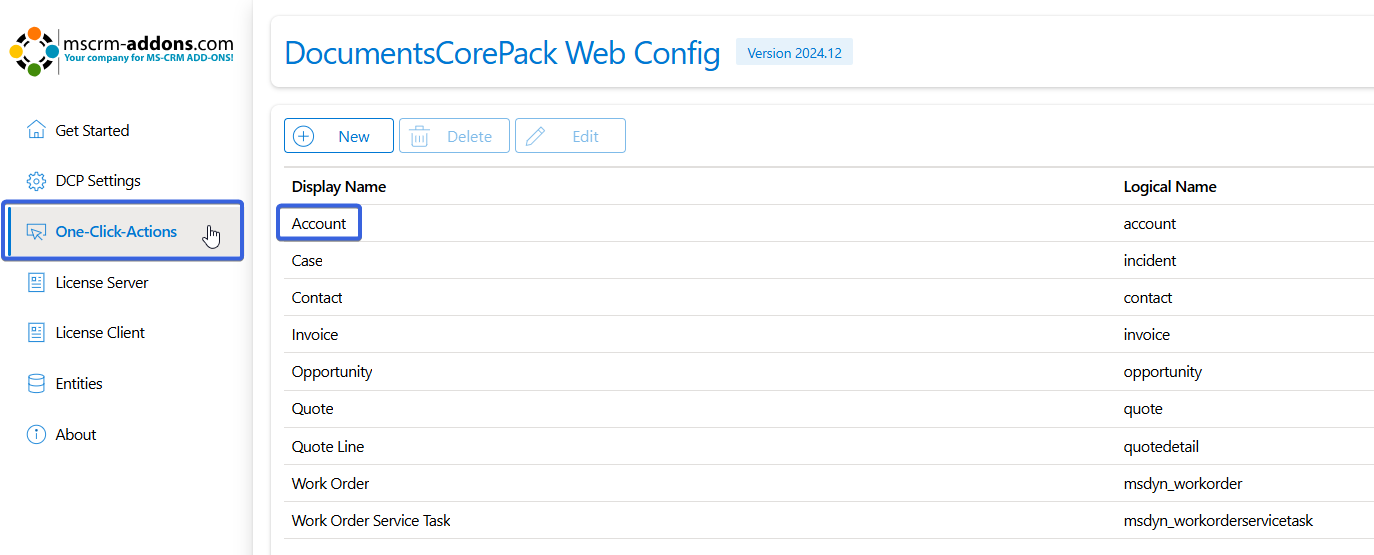
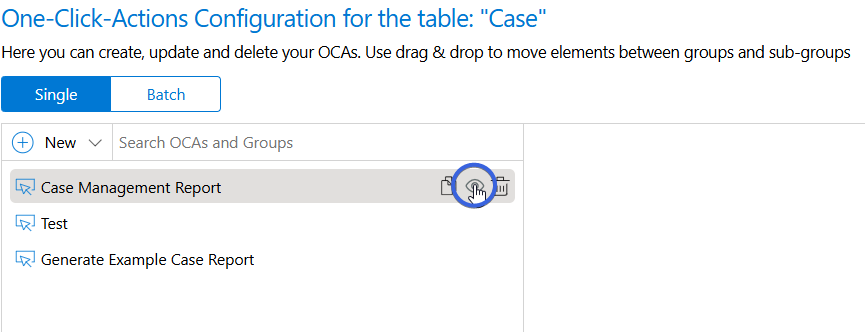
Figure 1: Open display rules-dialog
.
Display rules via Use Conditions
First, choose Use Conditions in the ❶Conditions tab. Here you have the possibility to add additional conditions as display rules.
A new condition (based on an attribute/column) can be added with the ❷ +New button.
It should be noted that the Save process requires to save each row with the ❸ Save icon, and to then confirm all conditions with the ❹ Save button again at the bottom-right corner of the screen.
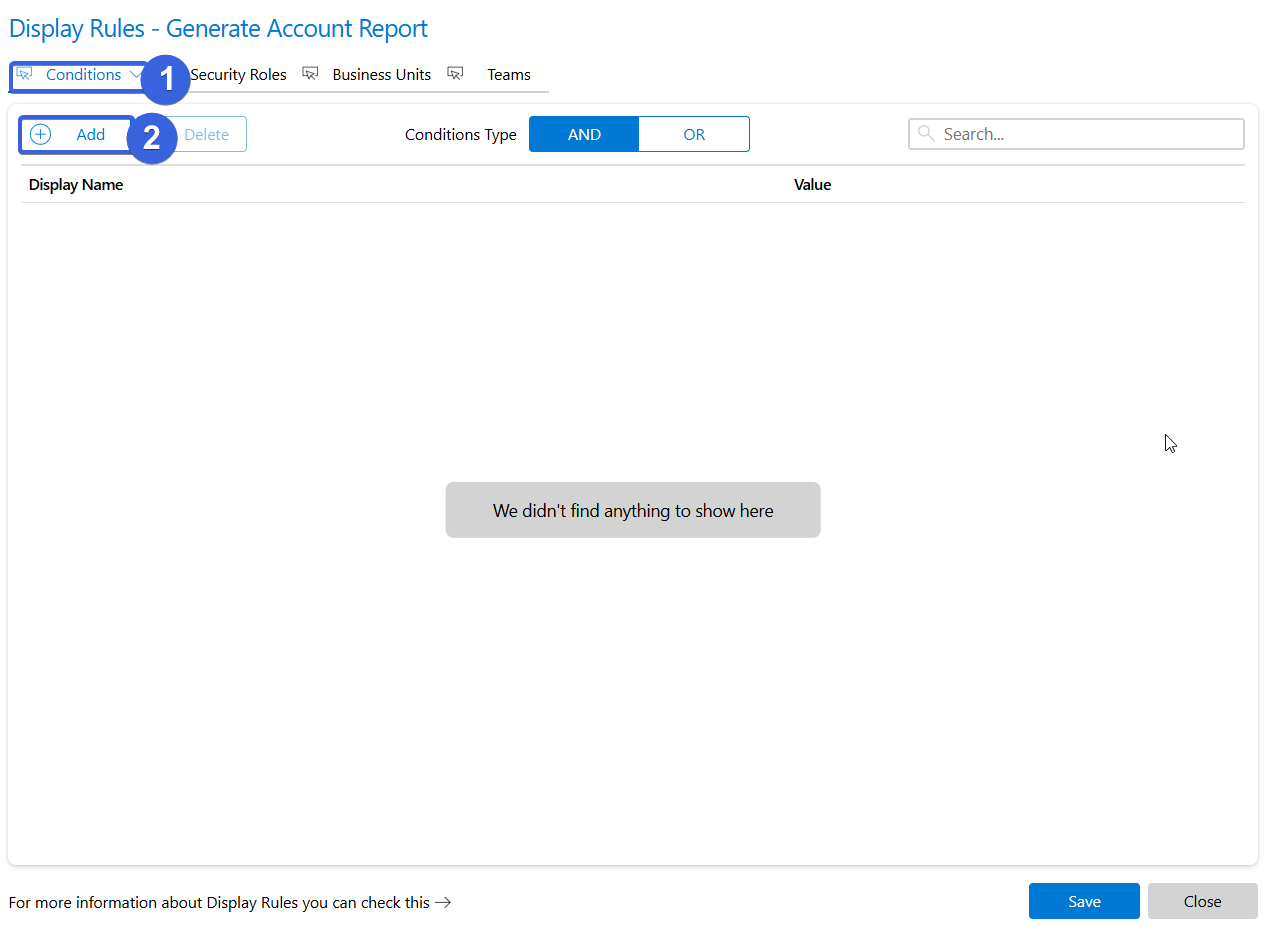
Figure 2: OCA – display rules configuration
.
Display rules via Fetch
When you are unable to create your desired display rules using the simple conditions, you can choose to use the Use Fetch/View options. In this window (Figure 4), you can enter a Fetch-XML to set a more complex filter for displaying OCAs. These statements can be generated by Advanced Search, by using additional third-party tools, or you can select an existing “view” as your FetchXML.
Please Note
- OCAs will be displayed as soon as the Fetch returns a result.
- Please activate the Advanced find in model-driven apps if you want to generate a Fetch-XML from the Advanced find.
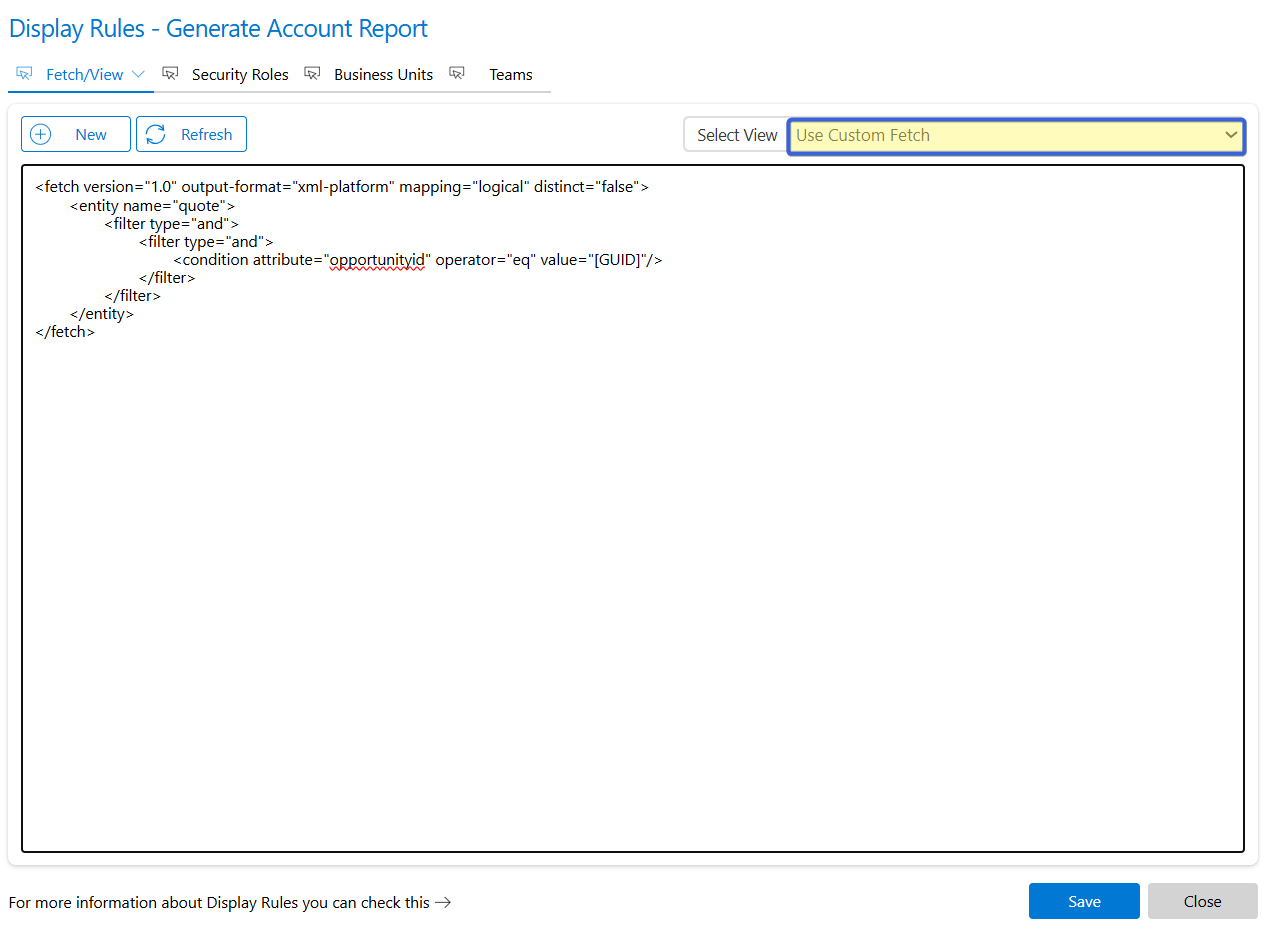
Figure 4: Use Fetch-View to enter XML instructions
.
Display rules via Security Roles
In the Security Roles tab, you can select the role that a user has to have to be able to see the OCA.
Click the +New button to open an overview of all Security Roles.
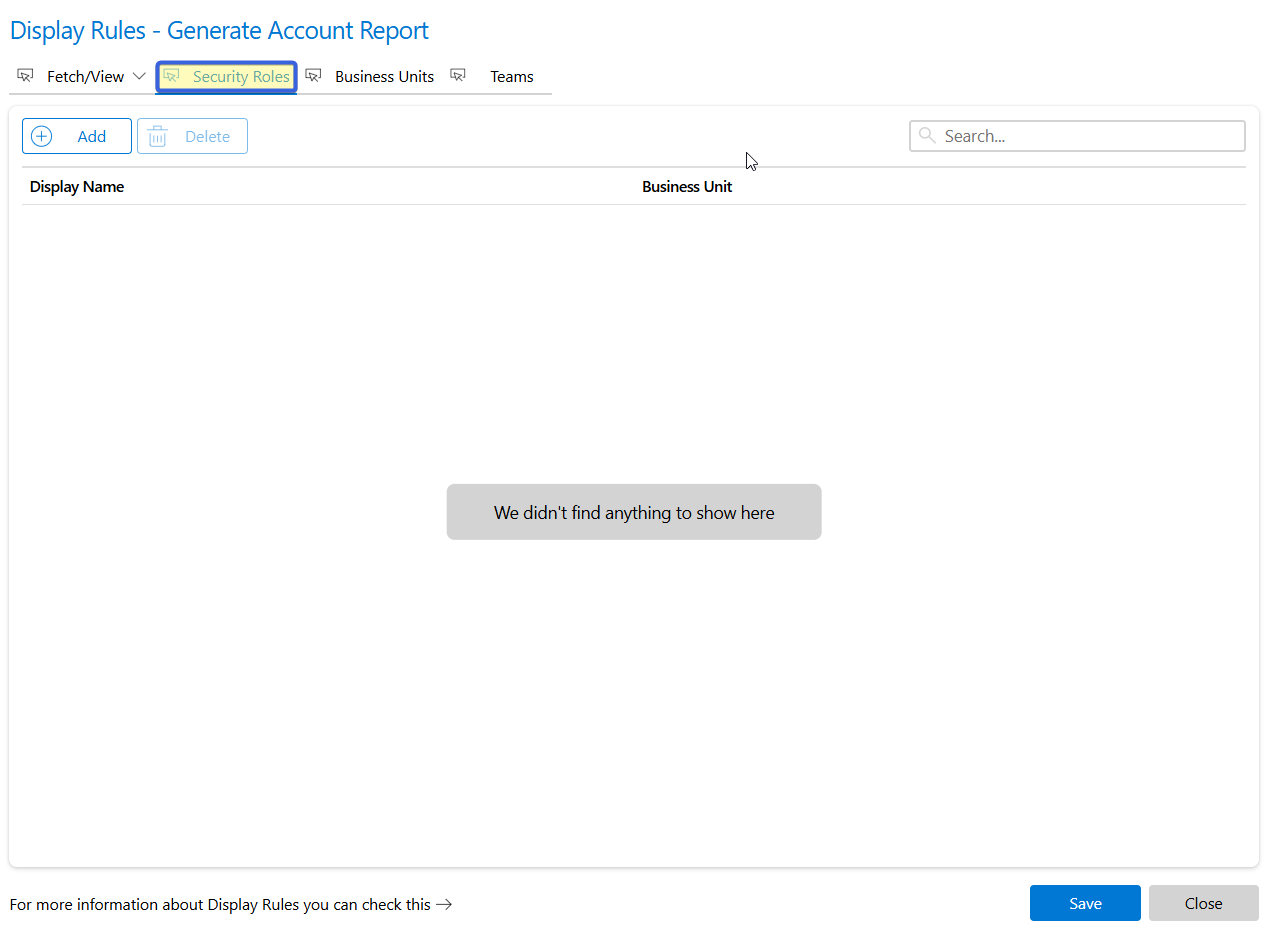
Figure 5: Security Roles for display rules
.
Display rules via Business Units
In the Business Units tab, you can select the business unit a user has to be a member of to be able to see the OCA.
Click the [+New] button to select the organization, and then select Save.
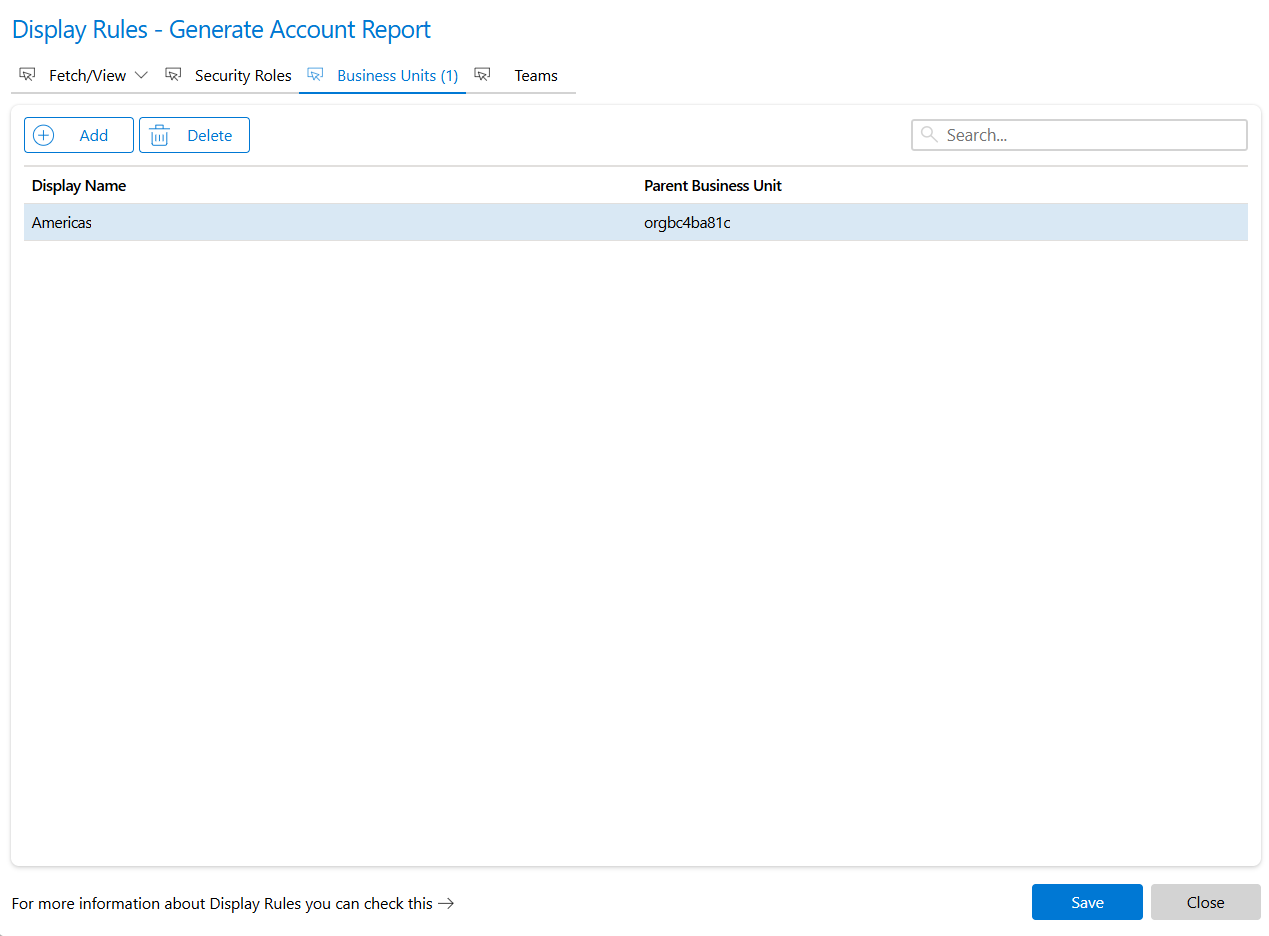
Figure 6: Selected business unit for display rules
.
Display rules via Teams
In the Teams tab, you can select the team a user has to be a member of to see the OCA.
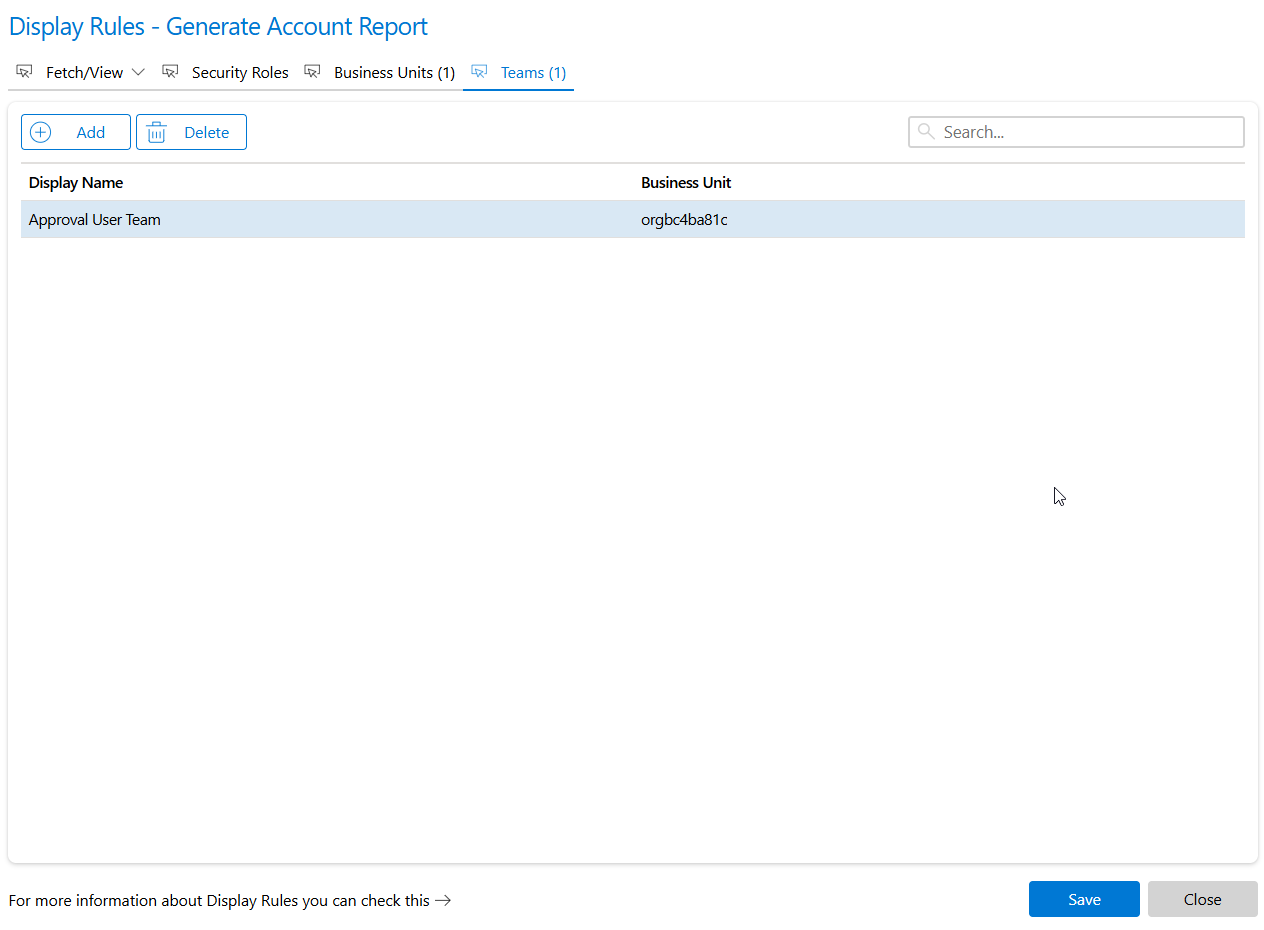
Figure 7: Display rules via Teams
That’s it! If you require further assistance or would like to share feedback, please reach out to us at support@mscrm-addons.com.
For additional reference to related topics, please explore the articles below: