This blog article outlines how to configure the DocumentsCorePack (DCP) Print Application for Microsoft Dynamics 365. More information about how to install the DCP Print Application can be found here.
Please notice: The DCP Print Application is intended for small local printer installation. It does not work on servers with multiple printers. In this case, it is recommended to use DCP ServerBased where the services are better managed. For further information, please contact our support team.
DocumentsCorePack Print Application Configuration
After finishing the installation, the DCP Print Application Configuration window opens. This window provides you with different tabs to configure your DCP Print Application, as you can see in the figure below highlighted in yellow.
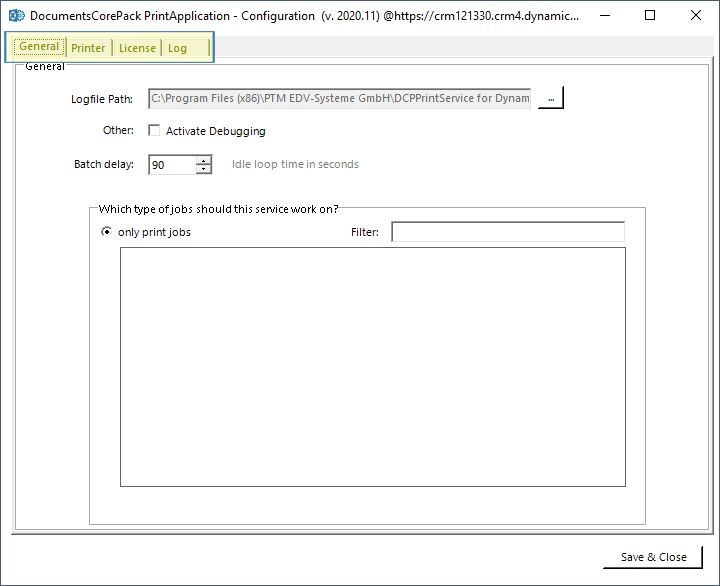
1. The General-tab
The General-tab provides you with the option to set the general settings of your future service (see figure above). You have the option to activate debugging and set a batch delay (90 seconds is set per default, which is the delay between the service checking for new print jobs). You can also add & remove printers that your application will use.
2. The Printer-tab
The Printer-tab provides you with the option to create a ❶ new configuration, edit an existing one, copy a configuration, change the settings and to ❷ delete configurations.
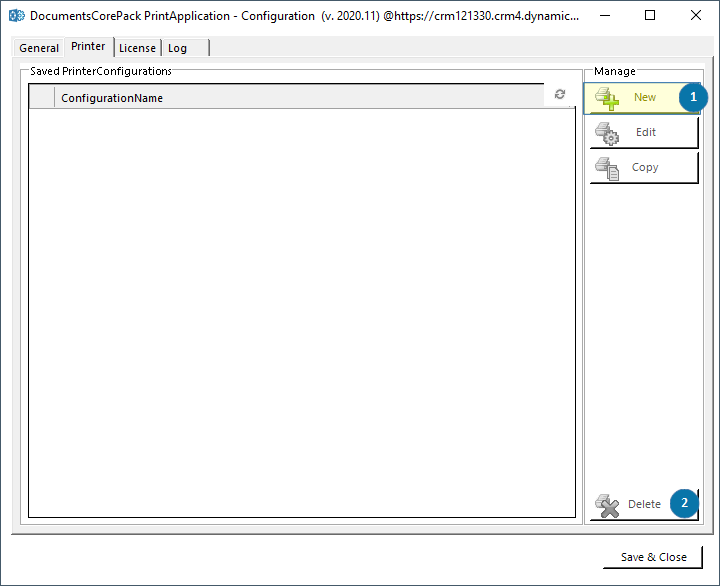
In order to create a new configuration, click on the [New] button in the Printer-tab.
This action will open the following dialog. Here you have to:
❶ Specify a configuration name to be able to create a printer configuration. The configuration name consists of printer@username (the user which has access to the local printer) + computer name (the computer on which the service is running)
❷ Select the printer from the drop-down menu. You can only use the printer created with your user and your machine.
❸ Hit the [Save & Close] button.

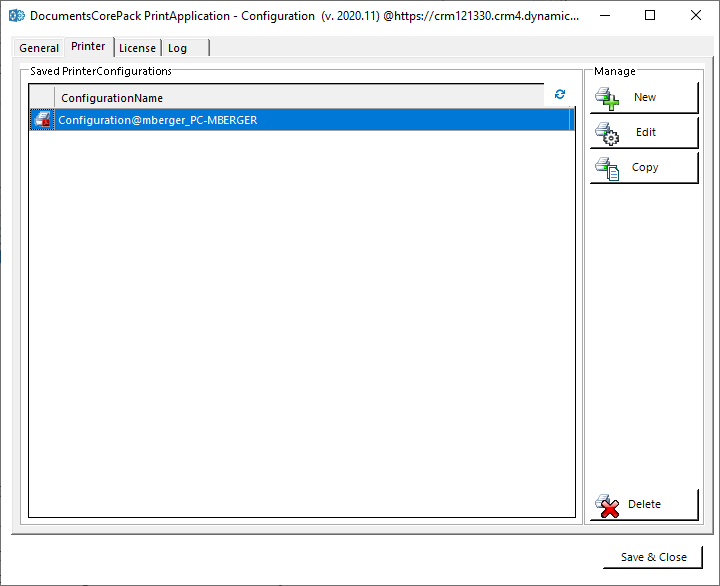
After saving, you will see the saved printer configuration in the Printer-tab.
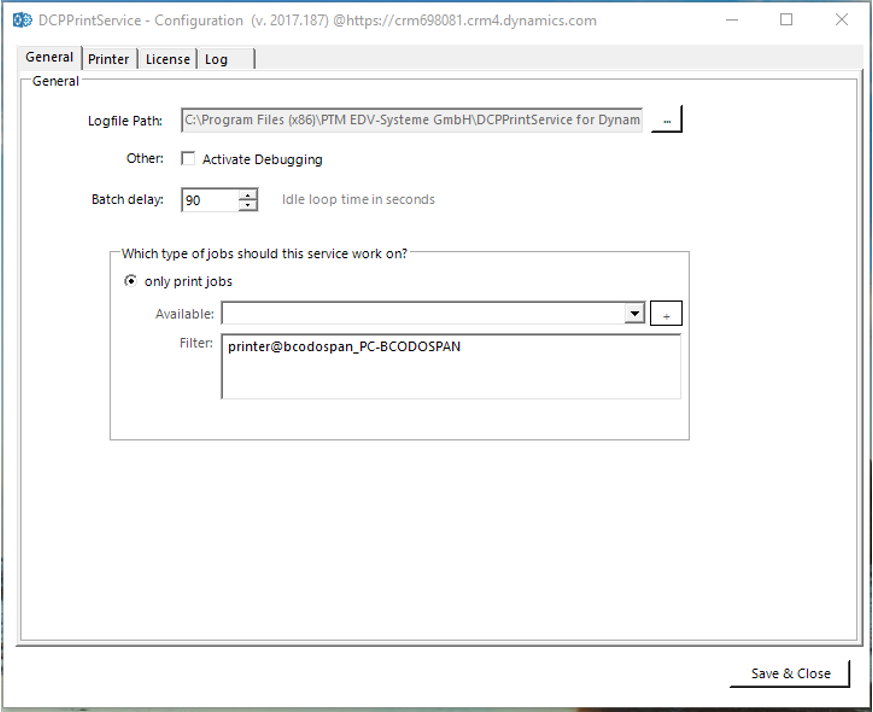
The saved printer configuration is also automatically added in the General-tab in the Filter-area (see in the figure below). To remove a printer, please select it and click Delete on your keyboard.
3. The License-tab
The License-tab enables you to quickly check your license state. If the license is invalid, the service will not start. For more information on the license manager, please have a look at our Licensing Guide.
4. The Log-tab
The log provides an excerpt of the DCP Print Application event log, filtered for this specific service. This helps you to identify any issues with the service.
That´s it!
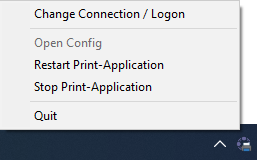
Hit the [Save & Close] button in order to finish the DCP Print Application configuration. You will now find the DCP Print Application in your system tray. Right-clicking on the icon brings up a context menu, allowing you to connect to a different organization, open the configuration, restart the service or quit it.
The installer also adds an autorun entry to your local user account, starting the DCP Print Application with your windows.
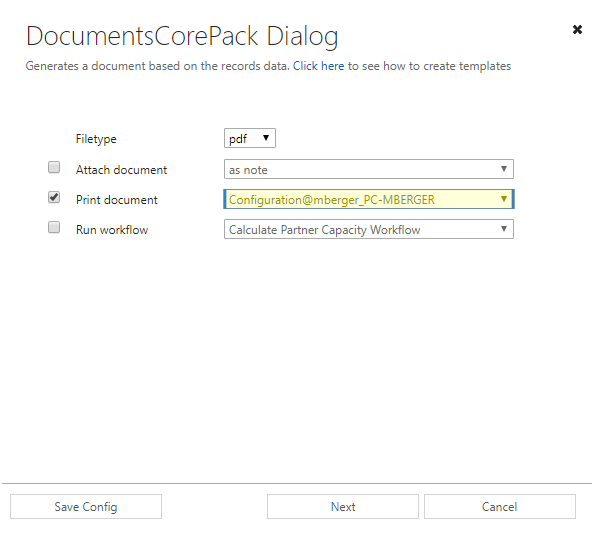
If you now hit the [Create Document] button, the DCP Dialog provides you with the new “Print document” option, where you are able to select the printer you have configured before (highlighted in yellow).
Please notice: You can configure as many local printers as you like.
That´s it! We appreciate your feedback. Please share your thoughts by sending an email to support@mscrm-addons.com.