DocumentsCorePack (DCP) enables users to create email templates in Microsoft Word, bypassing the limitations of native Dynamics 365/CRM email templates. This enables DCP users to map any data out of Dataverse while still retaining the rich design experience provided by Microsoft Word.
This article shows best practices around preparing templates to be used for emails and the different options provided by DocumentsCorePack to create email-content via the DocumentsCorePack Dialog as well as Power Automate.
Preparing Email Templates using DocumentsCorePack
Templates created via DocumentsCorePack can be used not just for creating attachments but also for creating email content. However, when including templates in emails, formatting issues may occur. Thus, when it comes to creating templates designed specifically for emails, we recommend following the below guidelines:
- Inserting images using “Insert as Picture-Link-Field”: When inserting images in your templates for use in emails, the “Insert as Picture-Link-Field” option is recommended. This is recommended because the option keeps the size of the email small due to using a link. It is in contrast to “Insert as Picture Link,” which will add the file itself to the email.
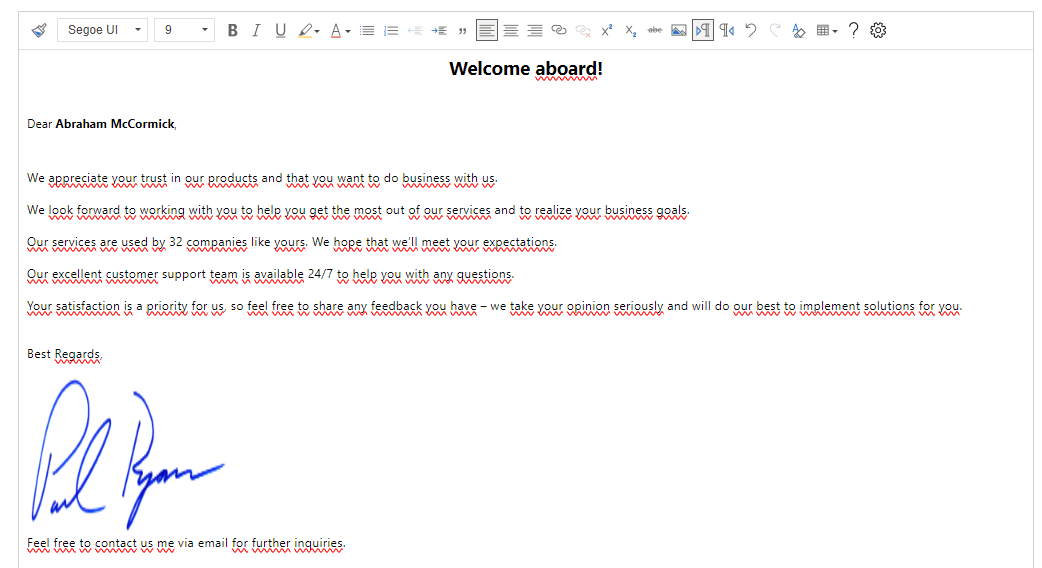
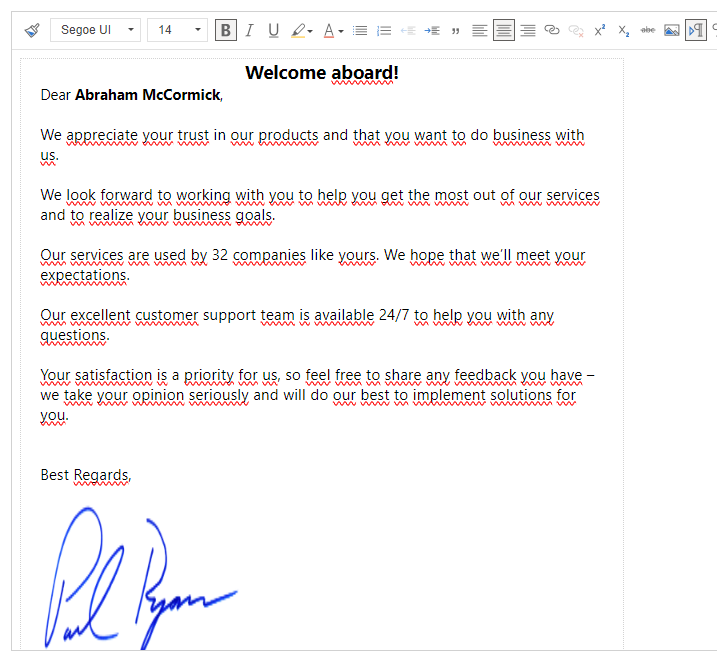
- Using tables: HTML lacks a right or bottom border. As a result, templates can look unorganized when using them for emails. To fix this, we recommend inserting the content of your templates into Word tables.
Tables provide defined constraints for your content within emails, ensuring a more professional look. We suggest inserting your content into a 1×1 Word table with invisible borders and setting the left and right cell margins to 0.2 inches.
Below is a comparison between an email template without a table as described, and one with a table as described.
- Embedding fonts: To ensure email recipients have the same viewing experience when receiving emails, we recommend embedding your fonts in your template. You can embed your fonts as shown in this article.
For further information on adding custom fonts, please see here.
Generating email content with DocumentsCorePack
Email content can be created through the use of the DocumentsCorePack Dialog or via Power Automate. This is illustrated in the following examples.
1a. Create the email content and email attachment via the Dialog
If we want to attach one of our templates to an email, we can use the DCP Dialog.
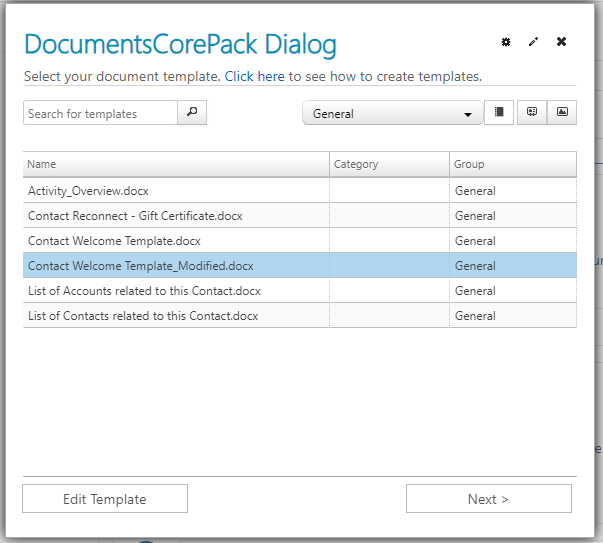
Navigate to a record and select the Create Document button. Then, select a template.
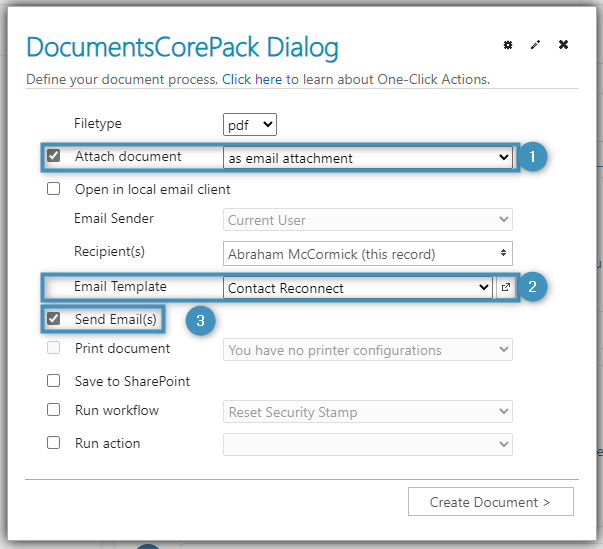
On the document process step, you can choose to (1) attach the selected template as email attachment. This can then be sent to a specified recipient. You will also have to (2) choose an email template for your email body. Optionally, you can set the email to be sent right after the document has been generated by selecting (3) Send Email(s).
Once the process has been finished, you will be redirected to the email record.
1b. Creating just the email content via the Dialog
You can also add email content to the body directly by choosing the (1) HTML file type in the Dialog and (2) attaching the document as email content. You can then (3) send the email like previously.

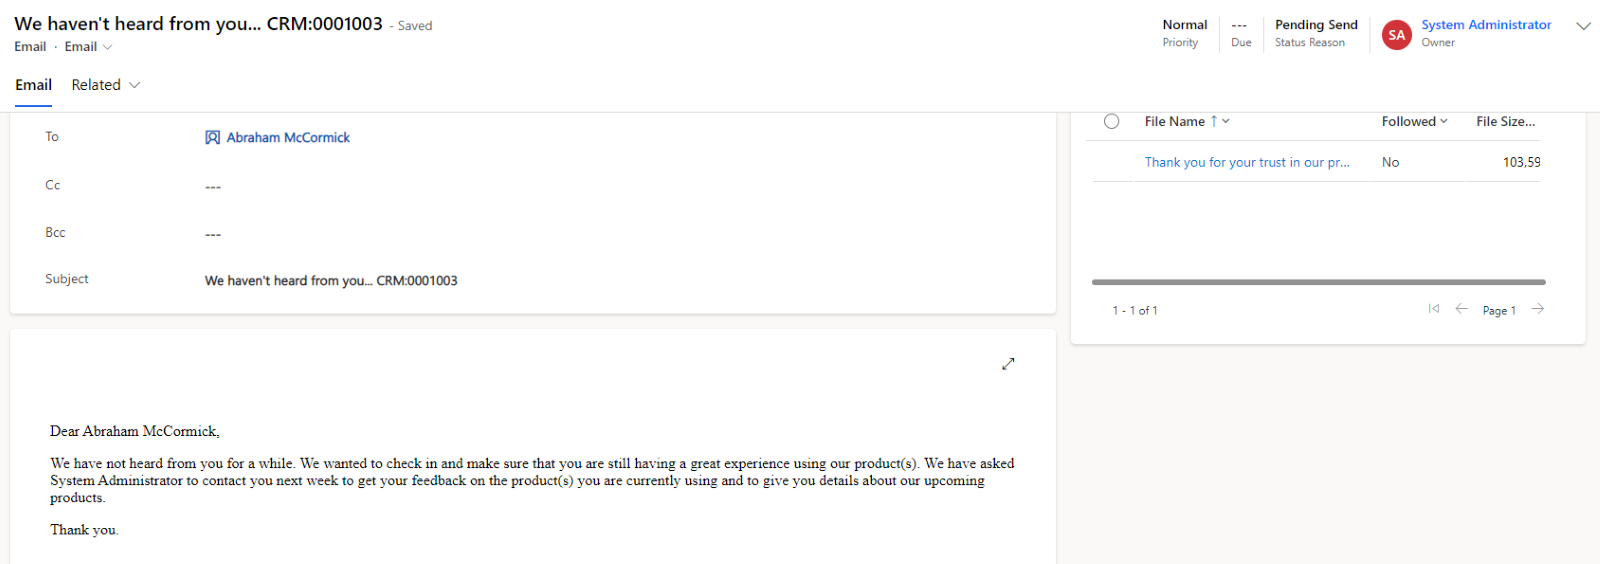
Using the same template selected before as email content instead, the resulting email looks like this:

2. Creating an email and inserting an email template via the Dialog
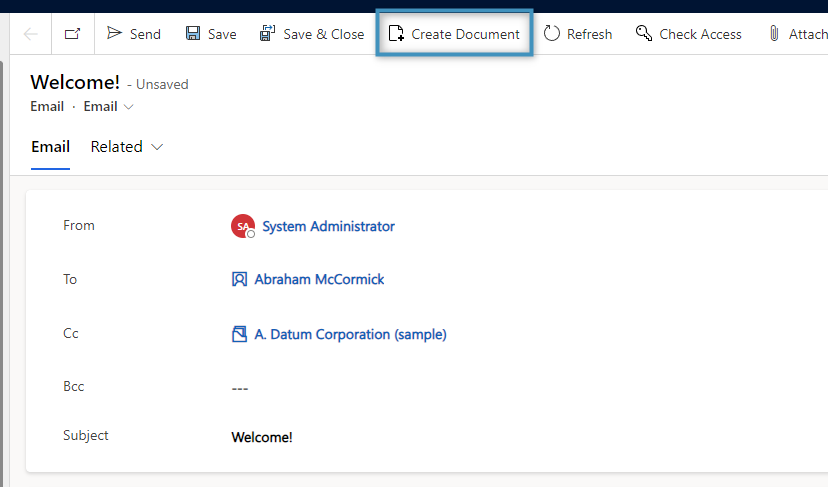
To add a template to an already created email, navigate to the email itself and click on the Create Document button.
In the next window, select the record to create a template for.
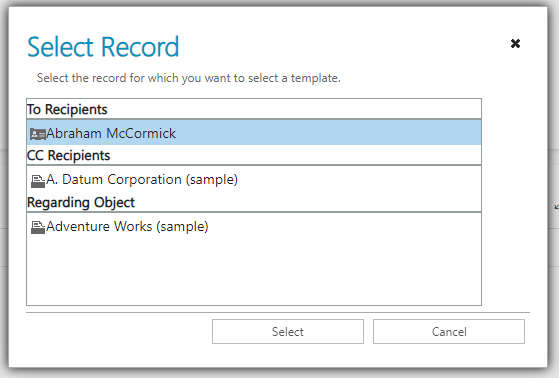
After selecting the record, choose the template to be inserted into the email.

Once selected, the template will be added into the email body. The template can then be customized and formatted using the given editor.

3. Using email templates in Power Automate via Flows
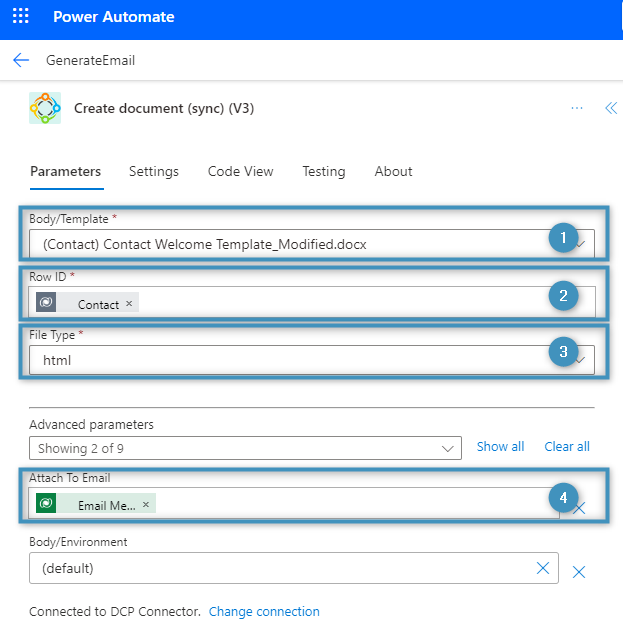
To include an email template in an email body via Flows, a Create document (sync) (V3) action must be defined. Within its parameters, the desired (1) template must be selected, the correct (2) row ID must be chosen, and the (3) file type must be set to HTML. The (4) email to add the template to must also be defined.
The resulting email would look similar to the following:

That’s it! We appreciate your feedback! Please share your thoughts by sending an email to support@mscrm-addons.com