SMS authentication is a standard security procedure in the signing, registration, and payment processes. For DocuSign SMS authentication, an SMS is sent to the mobile phone number stored in the DocuSign. This combination of something you know (password) and something you have (your mobile phone) provides security against unauthorized access, which is a necessary step in the signing process.
Learn in the following step-by-step tutorial how to activate the DocuSign SMS Authentication for DocumentsCorePack.
Requirements:
- DocumentsCorePack (minimum required version is 2020.67)
- DocuSign installed and set up
Step 1: Create a new settings key with the following values:
Product: AutoMerge
Name: DocuSignSMSAuthentification
Value: true

Step 2: In addition to this key, you also have to import the latest DocumentsCorePack DocuSign Solution, which you can download here. If you need help on how to import a solution, have a look at this article.
Step 3: After performing these steps, you will have the option to define and setup the SMS Authentication in the One-Click-Action (OCA) Configuration. The SMS authentication can only be used with an OCA. Existing OCAs need to be modified to enable the SMS authentication.
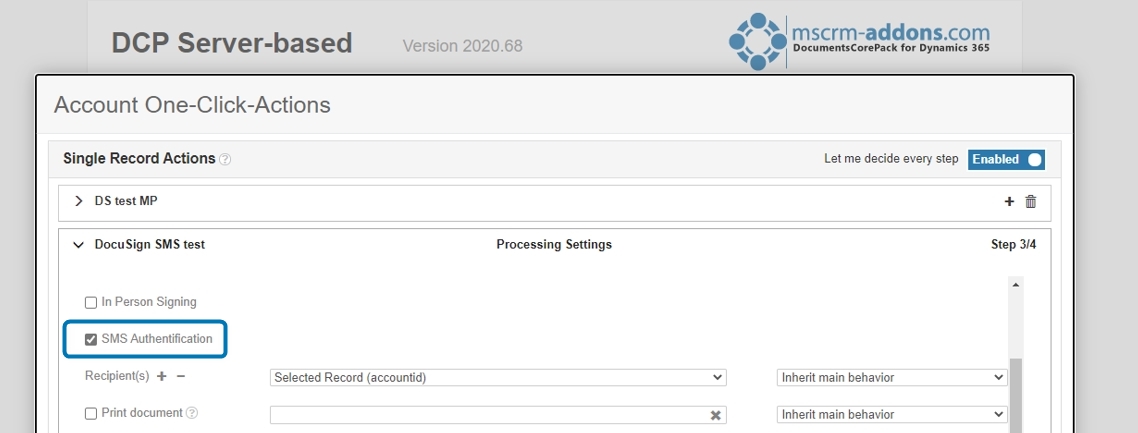
Step 4: If you have configured your OCA accordingly, you will see the following additional dropdowns while running the OCA.

Please note: The SMS authentication does not work if the sender and the recipient are the same. For example: DocuSign user = usera@demo.com and recipient also = usera@demo.com. This is very important to consider while testing.
Define phone fields
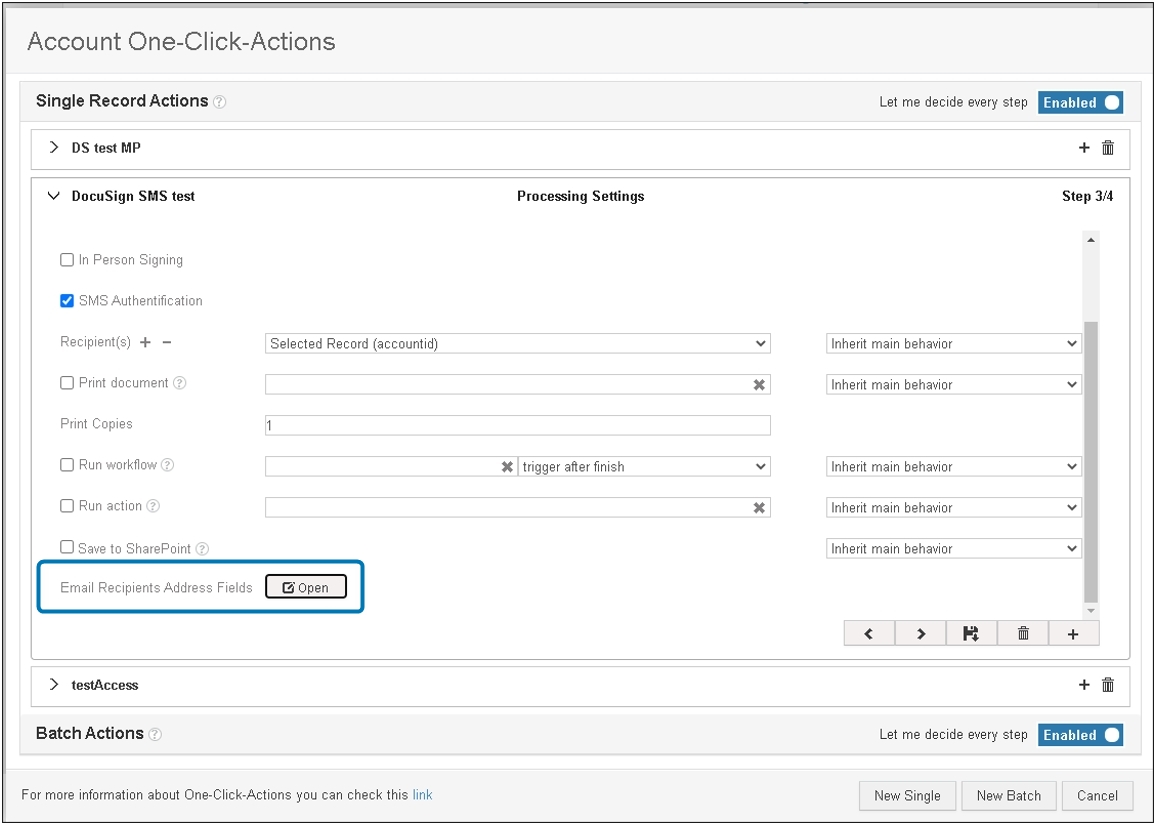
You can define Phone fields for the OCA. It is possible to define which phone fields are selectable or if a record type (example: User) doesn’t need to authenticate with SMS. The configuration for this can be opened by clicking on [Open] next to Email Recipient Address Fields.
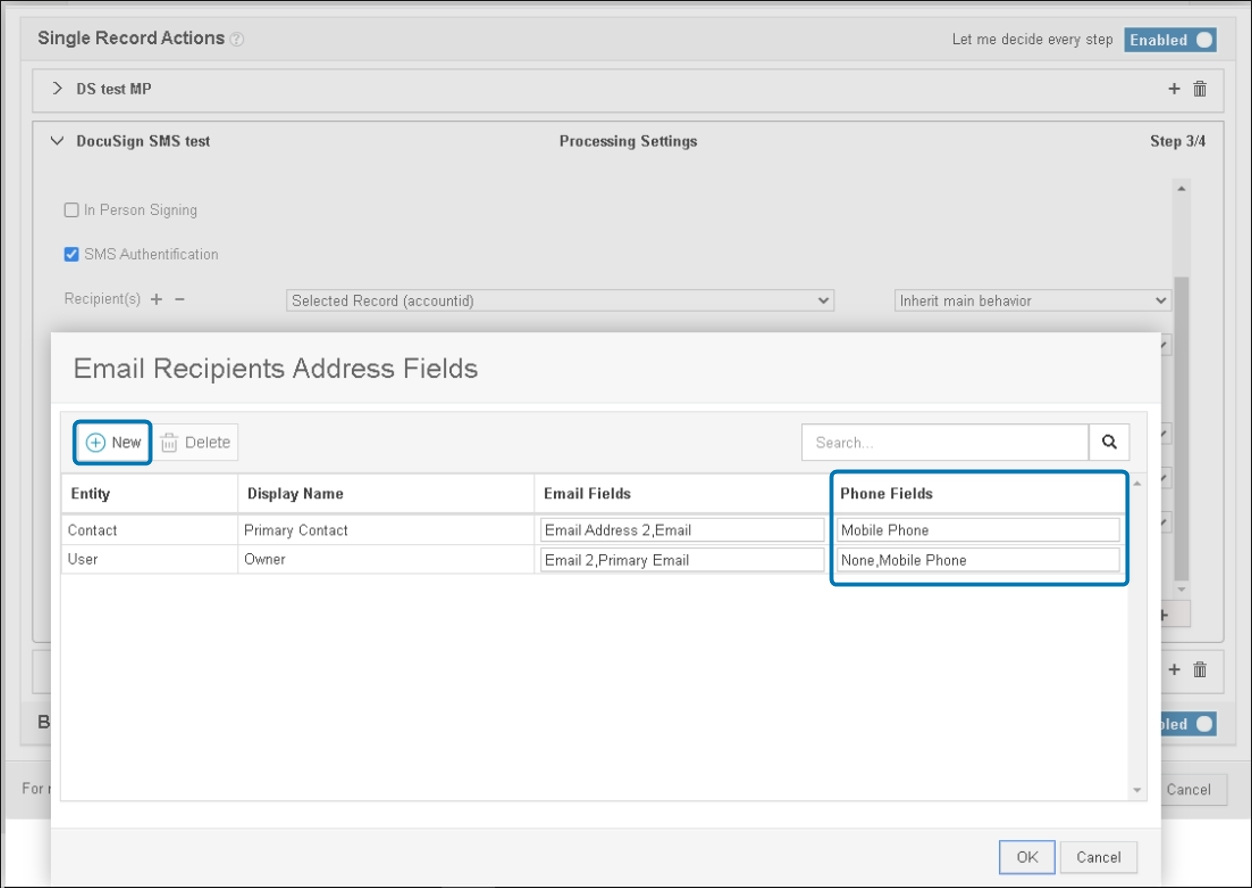
First click on the [New] button, then select the entity type, like Account or User. Then click in the Phone field and select which Phone fields are selectable in the Dialog. You can check the None item in case a recipient, for example a user, is not required to authenticate with SMS.
That’s it! We appreciate your feedback! Please share your thoughts by sending an email to support@mscrm-addons.com.