This article shows how to change the TemplateDesigner connection between different Dynamics 365/Dataverse environments.
Please note: Since version 10.36 or higher a new way of switching environments has been introduced (Learn more).
Step-by-Step description:
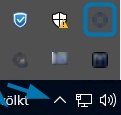
Step 1: Open your DataProvider with a right-click. You can find it in the task panel on the right bottom.
Step 2: From the menu, select “Configuration”

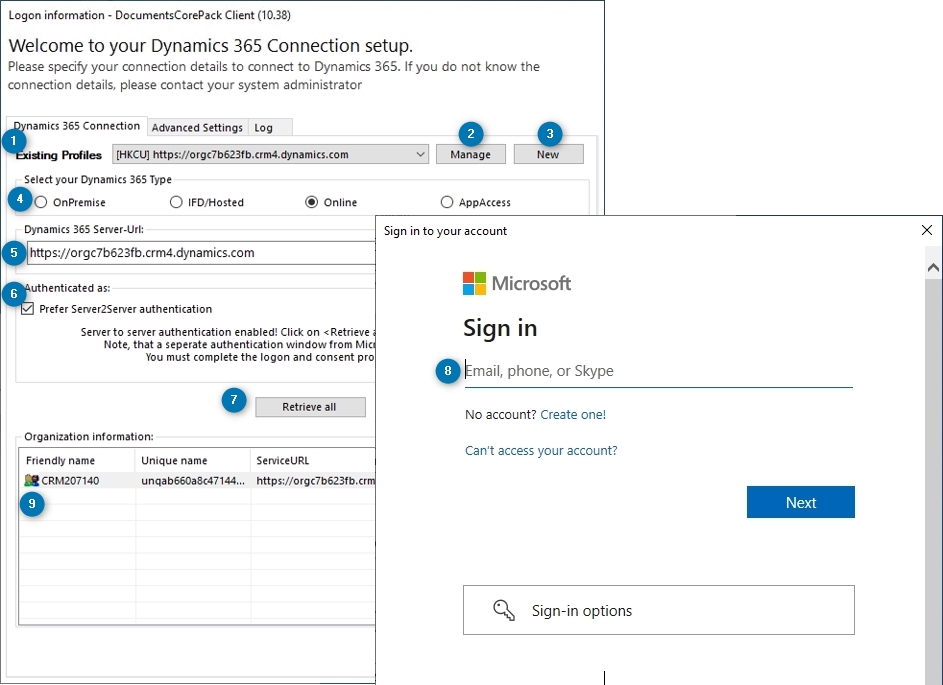
Step 4: Welcome to your Dynamics 365 Connection setup. Follow the description below to a successful configuration.
❶ Check your “Existing Profiles” with the drop-down function.
❷ Manage your Profiles (like export,delete or apply profiles), if necessary.
❸ Create a new Profile if no profile exists.
❹ Select your Dynamics 365 Type, like in this example ”Online”.
❺ The Dynamics 365 Server-Url is shown.
❻ Tick the “Prefer Server2Server authentication”.
❼ Press “Retrieve all”.
❽ A “Log in” is required.
❾ You can see a successful connection setup in this “Organization information”-window.
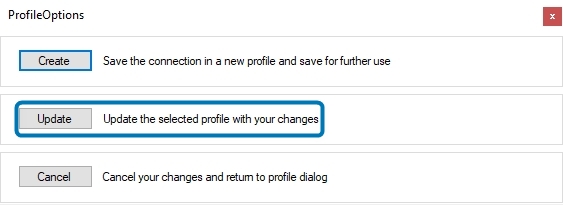
Step 5: Now update the selected profile with your changes.
That’s it! We appreciate your feedback! Please share your thoughts by sending an email to support@mscrm-addons.com.