• Release History
  • Documentation
  • Back to www.mscrm-addons.com
  • Release History
  • Documentation
  • Back to www.mscrm-addons.com
home/Knowledge Base/PowerSearch (PS)/How to change the labels of PowerSearch entity tabs and menus

How to change the labels of PowerSearch entity tabs and menus

203 views 0 Updated on July 26, 2022

This article describes how to change the labels of PowerSearch entity tabs and menus.
The entity tabs and menus can be individually named.

With only a few steps, you will manage to do it.

1) Change tab labels

When starting the program the entity plural names are used for the tab labels:

The entity plural names

Figure 1: The entity plural names

For example, if you want to change the label “Accounts” to “Companies”, but you don’t want to change the entity in the background.

Then you have to use the “Open Config” button to open the Power Search configuration:

“Open Config” button

Figure 2: “Open Config” button

In the config, hit on “Open Search Configuration”  on the “Configuration” tab

“Configuration” tab

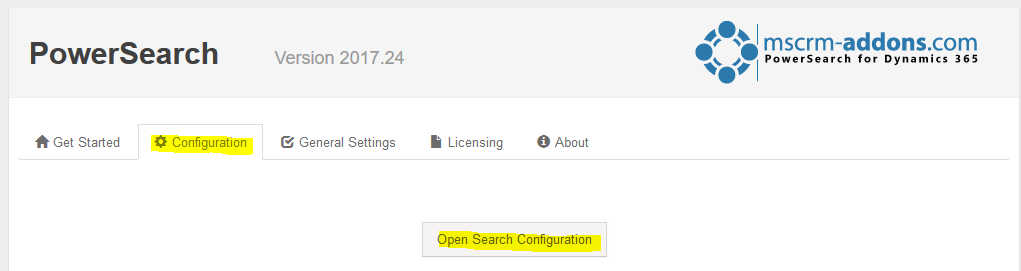
Figure 3: “Configuration” tab

Open the search configuration for this entity (in this case Account)

Search configuration for this entity

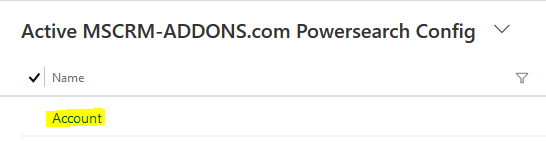
Figure 4: Search configuration for this entity

Look for the field on the “Additional Information” tab

Changing the display name

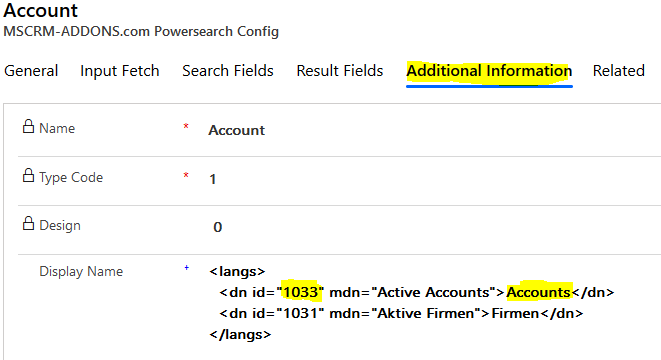
Figure 5: Additional Information

Change the inner text of the “dn” node for the id “1033” to “Companies” (1033 is the language code for English):

Changing the display name

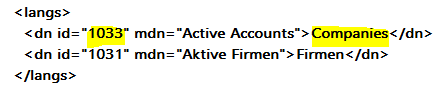
Figure 6: Changing the display name

Save the configuration. After reloading PowerSearch the tab label will be changed:

Changed label

Figure 7: Changed label

Please note: If you have more than one search configuration for the same entity (in this case account), this has to be done for all of them:

Changing entity names

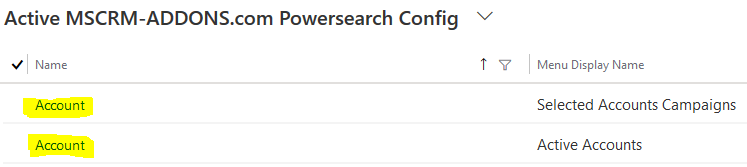
Figure 8: Changing entity names

2) Change the menu label

If you have multiple search configurations for the same entity, a drop-down menu will allow to select between them (similar as you have multiple views in Dynamics 365).

This section shows how to change the label of such menu entries.

In this example 4 account searches exists and the “Active Accounts” menu label should be changed.

Active Accounts

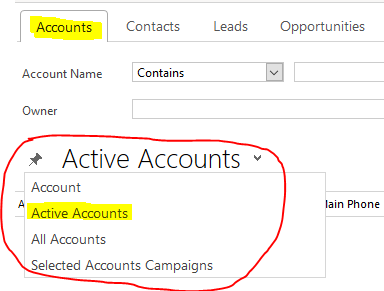
Figure 9: Active Accounts

Open the “PowerSearch search configurations” grid as described in the first section.

Active PowerSearch Config

Figure 10: Active PowerSearch Config

Open the fitting search configuration. In this case the “account” search with the menu display name “Active Accounts”

Changing Menu Display Name

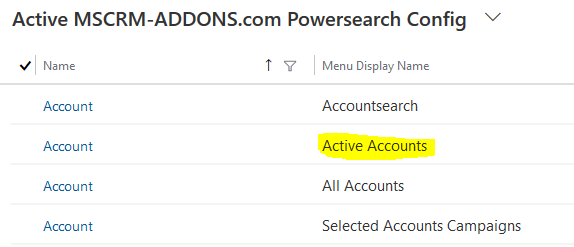
Figure 11: Changing Menu Display Name

Change the “Menu Display Name” in the “General” tab:

General Tab

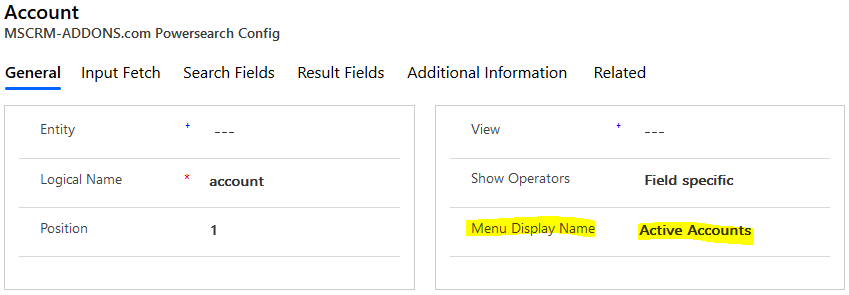
Figure 12: General Tab

Save the config record and reload PowerSearch.

That’s it! We appreciate your feedback! Please share your thoughts by sending an email to support@mscrm-addons.com

Tags:PowerSearchConfiguration

Was this helpful?

Yes  No
Related Articles
  • How to activate per User Licensing in CRM 2011
  • Final PowerSearch installation steps after MS AppSource download
  • How to use Tolerance Control for number search fields in PowerSearch
  • PowerSearch – How to install license with subscription number/ID 
  • PowerSearch – How to install the license key for perpetual License
  • How to access mscrm-addons product settings in Dynamics 365
Latest Articles
  • How to share the Connection of the DocumentsCorePack Connector
  • How to update the metadata in the DocumentsCorePack Template Designer
  • Working with Product Properties in DocumentsCorePack
  • How to work with the Relationship Manager
  • Using virtual tables in DocumentsCorePack
Popular Articles
  • Where do I find the Unique Organization name in Microsoft Dynamics 365?
  • DocumentsCorePack Template Designer – Getting Started
  • mscrm-addons.com Application Access for Dynamics 365 (App Access) – DocumentsCorePack
  • DocumentsCorePack Online Service Configuration
  • Step-by-Step: How to configure a One-Click-Action
Top Rated Articles
  • IMPORTANT information for Dynamics 365 online customers using DocumentsCorePack and/or AttachmentExtractor
  • How to activate the DocumentsCorePack connector for PowerApps & Microsoft Flow
  • Step-by-Step: How to configure a One-Click-Action
  • Online Services: Required Application Permissions
  • Where do I find the Unique Organization name in Microsoft Dynamics 365?
Categories
  • *News and General Infos* 51
  • Webinars 35
  • Template Designer(DCP 179
  • DocumentsCorePack(DCP 192
  • TelephoneIntegration (TI 65
  • AttachmentExtractor (AE 62
  • PowerSearch (PS 48
  • ActivityTools (AT 59
  • SmartBar (SB 53
  • GroupCalendar (GC 46
Our Vision

“We see it as our purpose to provide products that simplify and speed up our customers’ Microsoft Dynamics 365 experience.”

Knowledgebase
LogIn
mscrm-addons.com
  • Products
  • Online Shop
  • Downloads
  • My Account
About Us
  • About Us
  • Case Studies
  • Newsletter
  • Partner Program
  • Contact
Support
  • Support
  • Terms & Conditions
  • Documentation
  • Webinars
  • Legal Documents
  • Impressum
  • © 2022 www.mscrm-addons.com. All Rights Reserved.