Since version 6.16 and higher of GroupCalendar for Microsoft Dynamics CRM, our add-on provides its users with the possibility to configure unscheduled activities in the GANTT view. This article outlines how to customize unscheduled activities properly.
Please note that basic knowledge of FetchXML is required if you want to configure these GroupCalendars’ settings. Should you have any questions, please do not hesitate to contact our support via support@mscrm-addons.com.
Basic information
First of all, you have to access GroupCalendar. To do so, please enter your CRM and click on Workplace > GroupCalendar. At the right side, you are provided with a drop-down menu that displays all/my unscheduled service activities or all/my unscheduled appointments (depending on which tab you use). Please note: In this example, we use the Service Activities-tab only, but the information applies as well to the Appointments-tab.

Per default, users can select between
- All unscheduled service activities and
- My unscheduled service activities
But of course, there is a possibility to customize these settings. Users can – for example – add other users and/or user combinations to the default unscheduled service activities, for example:
- User A unscheduled service activities
- User B unscheduled service activities
- User C and D unscheduled service activities
Besides, also the search attributes can be defined.
For example: You could define unscheduled service activities as all service activities, that are marked yellow or blue.
Please note: This setting is a global one. But you could as well specify user-specific settings. In this case, you would first have to create the
UnscheduledFetch_appointment_USERID
settingskey. For further information on how to create a settingskey, please click here. Once the settingskey has been created, you can proceed as below shown.
So while user A would receive all yellow service activities, user B would receive all blue service activities as a result in GroupCalendar.
How to customize unscheduled fetches
Please note that basic knowledge of FetchXML is required if you want to configure these GroupCalendars’ settings. Should you have any questions, please do not hesitate to contact our support via support@mscrm-addons.com.
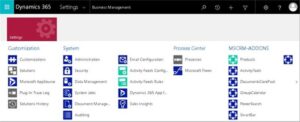
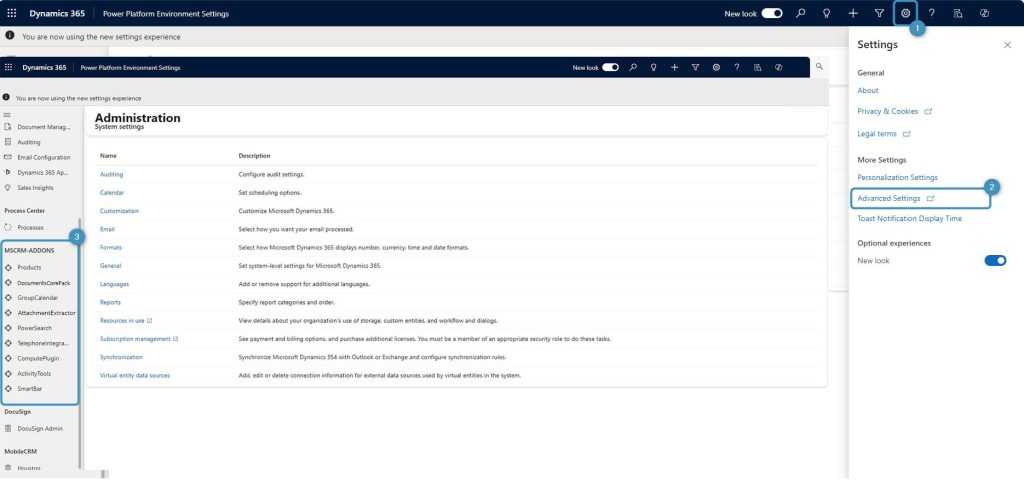
Anyway, to customize unscheduled fetches, navigate to Settings > MSCRM-ADDONS.com Products and open the products with a double click.
Now you are provided with an overview of all products installed. Please click on GroupCalendar in order to open the settings.

Figure 3: Open GroupCalendar
Next, look for Unscheduled Fetch* in the search-field. Thanks to the placeholder *, you do not have to search for the two solutions.

Figure 4: Look for Unscheduled Fetch*
However, basically both Unscheduled Fetch entries must be customized. Figure 5 shows how such a customization could look like.

Figure 5: Example for customization
Your work starts when it comes to the FetchXML –file. Please find an explanation of the fetch below.

Figure 6: Example Fetch
If you want to add a new filter, simply create a new configuration node with a corresponding name and FetchXML. Then, customize the so added fetch and save it.
Please refresh your Browser before you continue to work with your new settings.
That’s it! We appreciate your feedback! Please share your thoughts by sending an email to support@mscrm-addons.com.
(Blog still being reviewed)
reworkneeded…