There may be scenarios where it is required to create a nested table structure inside your template. While DocumentsCorePack (DCP) does not natively support nested tables, it is possible to create such a structure by taking advantage of some of DCP’s features.
In this article, we will walk through an example of creating a nested table structure using the Grouping and Static Document features of DCP.
NOTE: If you are unfamiliar with Grouping and Static Documents, please learn more about these features within the following articles before continuing:
Our use case
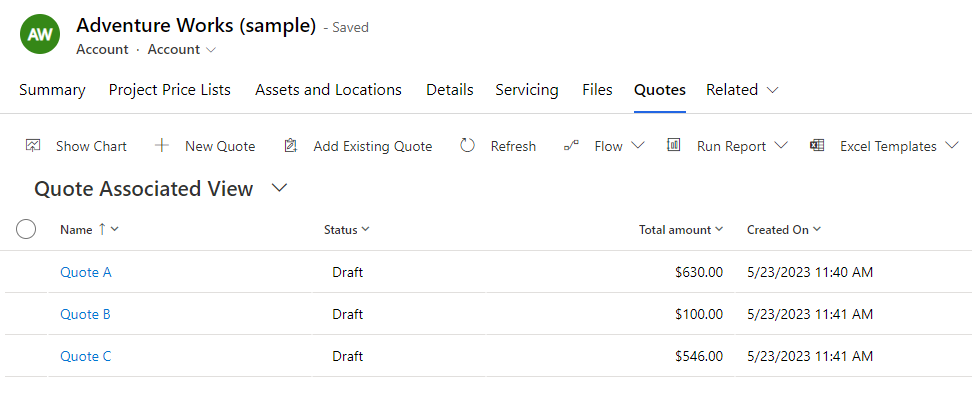
For our template, we want to create an account template that lists each related quote and each product from those quotes. This template will establish two one-to-many (1:N) relationships to achieve this: A 1:N relationship from Account->Quote, and a 1:N relationship from Quote->Quote Product.
We will get our data from the following record:
Setting up the main template
To begin with, we will create a new template and set our base entity to the Account entity. We will also create a relationship and set up a new table based on the Quote entity.
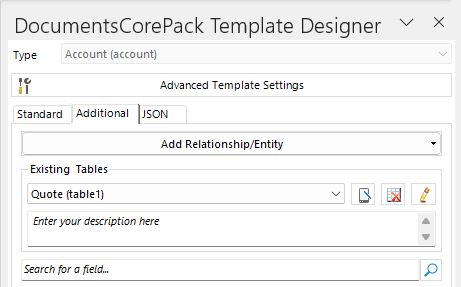
Next, we create the table by selecting the Name field from the Quote table. Then, we apply grouping to the Name field.

In our primary row, we will remove the Name field entirely, but we will leave the same field in the header row alone. In the grouping footer, we will remove the automatically added Name field and add the Total Amount (base) field instead.

As it stands, this table, when merged, will simply list each quote. To display the products from each quote, we now must create a separate template that we will include in this table, which we will refer to as our “sub template”.
Setting up the sub template
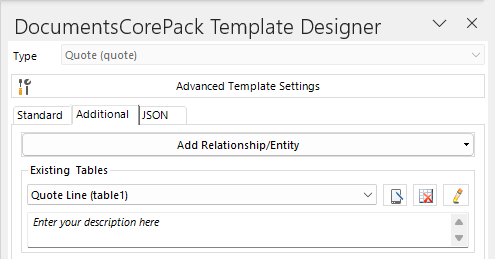
When creating our sub template, we must set the base entity of the template to be the entity which we based the table off from the main template. Since the table in the main template was a Quote table, the base entity of our sub template must be the Quote entity.
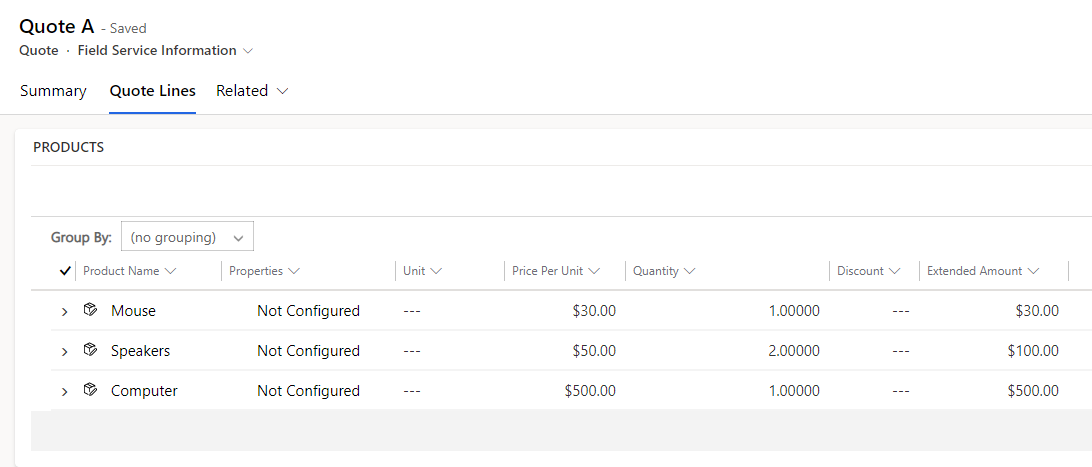
From there, we create our Quote Line table to retrieve our products.
In this template, we will create a table that will list each product from the quote. We will include some additional information as well, such as the price per unit, quantity, and extended amount of each item.

This table will act as our nested table that we will include in our main template. However, before we can include it, we must save the sub template. We will save our sub template under the name “QuoteProductSubTemplate.”
Putting everything together
With our sub template saved, we can now return to our main template to add it into our table. To add it, we will first place our cursor into the main table row. Then, we will access the Static Document window via the Insert Fields menu in the Template Designer while our table is selected in the Additional tab.
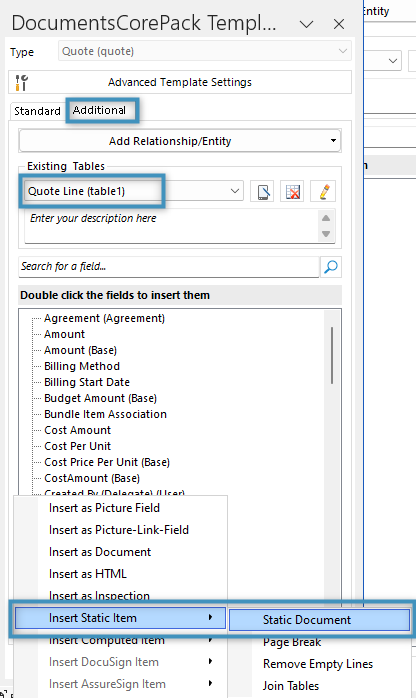
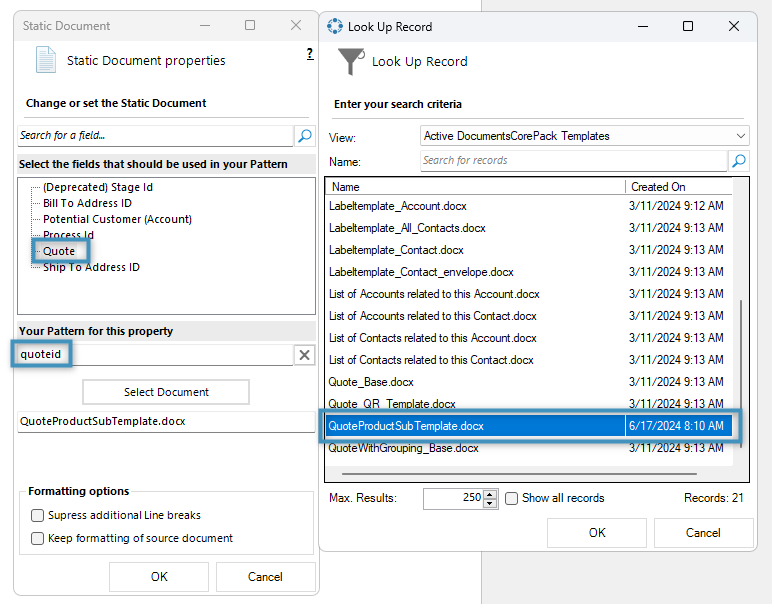
In the Static Document window, we need to pass in the ID of the base entity from our main template into the sub template for it to retrieve the correct information. In this case, we will add the Quote field (quoteid). Then, we will add our sub template via Select Document and click OK.
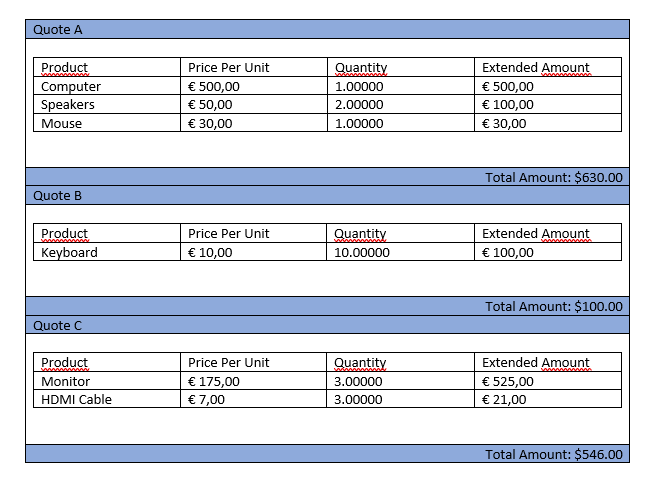
If the sub template has been added correctly, the table should now look like this:

Now, when we merge our template, our result document should now list each quote and their respective products.
That’s it! We appreciate your feedback! Please share your thoughts by sending an email to support@mscrm-addons.com.