The text of the DocumentsCorePack Dialog can be modified to accommodate users who may want to adjust certain labels or create their own custom translations. This article outlines how this can be done via Power Apps.
Table of Contents
Accessing the localization web resource
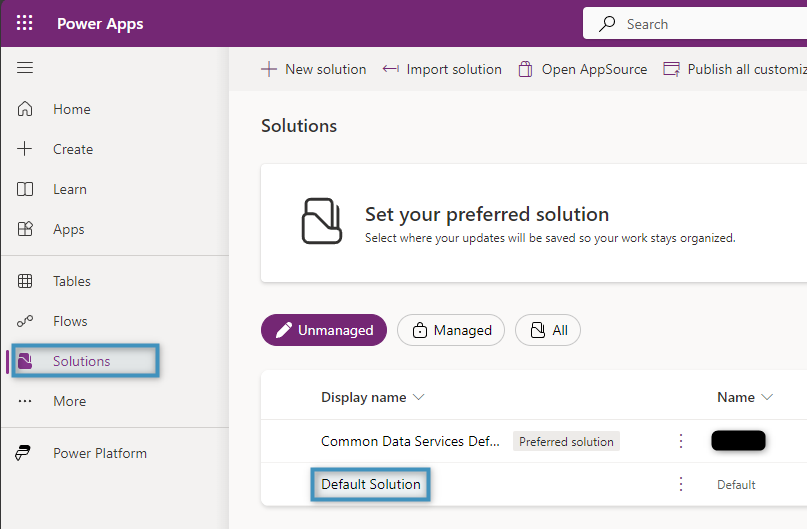
To customize the DocumentsCorePack Dialog’s text, we must first retrieve the DCP Dialog Localization XML file. To do this, navigate to Power Apps and click on the Solutions tab. Then, click on Default Solution.
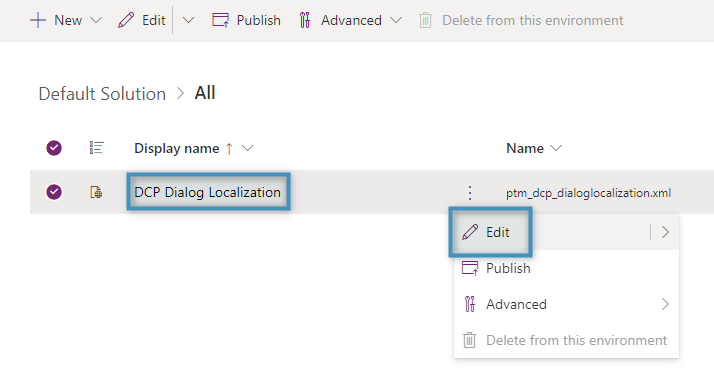
Search for and locate the DCP Dialog Localization web resource and Edit it.
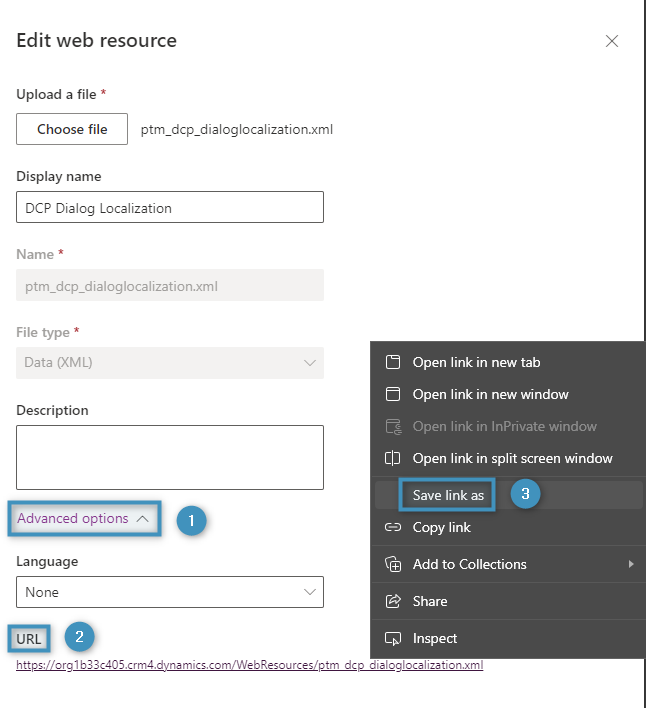
The Edit web resource window will appear. Scroll down to the ❶ advanced options and ❷ right-click on the URL. In the context menu, select ❸ Save link as. This will download the web resource as an XML file to your local system. This XML contains the schema that determines what text is displayed in the DocumentsCorePack Dialog.
After downloading the file, you can choose to modify the existing text or add a custom translation node. Both options are explained below.
Modifying existing text
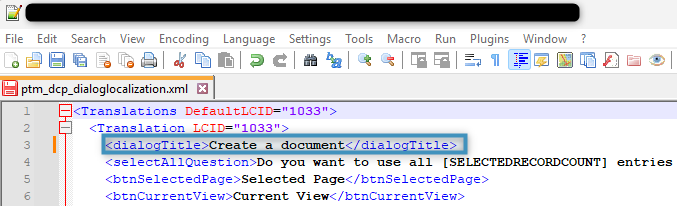
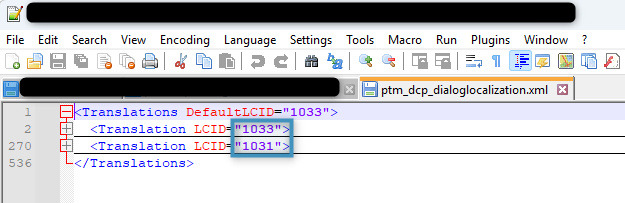
To modify existing text within the DocumentsCorePack Dialog, open the XML file in a code editor of your choice (in this example, we are using Notepad++) and open the translation node that corresponds to the language you use. By default, there are two translation nodes: 1033, which represents English, and 1031, which represents German.
Please note: If you are using Notepad++, you can adjust the color and formatting of the file for ease of readability by going to the Languages tab and selecting XML.
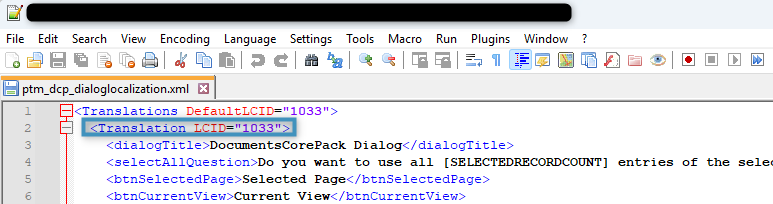
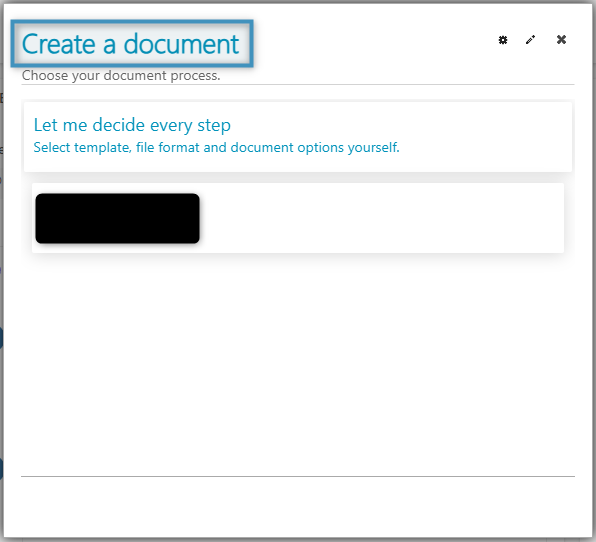
To change a given line of text, replace it with your own text placed within a set of tags. For example, if we wanted to change the dialog title from “DocumentsCorePack Dialog” to “Create a document” for the English version, we can simply replace the given text within the dialogTitle tags under the 1033 node.
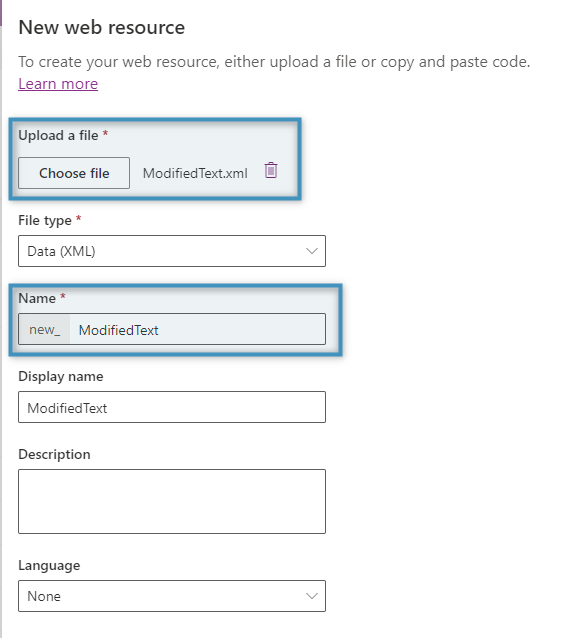
Once you are finished modifying the XML, save it as a new file. Then create a new web resource.
Upload the new XML file under Choose file and name it. Make sure to take note the name for later (including the “new_” prefix).
Custom Web Resource Translation
After saving the web resource, there are two methods of translating your new web resource.
1. Use a Custom Language Web Resource
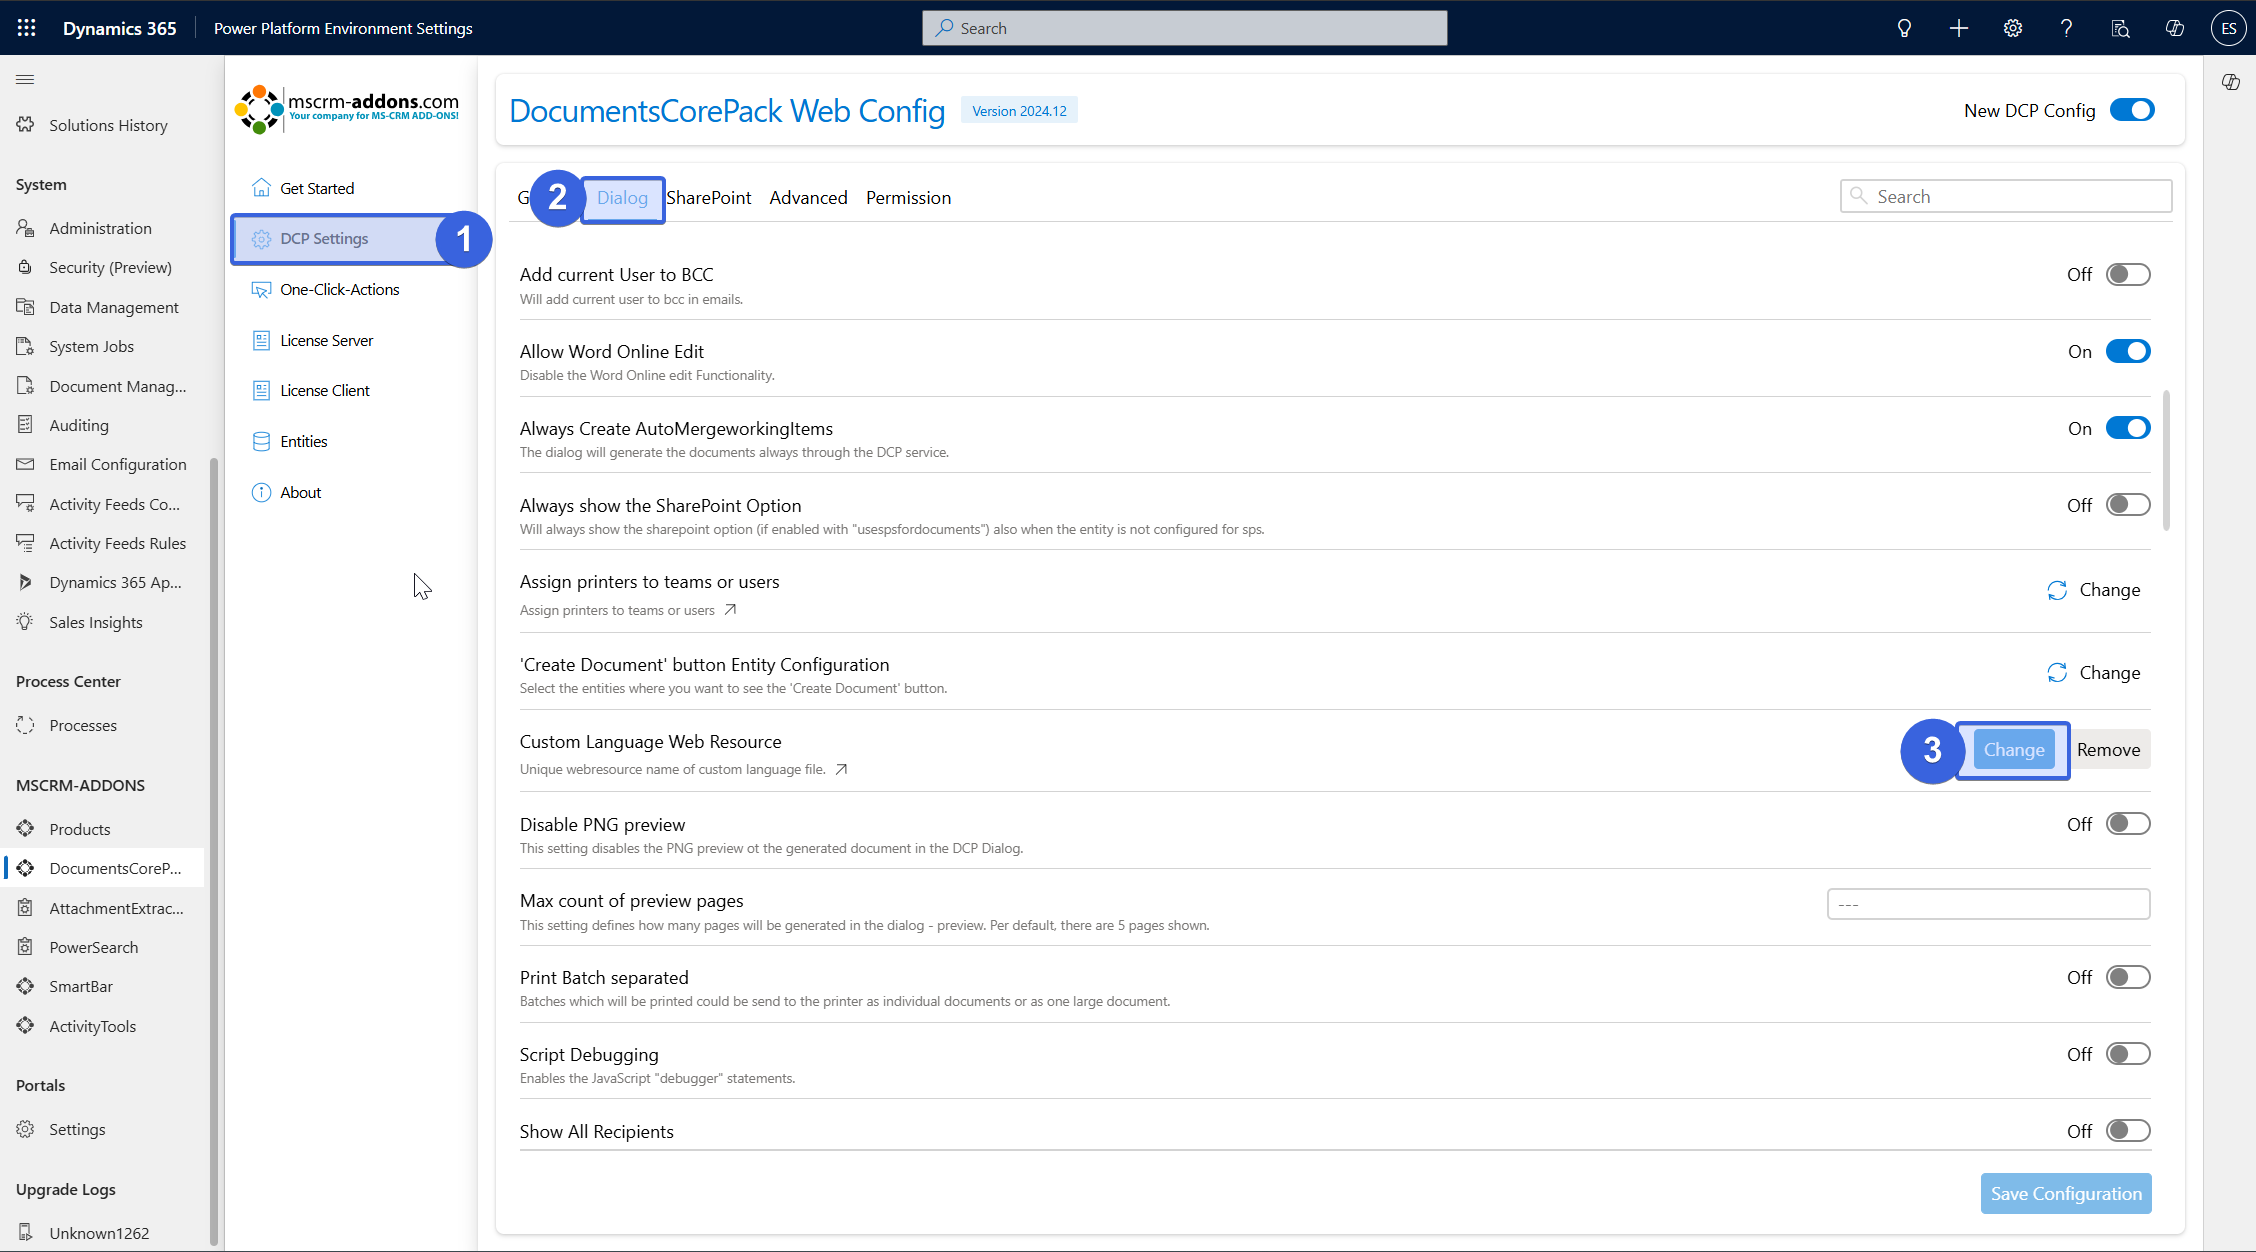
Easily navigate back to the DocumentsCorePack Settings Page and perform the following steps:
❶ Select DCP Settings from the left menu on the DocumentsCorePack Web Configuration
❷ Click on the Dialog tab on the top menu
❸ Navigate to Custom Language Web Resource and select Change
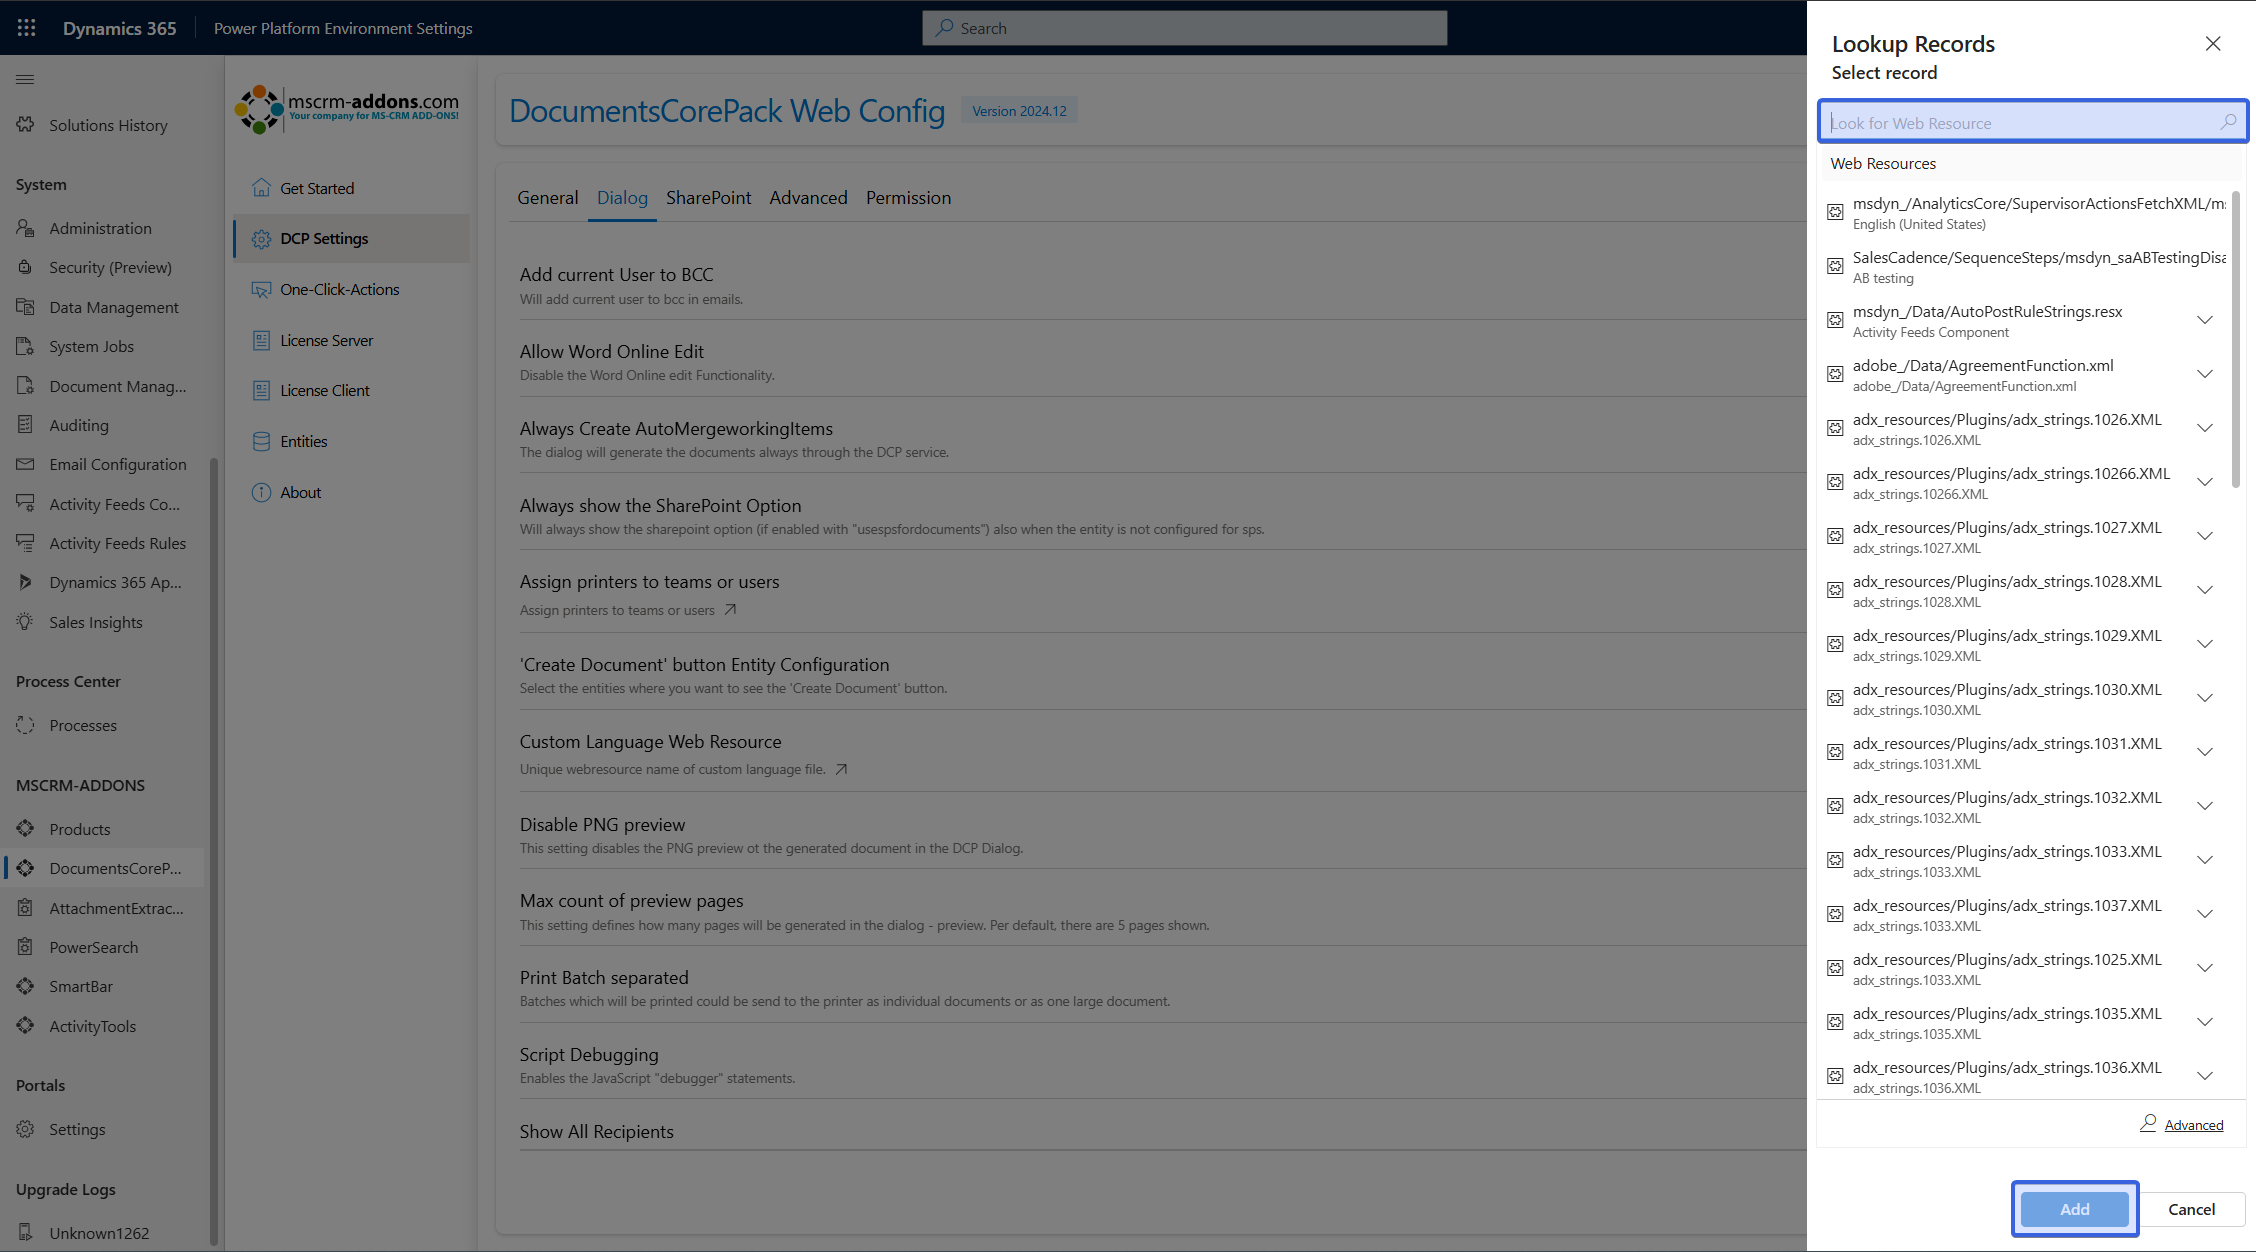
After selecting Change, search for your newly created web resource and select Add.
Now, when opening the DocumentsCorePack Dialog, the text will be different.
2. Using a SettingsKey
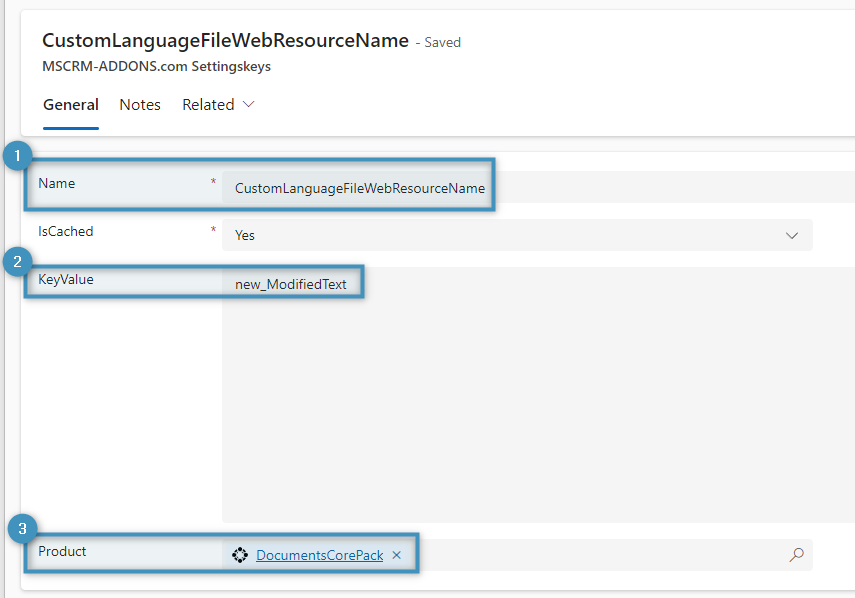
After saving the web resource, create a SettingsKey with the following information:
❶ Name: CustomLanguageFileWebResourceName
❷ KeyValue: The name from our web resource (in this case, “new_ModifiedText”)
❸ Product: DocumentsCorePack
Save and publish your changes. Now, when opening the DocumentsCorePack Dialog, the text will be different.
Adding custom translations
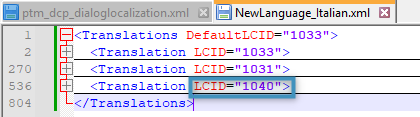
To create a customized translation, begin by opening the XML file. Again, please note the existing translation nodes: LCIDs 1033 and 1031, which correspond to English and German respectively.
Copy the contents of the file and paste them into a new one. Duplicate one of the existing nodes, changing the LCID to a number that corresponds to your desired custom translation. In this example, we are creating an Italian translation, which corresponds to LCID 1040. A list of LCIDs and their languages can be viewed here.
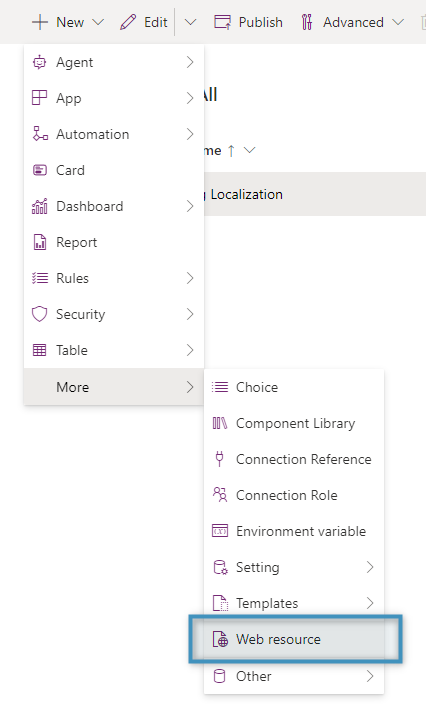
Within the node, replace the text with your custom translation. Then save the XML file. When returning to PowerApps, click on New and select Web resource.
Like in the previous section, upload the new XML file under Choose file and name it. Again, take note of the name for later.

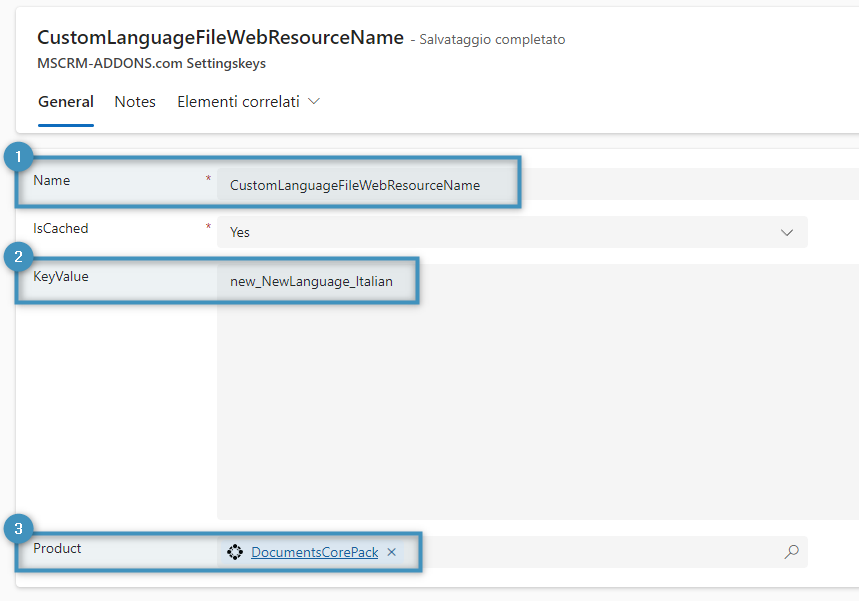
Enter the SettingsKey information as follows:
❶ Name: CustomLanguageFileWebResourceName
❷ KeyValue: The name from our web resource (in this case, “new_NewLanguage_Italian”)
❸ Product: DocumentsCorePack
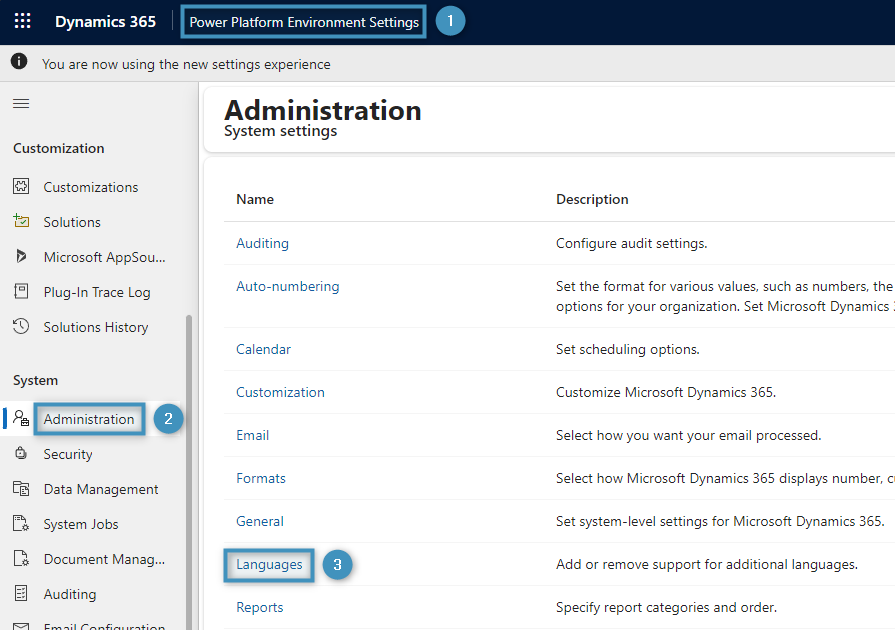
To set the language, first ensure that the language has been added to your Dataverse environment by accessing the ❶ Power Platforms Environment Settings and navigate to ❷ Administration > ❸ Languages.
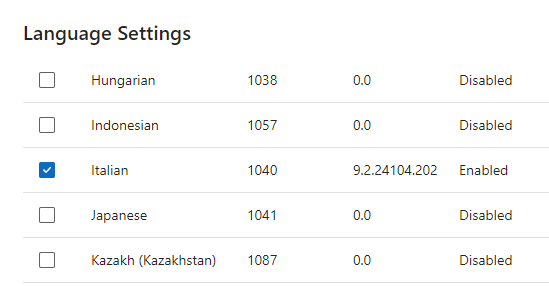
Then, add your desired language and save your changes.
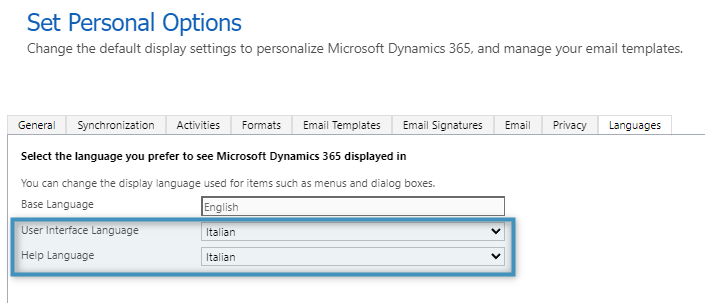
Finally, navigate to Set Personal Options. Under the Languages tab, select the previously-specified language. This will change the DocumentsCorePack Dialog’s language to the custom translation.
That’s it! We appreciate your feedback! Please share your thoughts by sending an email to support@mscrm-addons.com.