DocumentsCorePack (DCP) streamlines the creation of complex Word templates. This article contains a step-by-step description of how to create such templates with DCP.
For demonstration purposes, this article outlines the creation of a quote-with-grouping template. This template is frequently used by Microsoft Dynamics 365 users.
(Quote-with-grouping means that the quote-products are grouped by the value of a specific attribute, such as the subject.)
Please note: The DCP Template Designer must be installed before continuing.
Step 1. Create a template layout by selecting an entity
First, create the basic layout of the template. Open a Word document and click on the www.mscrm-addons.com tab. Then click on the Insert MailMerge Fields menu button to open the DocumentsCorePack Template Designer.
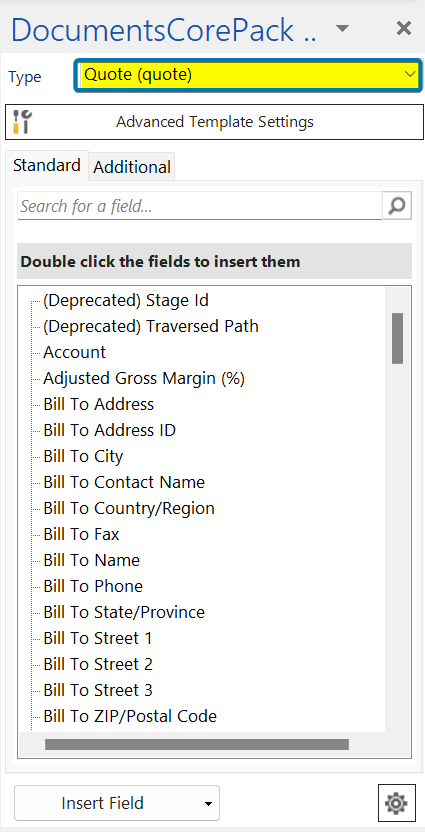
To create the quote-with-grouping template, select the type Quote in the Type-Selector dropdown menu. Each template is based on a specific entity, and in our example it is Quote.
Step 2. Insert Fields
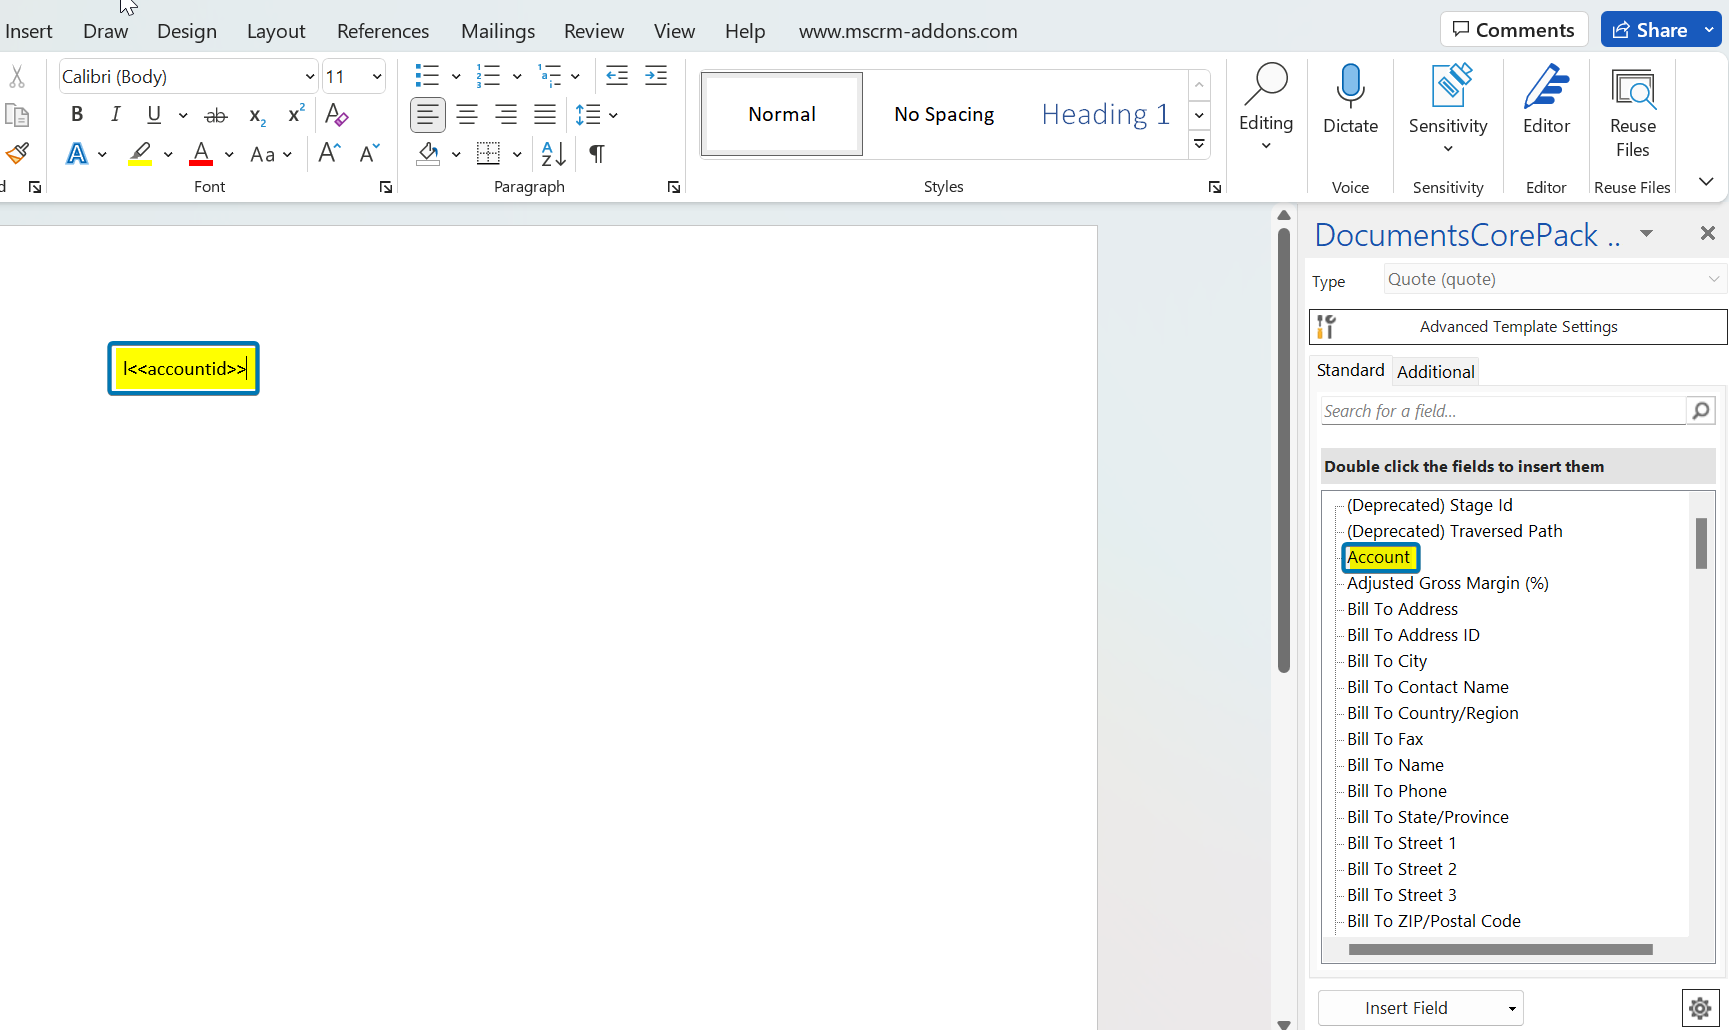
Now that an entity has been selected, fields need to be inserted into the template. To do so, set the cursor at the position where you would like to insert a certain field. Then, double click the field name. You can also insert the field via the Insert field button. For more information on the Insert field button, have a look at this article.
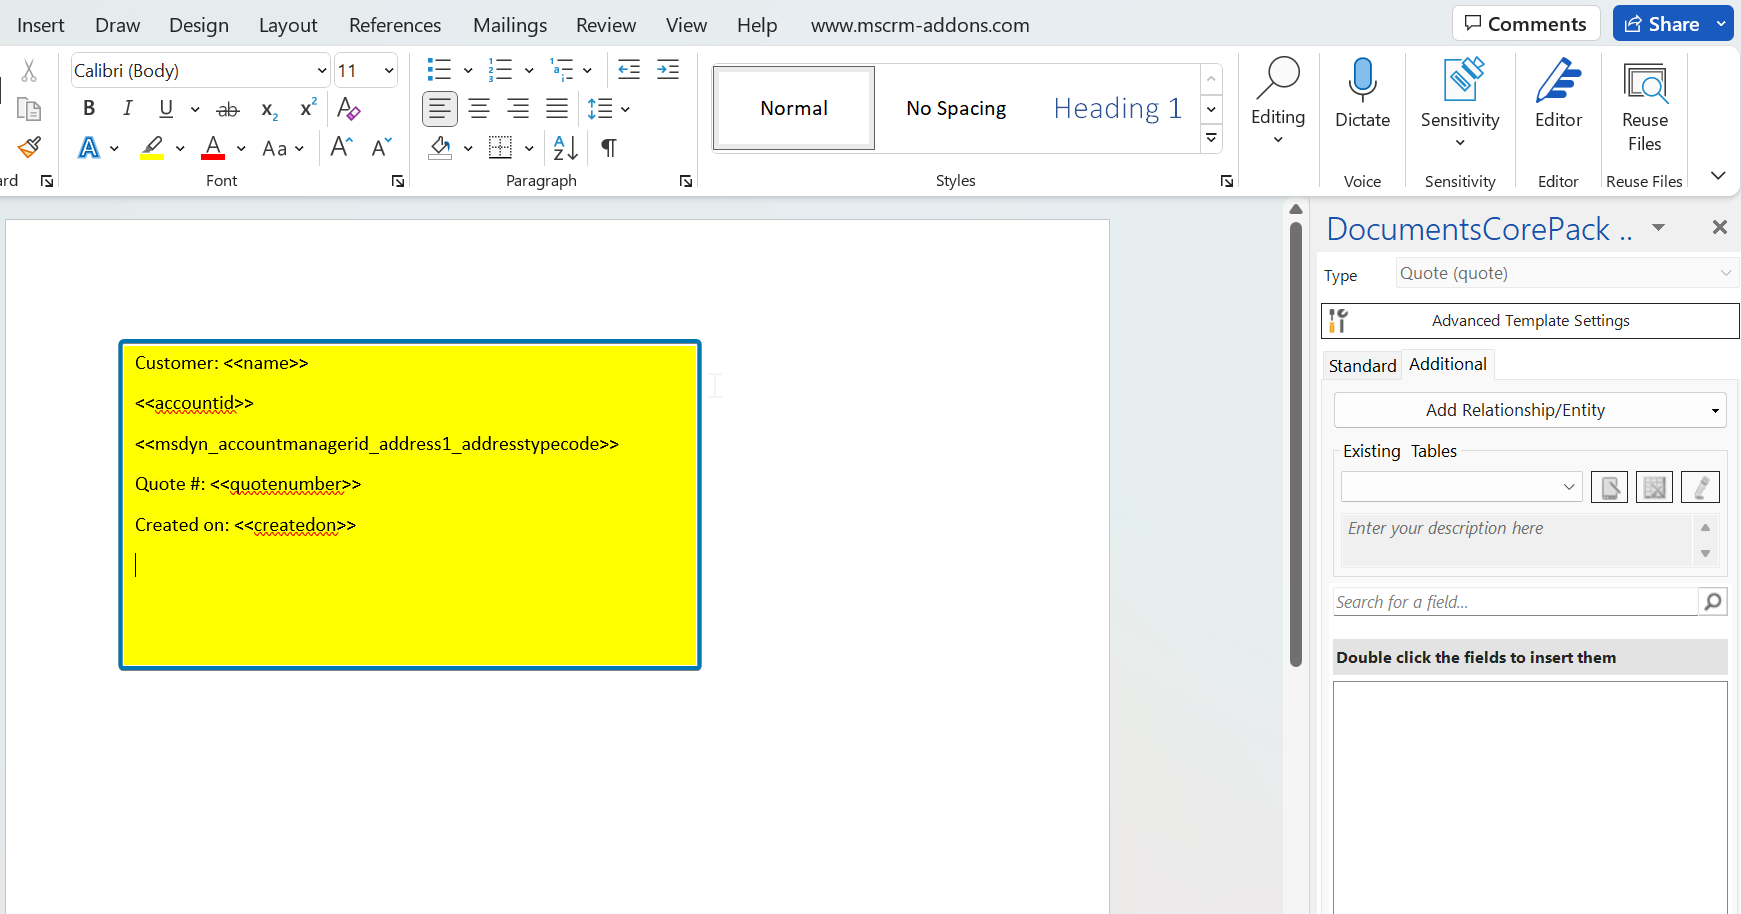
Once you have inserted your desired fields, your template could look like this:
Step 3. Add line-item relationship
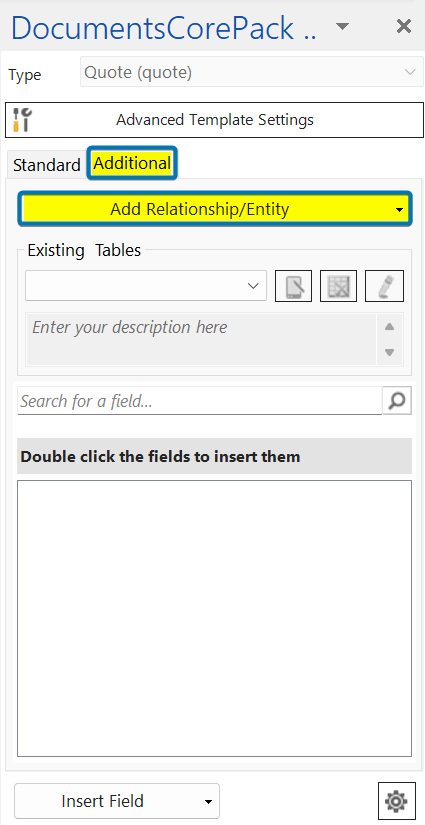
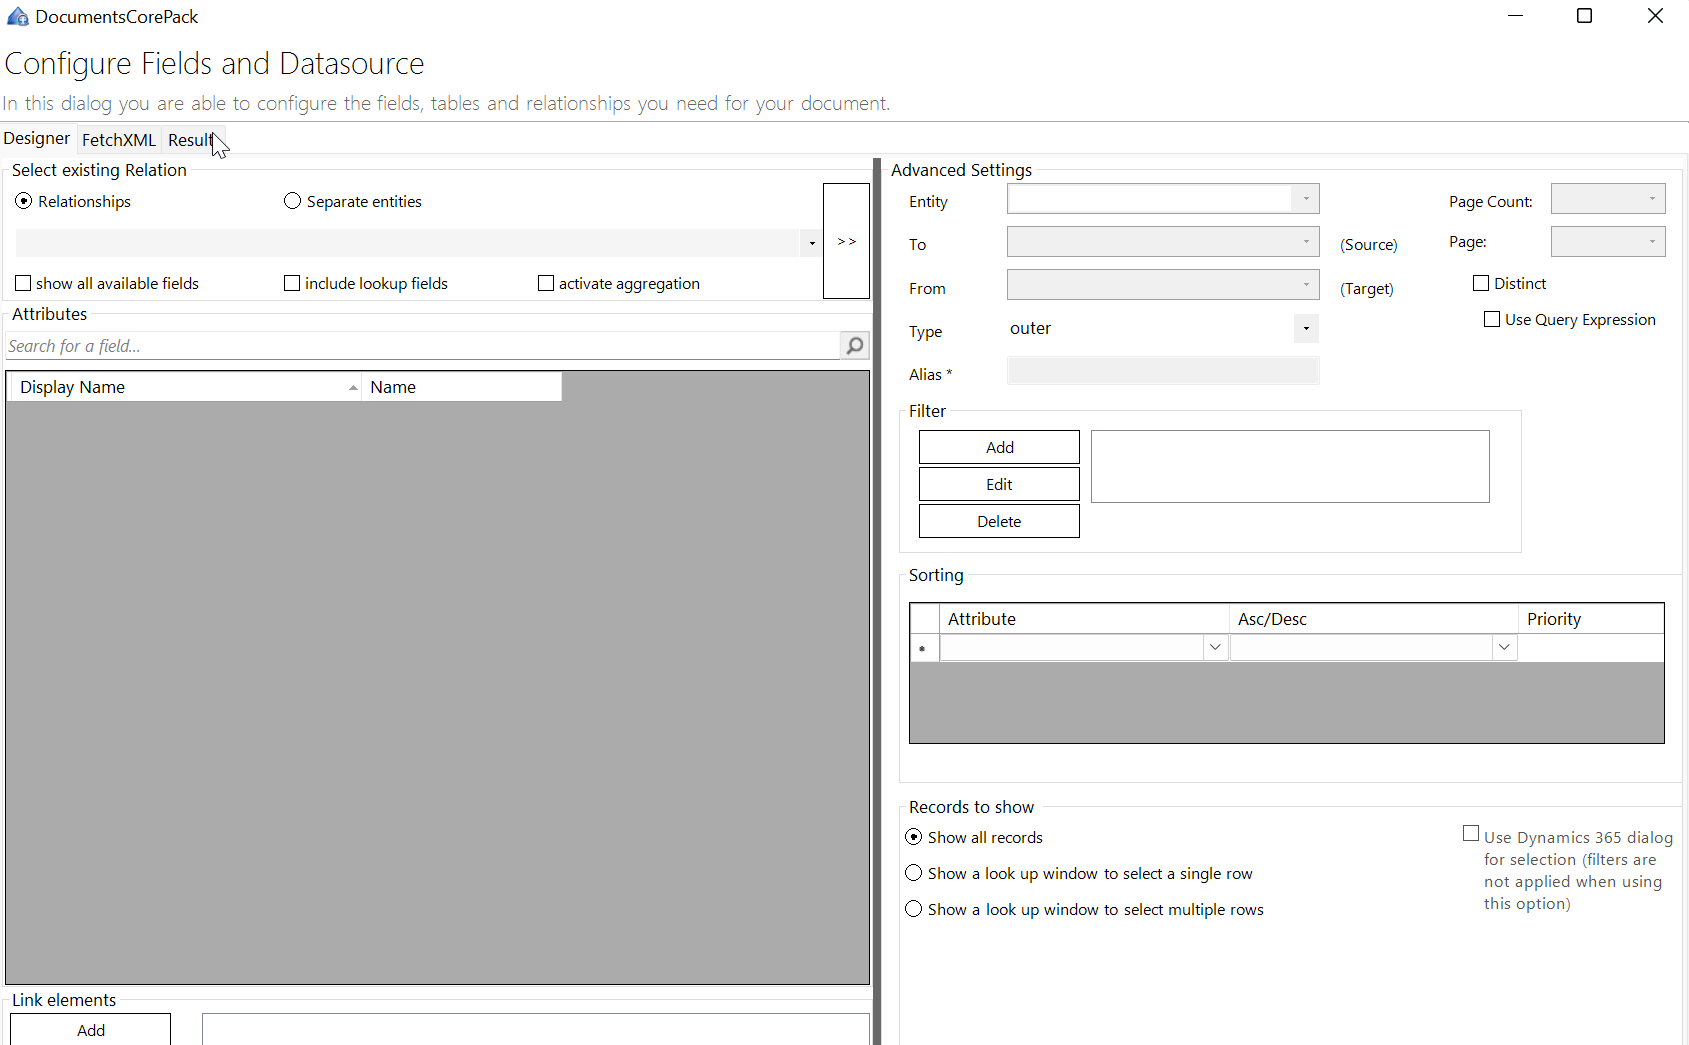
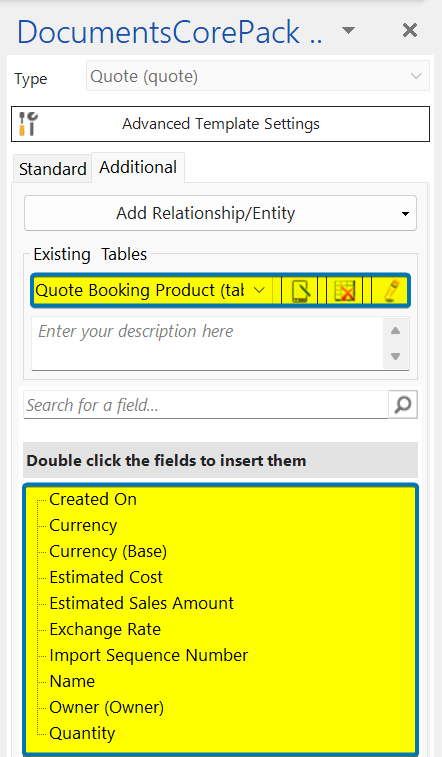
The next step is to resolve the quote-quote product relationship. To do so, we need to click on the Additional tab in the DCP Template Designer. This section allows you to resolve any relationship/entity within Dynamics 365 and shows a list of all attributes from the related entities, so that they can be used within the document. From here, select Add Relationship/Entity to add a new relationship.
We use the Configure fields and data source dialog to resolve the fields, tables and relationships we need for our document.
In our example, we must select Quote -> Quote Booking Product[msdyn_quote]. As a result, the available fields of this relationship are displayed in the Attributes section of the Configure fields and data source dialog.
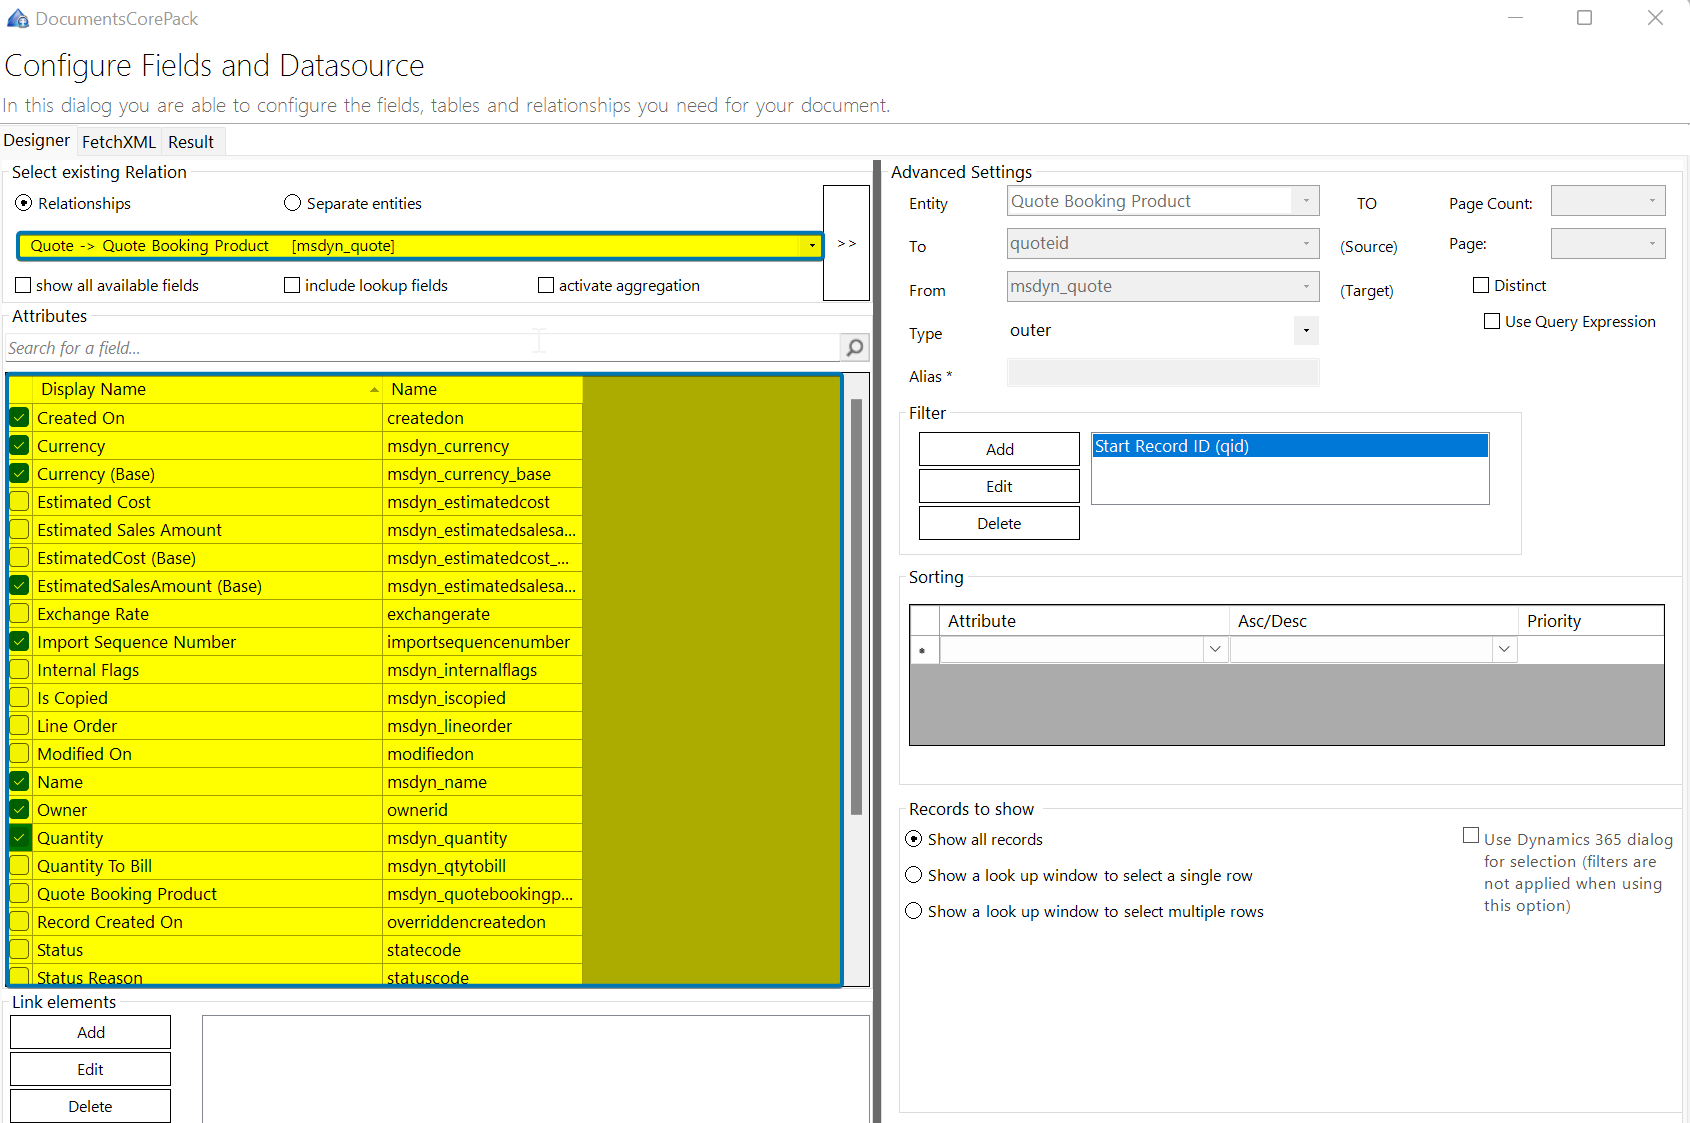
As soon as we click the OKbutton, all of the selected fields will be made available for insertion into the template.
Please note: Only the fields checked in the Attributes field will later be visible in the DocumentsCorePack Template Designer.
Step 4. Insert the table
The process of inserting a table of items is completely automated. You simply need to set the cursor to where you want to add the table, and then double-click on one of the fields that you have previously added to the table. A dialog (see Figure 8) will then appear.
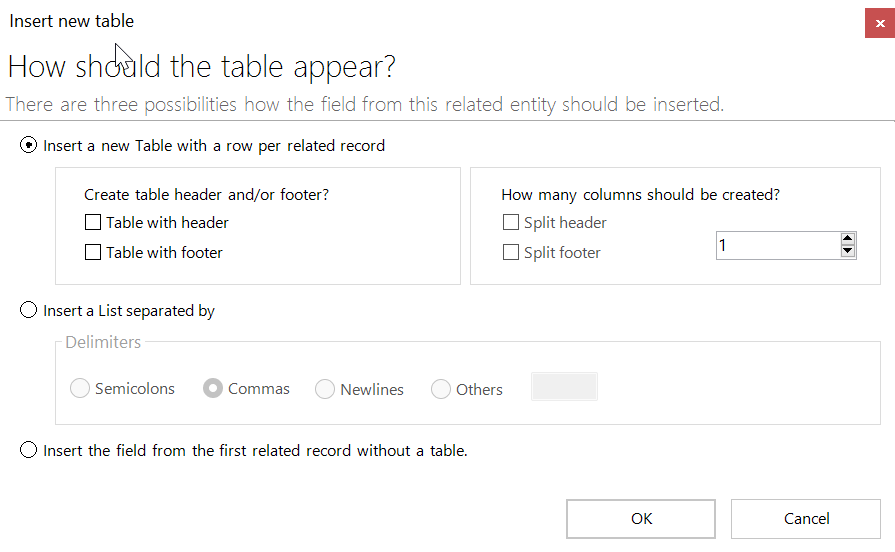
Within this dialog, you can select from three options for how the fields should be inserted into the table.
In our example, we want to insert a new table with a header and a footer. So, we select the corresponding options and click on the OK button.
As a result, the table will be inserted at the determined position.
Step 5. Format the table
Once we have inserted the table, we can add fields like quantity, product name, or even a table header including column names with the formatting options available in the www.mscrm-addons.com tab.

With a click on the Rows and Columns dropdown, you have the options to split or merge the columns, insert a right or left column, delete a row or a table, and add a header or a footer row.

Please note: It is very important to insert the header, as well as the footer, exclusively via the www.mscrm-addons.com tab in the command bar. Do not enter them via Microsoft Word!
Step 6. Get the result
Make sure to save your template with the Save Template button in the www.mscrm-addons.com tab in the Word ribbon. Do not simply save the template as a file to your computer. After saving the generated document, test your template by selecting Choose Data and then selecting data to test.
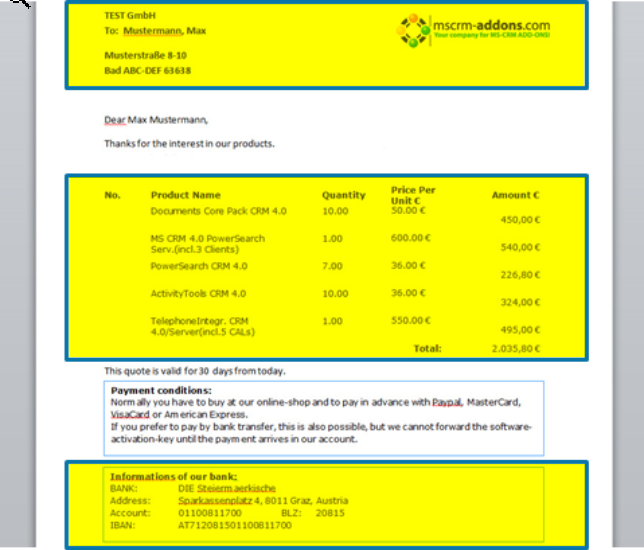
In the example below, we can see the result with the replaced fields at the top, the line item table including the sum in the middle, and the bank-details at the bottom.
That is how you create a DocumentsCorePack template.
That’s it! We appreciate your feedback! Please share your thoughts by sending an email to support@mscrm-addons.com.