Label templates can be used for the purposes of generating post labels or nametags. Using DocumentsCorePack, dynamic fields can be inserted into labels to create templates that can be populated dynamically with data from Dataverse.
This article walks through two label template scenarios:
A. Selecting various records at once – Each label equals one record from the main entity of the template.
(For example, if you want to merge an account label template for a few companies, you can select different companies at once. As a result, you get one label per selected account.)
B. Selecting one record and set relations – Each label equals one record from the predefined relationship.
(For example, if you want to merge an Account Label Template for one company, but different employees, you can select one company to receive all related contacts. As a result, you get one label per related contact.)
Scenario A – Selecting various records at once
Please note: In general, all Microsoft Word formatting options are supported. However, the label template must be created in advance and saved as .docx.
Step 1: To begin creating your label template, open MS Word, navigate to the www.mscrm-addons.com tab, and click on the Insert MailMerge Fields button.

Step 2: The DocumentsCorePack TemplateDesigner opens. Press the ❶ Advanced Template Settings. The Template Settings opens.
Select the ❷ General tab. In the General Settings overview, check off ❸ Mark as Label Template.
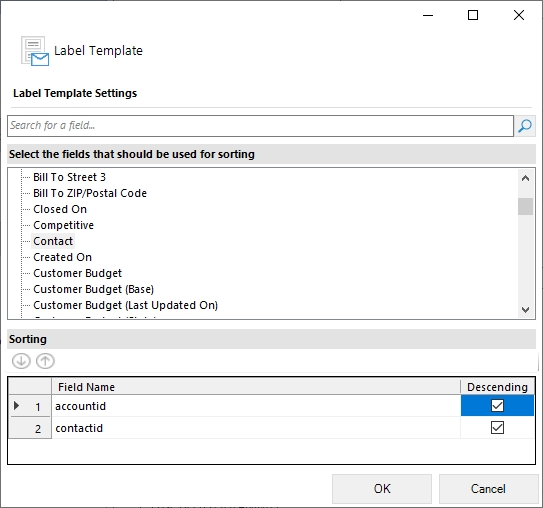
❹ If you press the edit button, the Label Template Sorting dialog opens. Here you can set up a sorting for your labels if required, such as for names or postal codes. (see Figure 3)
❺ Press the OK button.

In this optional Label Template setting, you can specify your sorting criteria. In this example, the labels are sorted by accountid and contactid in descending order.
After you have checked Mark as Label Template, these three options are added in the Microsoft Word ribbon.

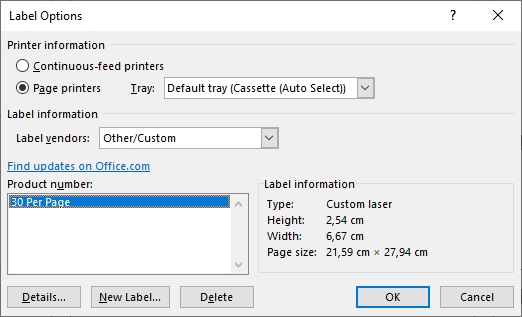
Step 3: Press Insert Label and the Label Options open. Here, you can decide your label dimensions. Confirm with the OK button.
Step 4: The selected label format has been inserted into your template.
Please note: If you cannot see any grid lines to limit the label cells, you can make them visible by navigating to the Layout tab and selecting View Gridlines. They will not be displayed in the result, but it can help manage your label content in the preparations for your template, as the label cells are arranged from left to right and from top to bottom.

Next, it is important to mark one cell as the label cell. To do so, simply set the cursor in the first cell of the document and click on the Mark as Label Cell button.

Step 5: Once the cell is marked, select an entity, such as Account. Then, insert fields into the label cell by double-clicking on them.

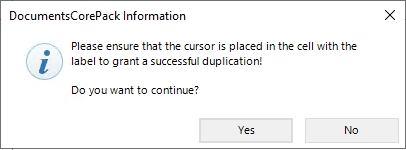
Step 6: Next, you need to define the remaining cells as label-cells as well. To do so, place your cursor in the first cell and click on the Duplicate Labels button.
This information message reminds you to check your cursor. Confirm it.
You have now successfully created a Label Template.

Step 7: With the template created, save it to your environment.

How to merge a label template with multiple records
To merge a label template for multiple records, navigate to Accounts in your Dynamics 365 and mark the companies you want to merge. Press the Create Document button.

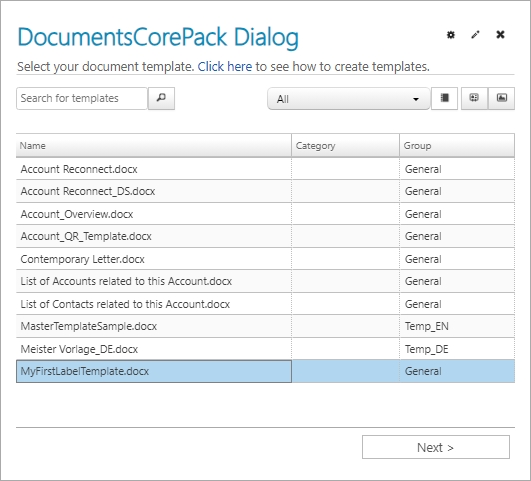
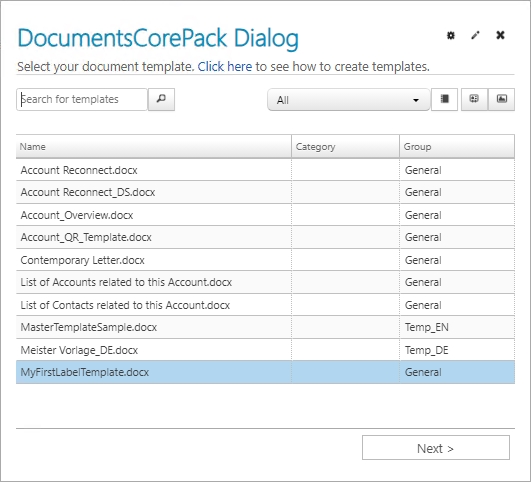
The DocumentsCorePack dialog opens. Select your Label Template and click Next.
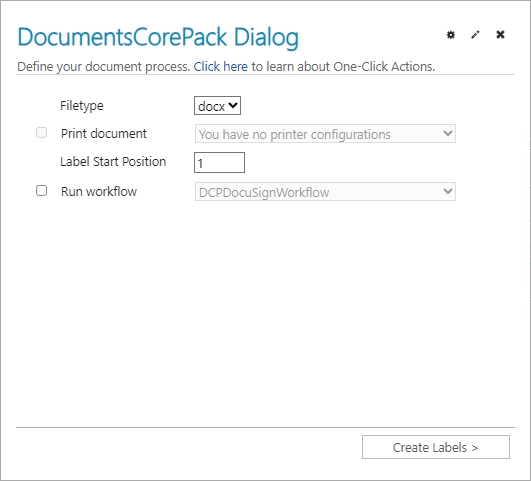
Choose the FileType and decide on your Label Start Position. If you want to send this document directly to the printer, select Print document. Then click on Create Labels.
Before you finish your Label Template, you can have a preview by clicking on the filename. If it looks correct, press the Finish button.

The result should look like the below example.

Scenario B – Selecting one record and set relations
Please note: In general, all Microsoft Word formatting options are supported. However, the label template must be created in advance and saved as .docx. It is mandatory to set a regarding relationship when creating the template in advance.
Step 1: To create your label template, first follow steps 1-4 of Option A. Next, switch to the Additional tab, click on the Add Relationship/Entity drop-down menu and click on All Contacts. This ensures that the relation is set.

Step 2: Now that the relation is set, you can choose the appropriate fields from the DocumentsCorePack Task Pane. Continue on with step 5 of Option A and create and save your label template.
Step 3: Once you are finished, please navigate to the main form of your Account entity in your Dynamics 365 and mark all contacts that should be displayed on the label. Next, click on the Create Document button, select your label template, and press Next.

Step 4: The DocumentsCorePack dialog opens. Select your label template.
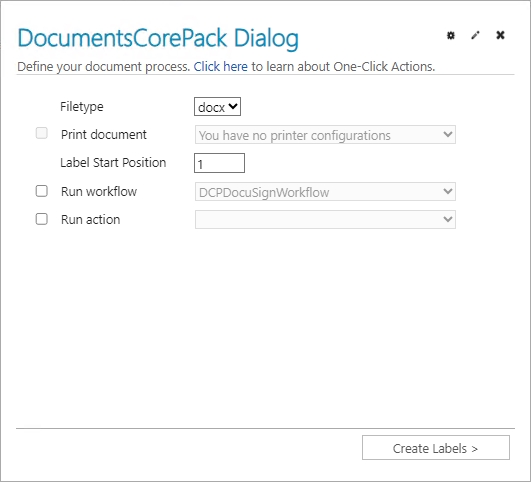
Step 5: Choose the FileType and decide on your Label Start Position. If you want to send this document directly to the printer, select Print document. Next, select Create Labels.
Step 6: The option to preview your document appears. Click Finish.

Step 7: Enjoy your result.

That’s it! We appreciate your feedback! Please share your thoughts by sending an email to support@mscrm-addons.com.