This article explains How to automatically create SharePoint folders and subfolders using DocumentsCorePack (DCP). Depending on the context, the following options are provided:
- Via Power Automate: The CreateSharePointFolders (V3) action allows you to create folders and subfolders on your integrated Dynamics 365 SharePoint with Dataverse data.
- Via Classic Dynamics 365 workflows: The AutoMergeWorkingItem comes with a CreateSharePointFolder option (see Step-by-step description below).
Let’s see how to automatically create SharePoint folders and subfolders using DocumentsCorePack.
Via Power Automate
In your flow add a new step and look for the DocumentsCorePack action Create SharePoint folder (V3).

The ❶ Row ID field is the unique identifier of the record to create the folders for and the ❷ Table Name. In our example, we are creating a folder for accounts. Thus we choose “Account” for the tabla and the GUID of an account as the Row ID.

In the ❸ Folder Names Item section, you have the possibility to create a folder structure, in this example, we decided on two folders and two subfolders in one folder. Learn more.
Please note: There is a Syntax to follow
“;” separates list of folders
“/” creates subfolders
Additionally, you can choose the ❹ user who should run this operation and the ❺ document location to create the folders in. Don´t forget to ❻ Save.
Step-by-step description for a classic Dynamics 365 workflow to automatically create SharePoint folders and subfolders
Step 1: Automatically create folders for accounts once created.

Step 2: Define the following settings
❶ Process name
❷ Category
❸ Entity
❹ Confirm with [OK]

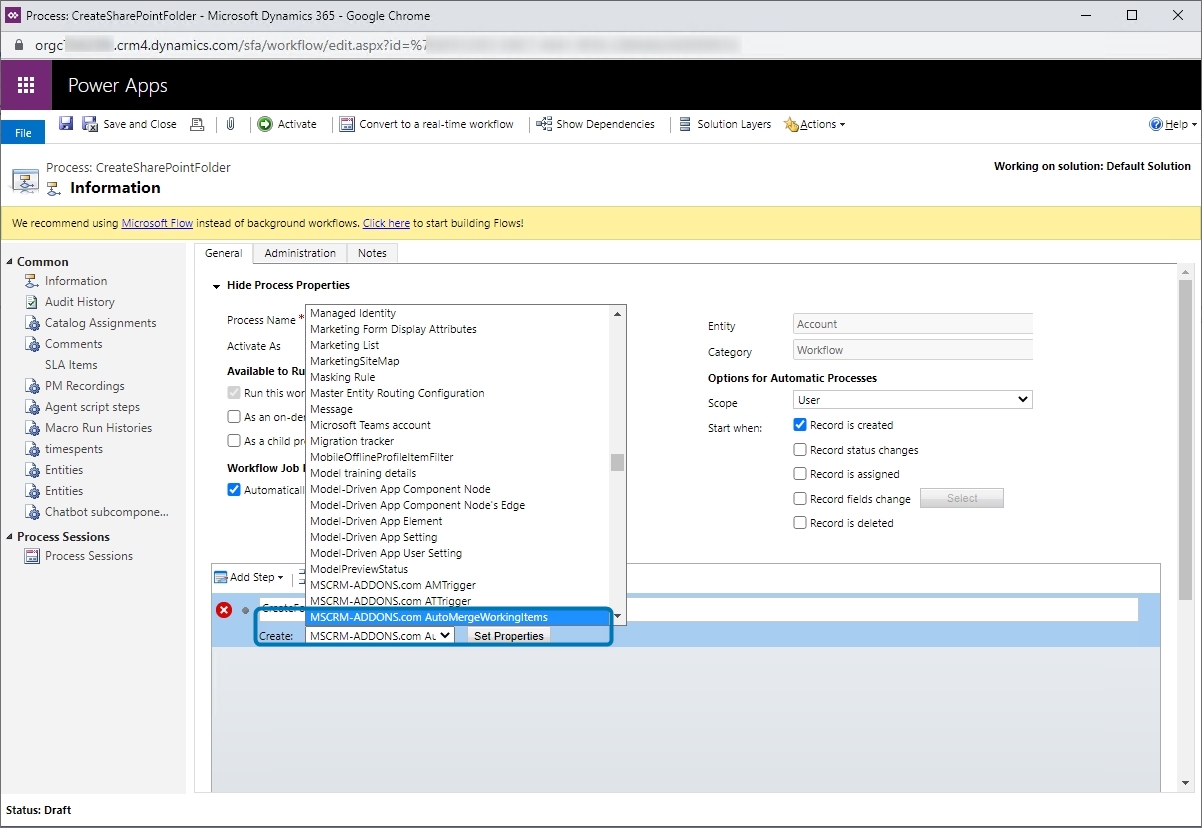
Step 3: This window opens. Now add the next step Create Record to your workflow and name it, such as Create Folder.

Step 5: Now click the drop-down button and look for the MSCRM-ADDONS.com AutoMergeWorkingItems.
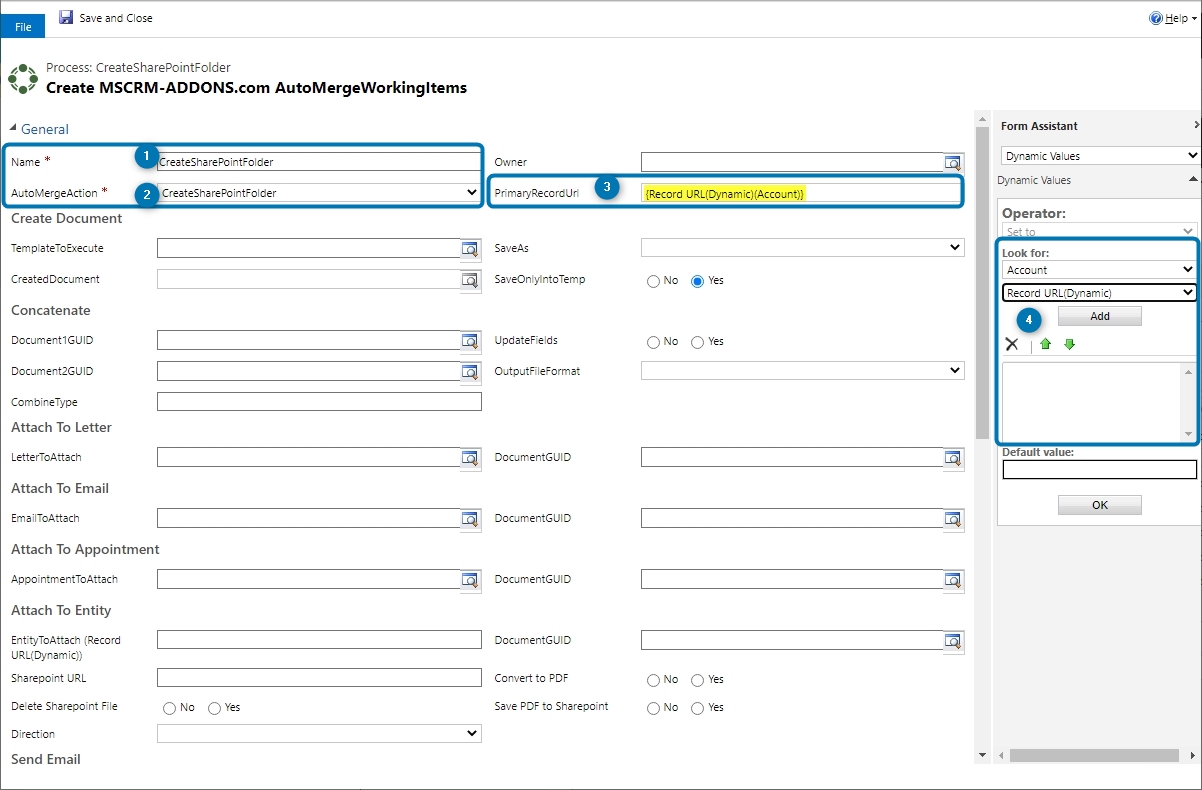
Step 6: For further steps, open the Set Properties and fill out the mandatory fields, including ❶ Name and ❷ AutoMergeAction. Then insert the ❸ PrimaryRecordURL. Put the cursor in the PrimaryRecordUrl field and select on the right side {Record URL(Dynamic)(Account)}. Press the ❹ [Add] button.
Step 7: Now scroll down to Create SharePoint Folder, where you can define how your folder and subfolder structure are organized.
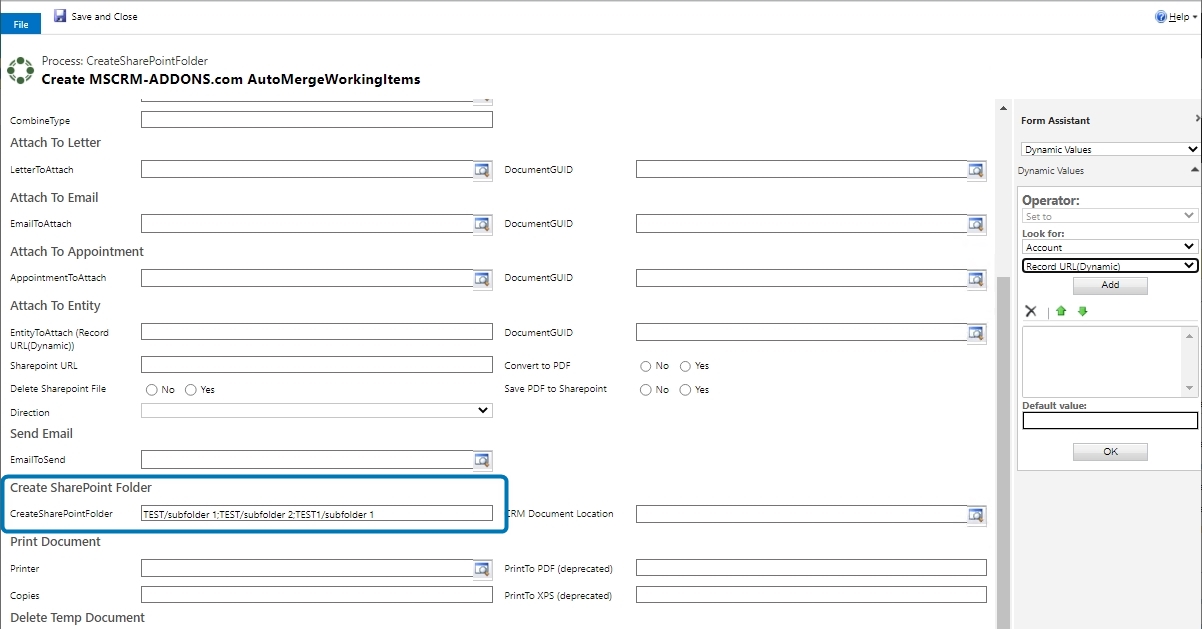
Please note: In the example above, the folder structure looks like this:
Syntax:
- “;” separate list of folders
- “/” creates subfolders
Example:
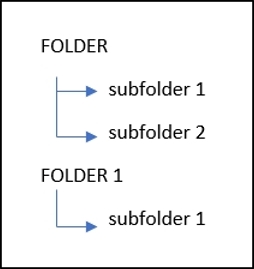
FOLDER/subfolder 1;FOLDER/subfolder 2;FOLDER1/subfolder 1
Creates folders as follows:
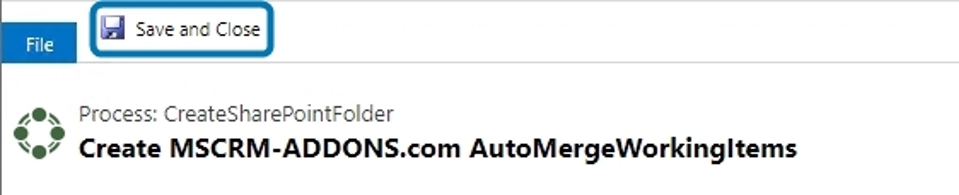
Step 8: Now press the [Save and Close] button in the left top corner of this window.
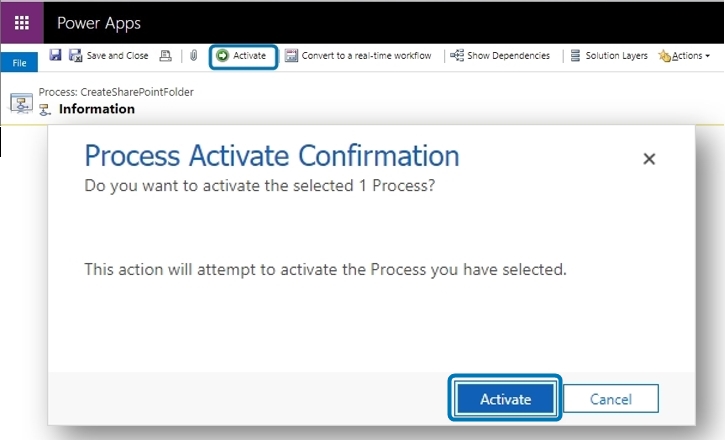
Step 9: Back in the Power Apps window you have to activate the process.
Execute workflow:
Create a new account in your system. Once the workflow is finished you should see the following folder structure on the newly created document location for the account:

That’s it! We appreciate your feedback! Please share your thoughts by sending an email to support@mscrm-addons.com.