• Release History
  • Documentation
  • Back to www.mscrm-addons.com
  • Release History
  • Documentation
  • Back to www.mscrm-addons.com
home/Knowledge Base/DocumentsCorePack(DCP)/How to enable debugging for DocumentsCorePack ServerBased in Dynamics 365 (On-Premise)

How to enable debugging for DocumentsCorePack ServerBased in Dynamics 365 (On-Premise)

747 views 0 Updated on July 26, 2022

This blog article outlines how to activate debugging for DocumentsCorePack Server Based. This step-by-step tutorial information refers to Microsoft Dynamics 365 only! 

Please note: There are two options to activate debugging. It depends on if you have a service or not. If you do not have a service, you will only need to follow the steps of the first option. Else please follow both options and send us the debugging files of both options.

1) WITHOUT a service, activate debugging this way:  

 1) Please navigate to Settings > MSCRM ADDONS and click on DocumentsCorePack.

Figure 1: Click on DocumentsCorePack

2) In the so opened Getting-started surface, switch to the General settings-tab and set Active Debugging and Active File Debugging on ‘enabled’.


Figure 2: Enable debugging

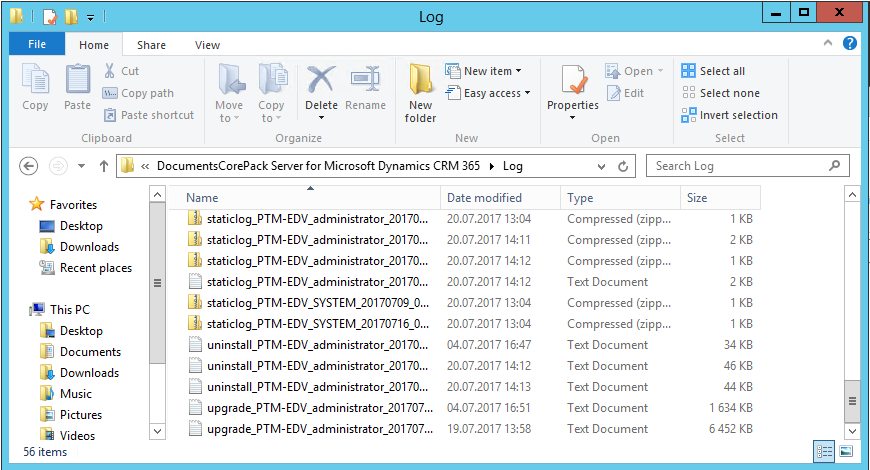
 3) The debugging logs will be stored in your installation directory. For example in:

C:\Program Files (x86)\PTM EDV-Systeme GmbH\DocumentsCorePack Server for Microsoft Dynamics CRM 365\Log

Log files
Figure 3: Log files

If you do not have a service, please also take steps 4) and 5), otherwise proceed with the 2. option (WITH service)! 


4) Repeat all the steps you took before until the error occurs! This is necessary to capture the error in our log-files. 

5) Please send these files and a short description on which steps were taken to support@mscrm-addons.com.

​

2) WITH service, activate debugging this way:  

1) Go to the start-pane on the server where you have your DocumentsCorePack ServerBased installed and search for the DocumentsCorePack ServiceManagement like you can see below. 

DocumentsCorePack ServiceManagement
Figure 4: DocumentsCorePack ServiceManagement

 2) In the so opened window, you have the possibility to activate debugging. But first, select the ❶ service you want to debug and ❷ stop it if it is active. 

DocumentsCorePack ServiceManagement
Figure 5: DocumentsCorePack – stop service


3) After your service is stopped, please ❶ activate debugging and enter your ❷ Logfile Path. There you can find all your debugging logs stored.

DocumentsCorePack activate debugging
Figure 6:  Activate DocumentsCorePack service debugging


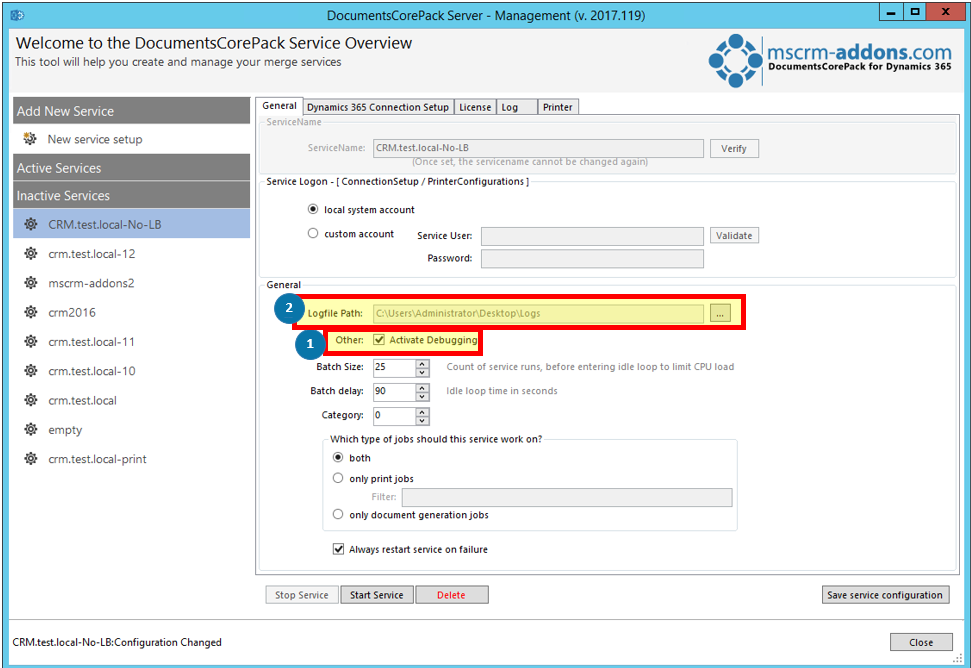
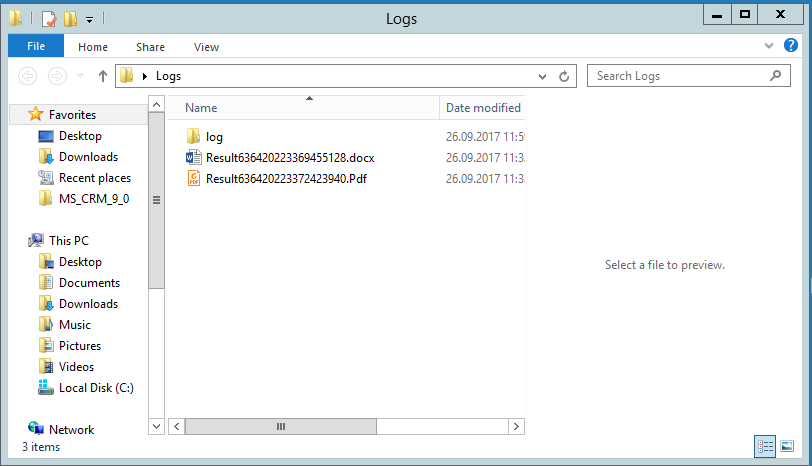
4) After these few steps, save your changes by clicking the [Save service configuration]-button and start your service again.  From now on you will find all your debugging logs in the folder, which you defined as Logfile Path before.

Debugging logs
Figure 7: Debugging logs


5) Repeat all the steps you took before until the error occurs! This is necessary to capture the error in our log-files. 

6) Please send all the files (of both options) and a short description on which steps were taken to support@mscrm-addons.com.


That’s it! We appreciate your feedback! Please share your thoughts by sending an email to support@mscrm-addons.com.

Was this helpful?

Yes  No
Related Articles
  • “Undefined”-labels in Chrome 114 and higher
  • Generate large documents using the Multipart-feature of DocumentsCorePack 
  • How to automate the E-signature process via Power Automate
  • Technical Description: The AutoMergeWorkingItem (AMWI) 
  • Dataverse Online OData v2.0 endpoint removal for custom “ExportToWord” Button
  • How to share the Connection of the DocumentsCorePack Connector
Latest Articles
  • “Undefined”-labels in Chrome 114 and higher
  • Integrating JSON data into documents
  • Generate large documents using the Multipart-feature of DocumentsCorePack 
  • Recap: DynamicsMinds Conference 2023
  • How to automate the E-signature process via Power Automate
Popular Articles
  • DocumentsCorePack Template Designer – Getting Started
  • Where do I find the Unique Organization name in Microsoft Dynamics 365?
  • Step-by-Step: How to configure a One-Click-Action
  • mscrm-addons.com Application Access for Dynamics 365 (App Access) – DocumentsCorePack
  • DocumentsCorePack Online Service Configuration
Top Rated Articles
  • IMPORTANT information for Dynamics 365 online customers using DocumentsCorePack and/or AttachmentExtractor
  • How to activate the DocumentsCorePack connector for PowerApps & Microsoft Flow
  • Step-by-Step: How to configure a One-Click-Action
  • “Blocked by Conditional access” error in Azure Active Directory
  • Online Services: Required Application Permissions
Categories
  • *News and General Infos* 52
  • Webinars 36
  • Template Designer(DCP 181
  • DocumentsCorePack(DCP 197
  • TelephoneIntegration (TI 65
  • AttachmentExtractor (AE 62
  • PowerSearch (PS 48
  • ActivityTools (AT 59
  • SmartBar (SB 53
  • GroupCalendar (GC 46
Our Vision

“We see it as our purpose to provide products that simplify and speed up our customers’ Microsoft Dynamics 365 experience.”

Knowledgebase
LogIn
mscrm-addons.com
  • Products
  • Online Shop
  • Downloads
  • My Account
About Us
  • About Us
  • Case Studies
  • Newsletter
  • Partner Program
  • Contact
Support
  • Support
  • Terms & Conditions
  • Documentation
  • Webinars
  • Legal Documents
  • Impressum
  • © 2022 www.mscrm-addons.com. All Rights Reserved.