If you create a Chart from scratch, you must insert a Chart as the visual component in Word. And you must create an additional relationship to define the data that you want to visualize. Both elements must be combined by using the “Map Chart” option.
Follow the description to learn how to work with Map Chart in Dynamics 365 DocumentsCorePack Template Designer.
This feature is available for Dynamics 365, Client 10.7; Server version 2020.32.
1. Insert a supported chart in your DocumentsCorePack template
Open a Word Template in Your Dynamics 365 and insert a supported chart type, like in this example, a Clustered Column.

Figure 1: Insert chart dialog in Word
A list of support charts can be found in the main article about the chart feature here.
Word usually opens a simplified Excel window to input your data. You can just close this excel window. The actual data will be set up during the merge process later.
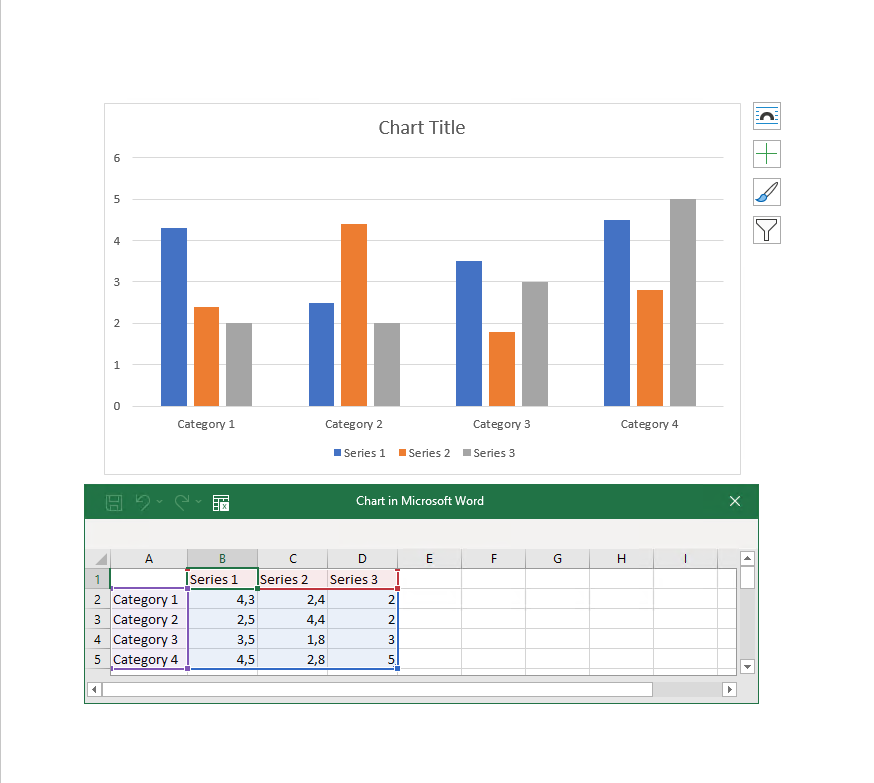
Figure 2: An inserted chart with simpliefied Excel window
Please Note: You can modify or update your Word chart with the standard designer options, the only exception that can not be used is the “Number” section. How to set up a specific format for your numbers is described here.
2. Setup a relationship
To fill the chart with your data you need ot add a relationship. Usually the most likely use case will be to setup an aggregation query. Therefore, open your DocumentsCorePack Template Designer and have a further look at this article.
3. Combine the chart and the relationship by using Map chart
After you you set up a relationship as a data source, you can go ahead combine both elements. Click in the Chart and press the [MapChart]-button and the “Select Datasource”-window is shown. Select the table you just created and commit.

Figure 3: Map Chart Button
To fill your table with data, press the [Field properties]-button and the “Field properties”-window opens. Choose data for your categories and series by only pressing “+” and commit.
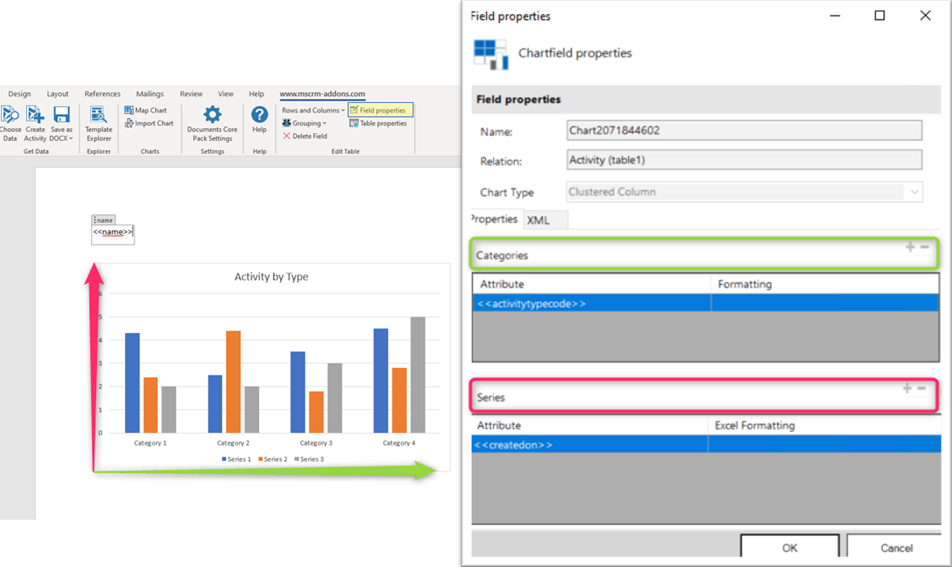
Figure 4: Field properties button
Please Note: Certain Charts have specific requirements regarding the number of categories and series to properly display a chart.
4. Test your template
Before you can use or test your template you have to save it.
Either you save your template locally with the standard Save or Save as
the functionality of Word or you use the Save template-option of the
DocumentsCorePack client in order to publish the template to Dynamics 365.
5. Test your template [optional]
As you have made changes to your template you might want to test them quickly.
A step by step description of how to test your template can be found here.
That’s it! We appreciate your feedback! Please share your thoughts by sending an email to support@mscrm-addons.com.