This article outlines how to insert an entity image, like product photos, company logos, images, etc. into your DocumentsCorePack TemplateDesigner.
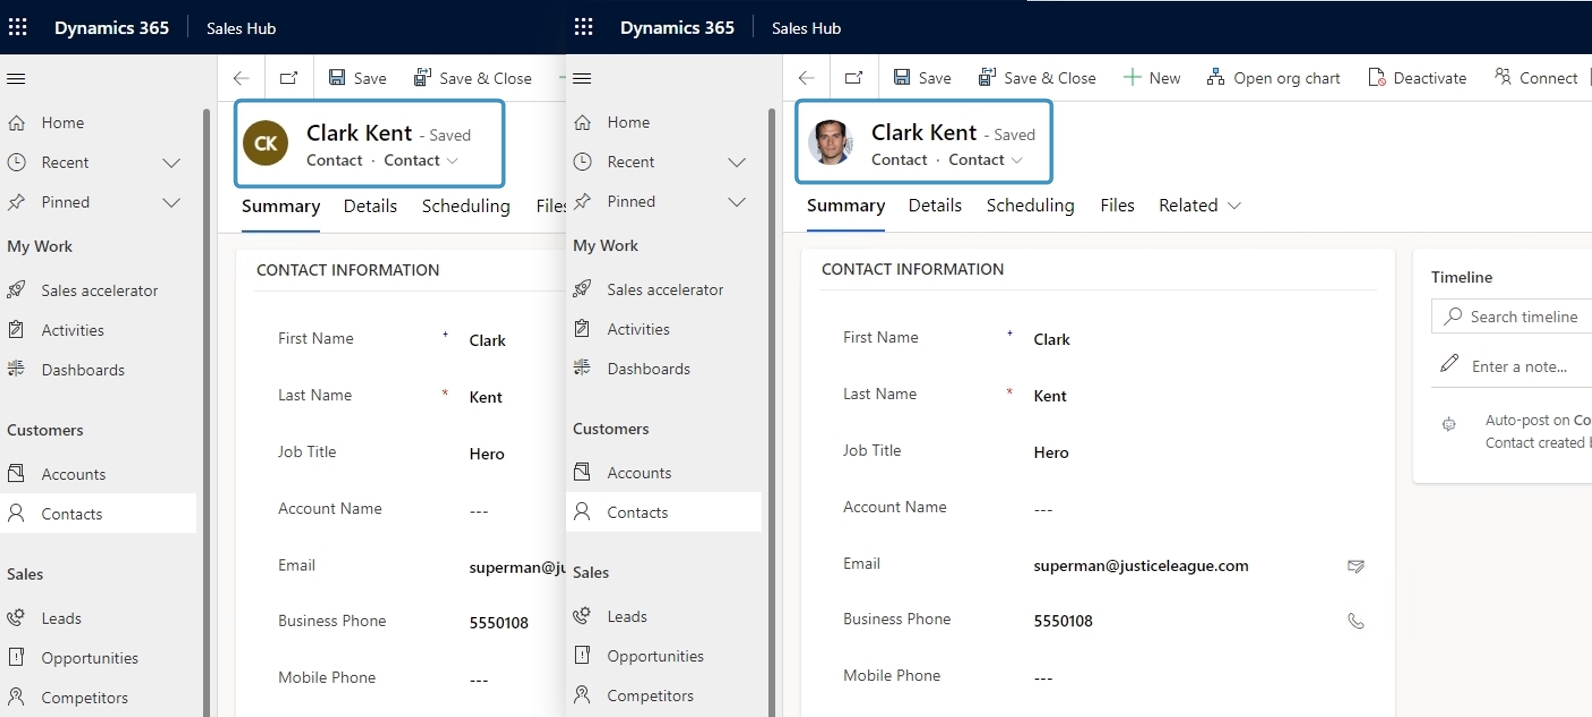
In order to follow this step-by-step description, an entity image must be available on your table (entity) and data for testing should already be stored in a Dynamics 365 record.
Open your DocumentsCorePack Template Designer. If you are not sure how to create a template or how to get to this point, have a look at this article.
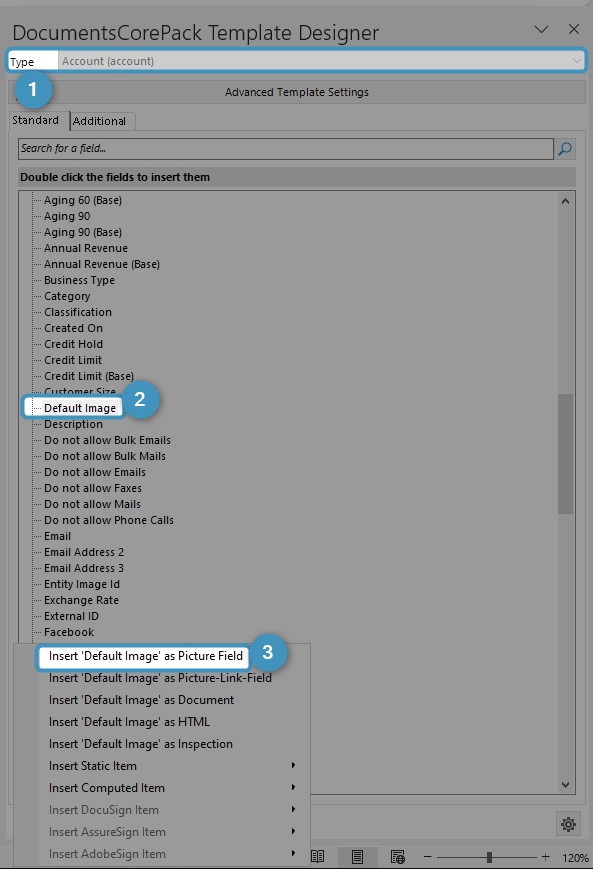
❶ Select the entity you want to generate the template for, like in this example Account.
❷ Choose a field, like in this example Default Image.
❸ Click the Insert Field button and a drop-down menu opens. Choose the first option: Insert as a Picture Field.
Please Note: Dynamics 365 limits the size of uploaded images to 144×144 pixels. This means the resolution of the inserted image may not be as expected or have the same quality as the original uploaded document. If you upload an image larger than the standard allowed in Dynamics 365, it will be automatically scaled and can only be added to the left corner of a form. You can only add one image on the form at a time. Make sure to consider this when thinking about multiple product images on one form.
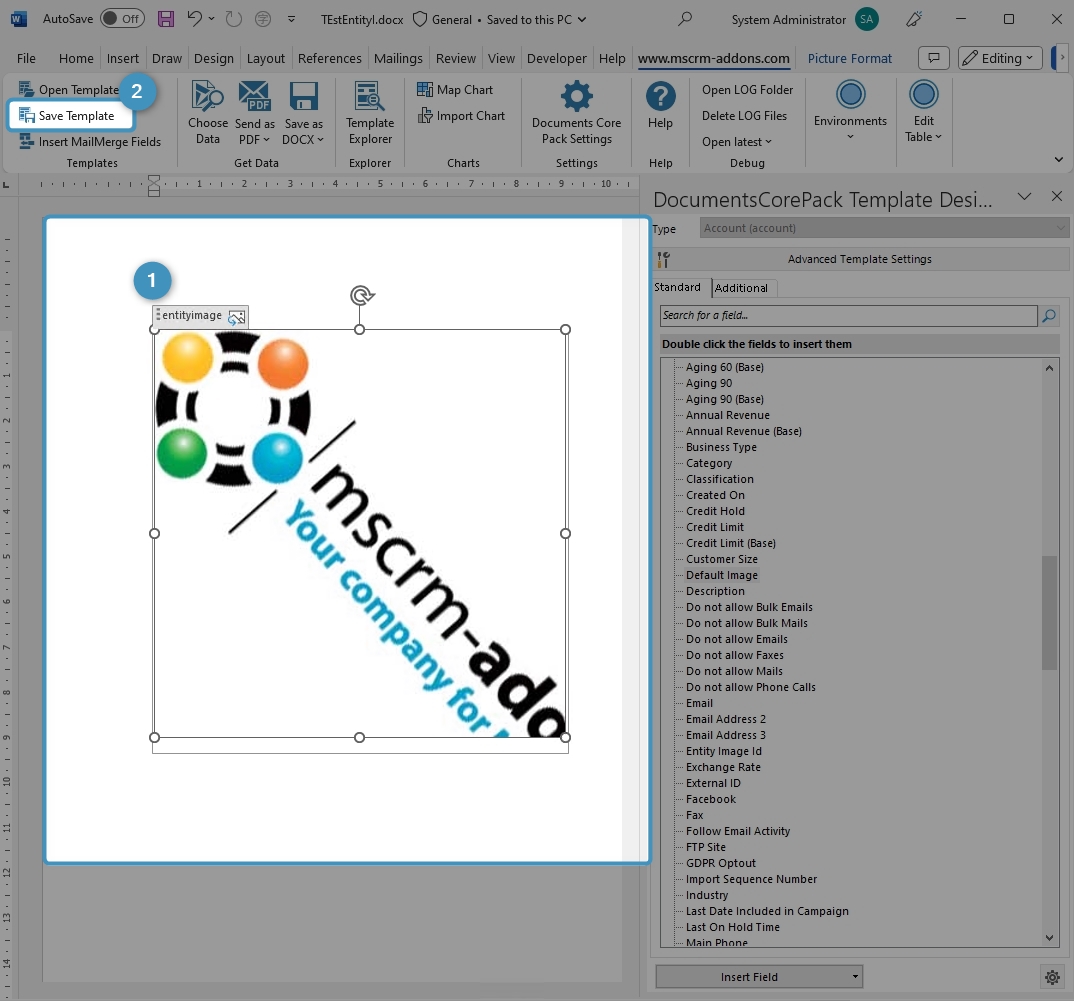
❶ A placeholder picture appears. You can now edit the picture.
❷ Save your template with a click on the Save Template button and test it. If you have not tested a template yet, please read this article first.
Back to “How to use pictures and images with DocumentsCorePack“.
That’s it! We appreciate your feedback! Please share your thoughts by sending an email to support@mscrm-addons.com.