This solution is deprecated and is no longer available. For questions regarding GroupCalender, please contact our support team (support@mscrm-addons.com).
This blog article outlines how to install GroupCalendar for MS CRM Online.
Requirements: GroupCalendar for MS CRM Online
If you have purchased GroupCalendar, please follow the instructions below. Please note: after everything is set up and running DO NOT disable the user!
How to install GroupCalendar via AppSource
1) To open AppSource, navigate to https://appsource.microsoft.com/en-us/.
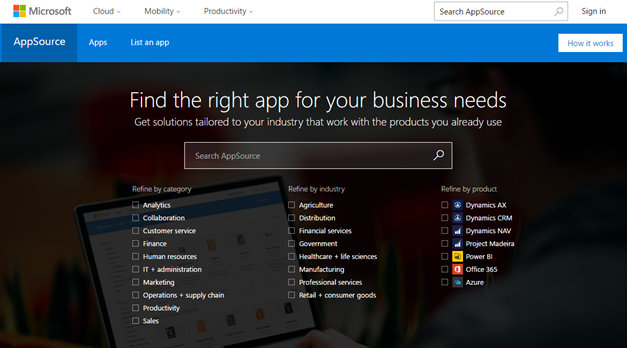
Figure 1: AppSource – find the right app
2) Please look for GroupCalendar in the Search field and click on the [Try]-button in the Group Calendar result box.
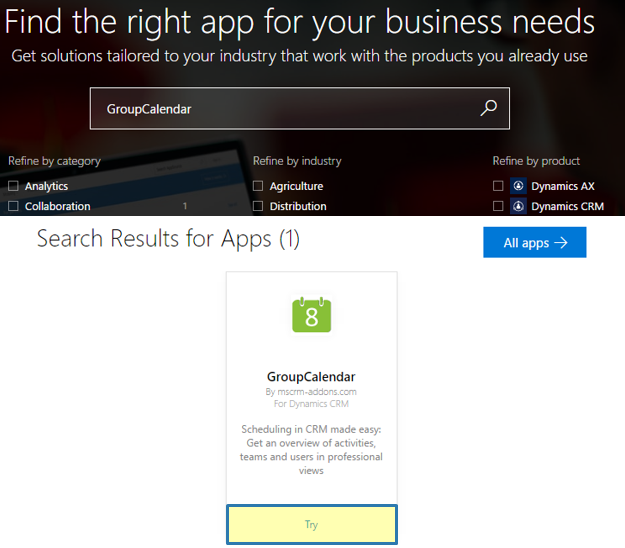
Figure 2: AppSource – look for GroupCalendar
3) Agree to the Group Calendars terms and conditions and click on the [Continue]-button.
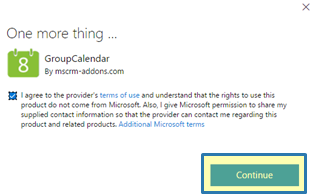
Figure 3: AppSource – Agree to Terms and Conditions
4) You will be asked to sign in to Microsoft AppSource.

Figure 4: AppSource – Sign in
5) Once logged in, please add the application by agreeing to the terms and conditions and clicking on the
[I Agree]-button if you want to proceed.
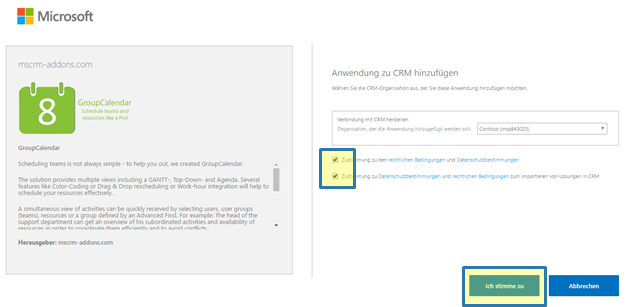
Figure 5: AppSource – Add GroupCalendar Application
You are redirected to the CRM Online Administration panel. Here, you get an overview of all your installations.

Figure 6: AppSource – Administration panel
Please note: Because the CRM Online Administration panel does not refresh itself automatically, you have to refresh the window from time to time.
However, as soon as GroupCalendar installed, its status will be changed to Installed (see figure 7).
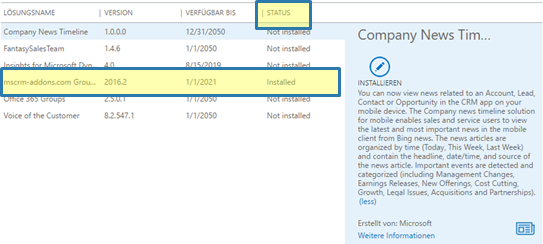
Figure 7: AppSource – GroupCalendar Installed
Now open CRM Online and click on Workplace > MyWork > GroupCalendar. The so opened window provides you with the information required to activate GroupCalendar.
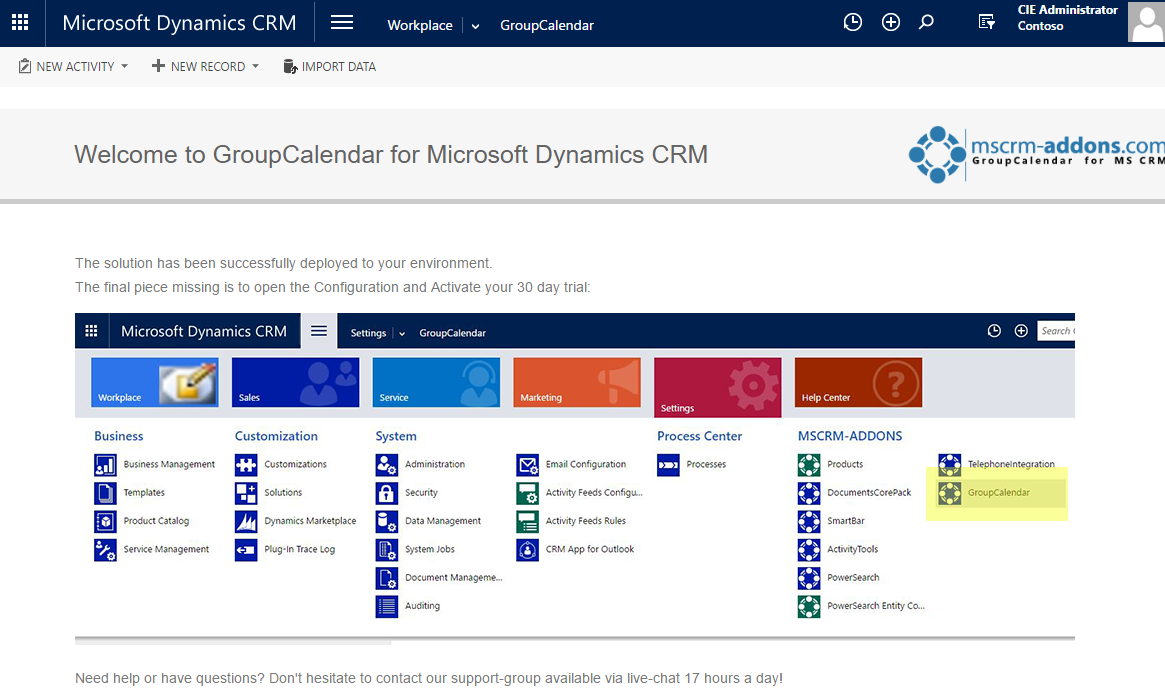
Figure 8: Open GroupCalendar
Please follow the steps displayed in Figure 10 (Open the CRM Settings > MSCRM-ADDONS > GroupCalendar).
You are then provided with the GroupCalendar Getting Started surface. Please scroll down to the GroupCalendar Trial Request
section and enter your credentials there.
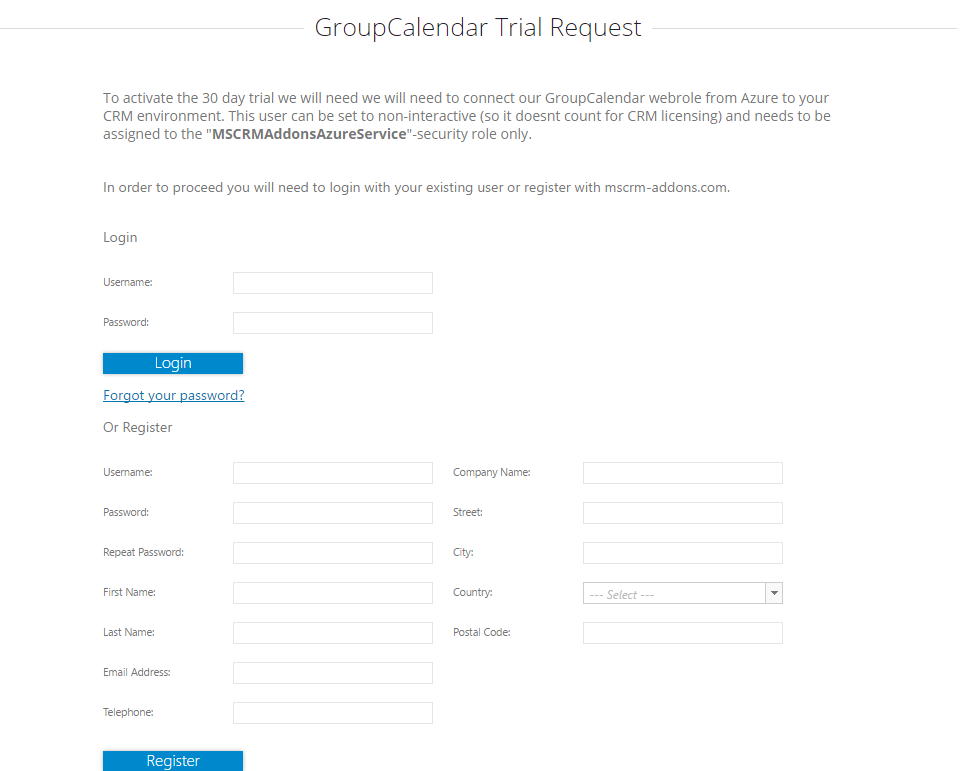
Figure 9: GroupCalendar trial request
As soon as you have finished, click on the [Register]-button and you will receive your 30-days trial version.
Additionally, you could also change the CRM access role in the office 365 portal. (this is optional).
To do so, simply click on roles and change the settings.

Figure 10: Change the CRM acess role in the office 365 portal.
If you have decided to change the roles, you must also change the user settings as shown in figure 11.
![clip_image002[5]](https://cdn.mscrm-addons.com/wp-content/uploads/2014/7/clip_image002[5]_3.jpg "clip_image002[5]")
Figure 11: Set sign-in status to ‘allowed’ in office 365
Please note: Make sure that the user possesses the following roles:
– mscrm-addons general security role
– MSCRMAddonsAzureService
– MSCRM-ADDONS.com GCAutoUpdate
Please open the GroupCalendar Service User (Settings > Administration > Users) and set the MSCRMAddons service user to non-interactive access mode (to do so, please follow this blog article).
If the user is still counted by CRM dynamics licensing after being set to non-interactive, simply remove the CRM license from this user in the Office 365 Portal.
Now once again, open GroupCalendar in CRM (Workplace > My Work) and verify that everything works fine.
Enjoy GroupCalendar for CRM Online experience!
That’s it! We appreciate your feedback! Please share your thoughts by sending an email to support@mscrm-addons.com.