This article shows how to send a document for e-Signing using the Adobe Sign integration of DocumentsCorePack (DCP).
Please note: In order to utilize the integration it is required to install and configure AdobeSign for Microsoft Dynamics 365. Learn more on how to get started with Adobe Sign as an additional feature of DCP.
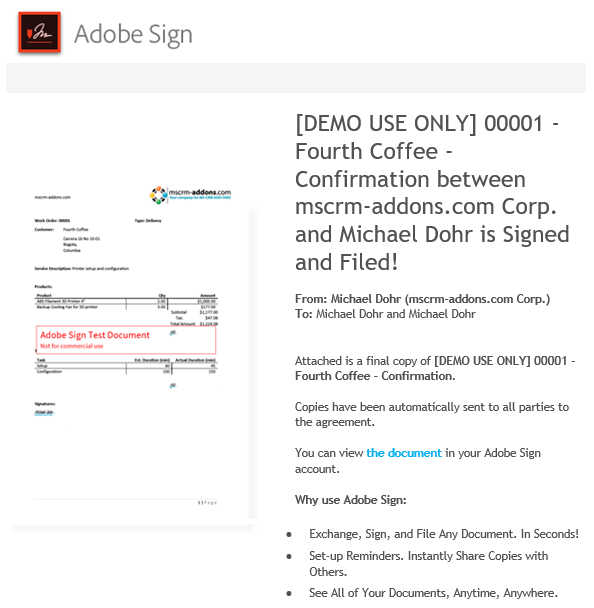
In this example, we are creating a document and using a template that contains one signer. The result can look like the figure below.

Follow the steps below.
Step 1: Create document via DCP Dialog
First, open your Dynamics 365 and search for the entity you want to create a document for, which in this example is Work Order. Next, hit the [Create Document] button, which opens the DCP Dialog. Select the template you want to execute.

Figure 2: DCP Dialog – select template
Step 2: Define how your document should be executed
In this example, we want the document to be attached, so complete the following.
❶ Check the Attach document checkbox and select as Adobe Sign email from the drop-down menu.
❷ Check the In-person signing checkbox.
❸ Choose you recipients and their e-mail address from the drop-down menu.
❹ Click on the [Next] button to continue.
Please note: The recipient should be the person (the host) who is required to be with the signer in order to sign the document.
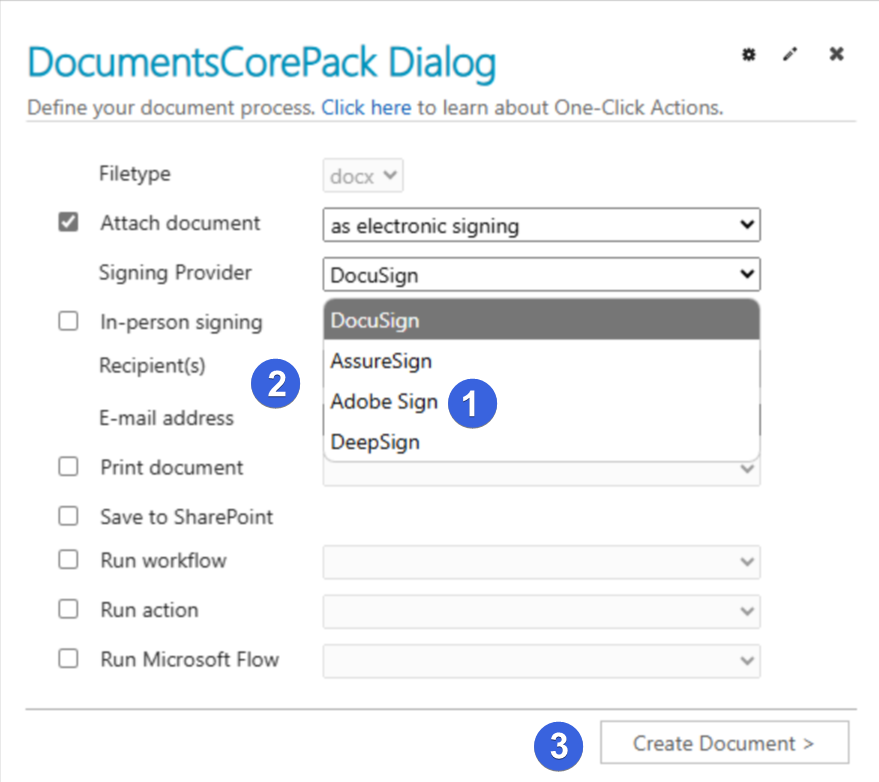
Figure 3: DCP Dialog – define how your document should be executed
Step 3: Check your document before you forward it to Adobe Sign
Click on the attachment to open it.
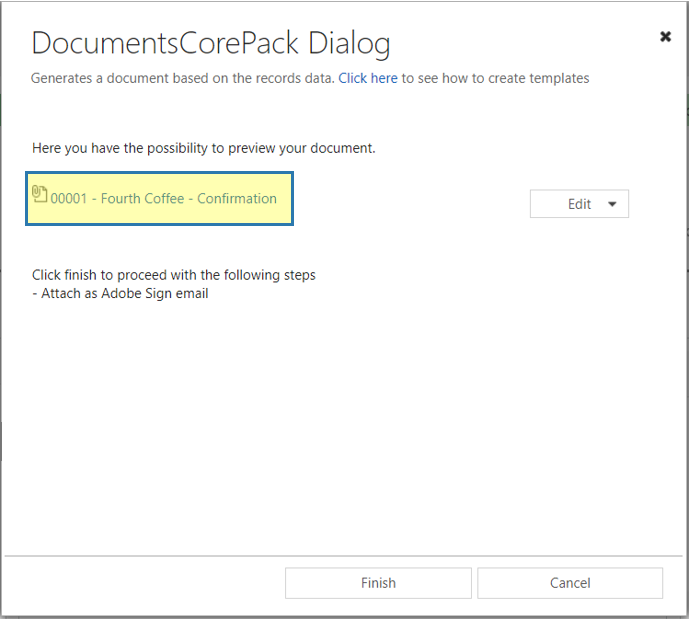
Figure 4: DCP Dialog – Preview document
A preview of your document is shown. As you can see, there are two Adobe Sign text tags: one for the initials and one at the bottom of your document for the signature (highlighted in yellow).

Figure 5: Preview of your document
If your document looks correct, click [Finish] to attach the document as Adobe Sign mail.
Step 4: Review and sign document
Now you are able to open the document directly from the DCP Dialog, as you can see in the figure below.
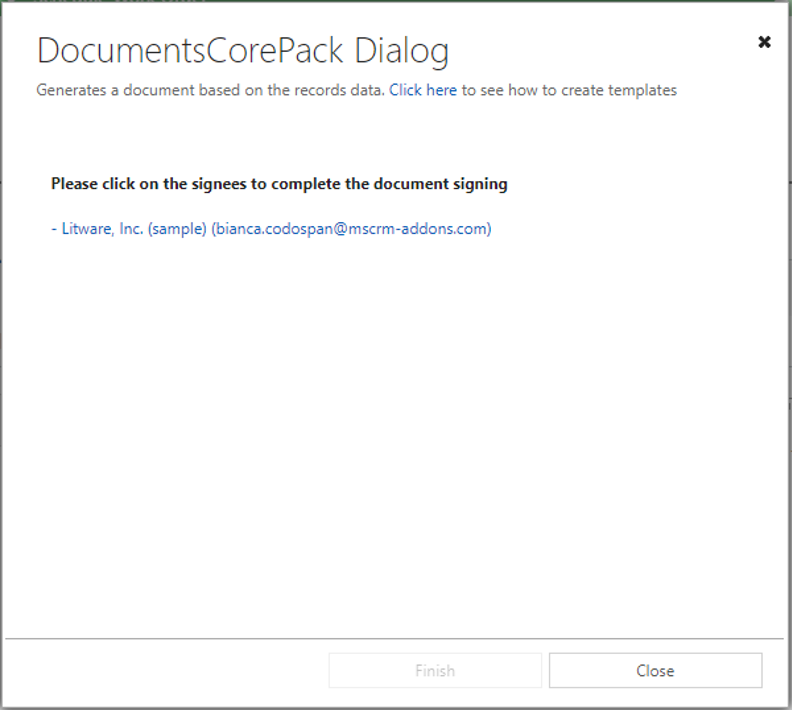
Figure 6: DCP Dialog – complete the document signing
An e-mail has also been sent to the host who is required to be with the signer in order to sign the document. With a click on the blue text Click here to review and sign, the document opens in a browser to be signed.

Figure 7: E-mail with a link to Adobe Sign document
The document is now ready to be signed. After the signer signs the document, the host has to hit the [Click to Sign] button at the bottom of the page.

Figure 8: Sign the document
This action will finish the process and a copy of the signed document will be sent to all parties.
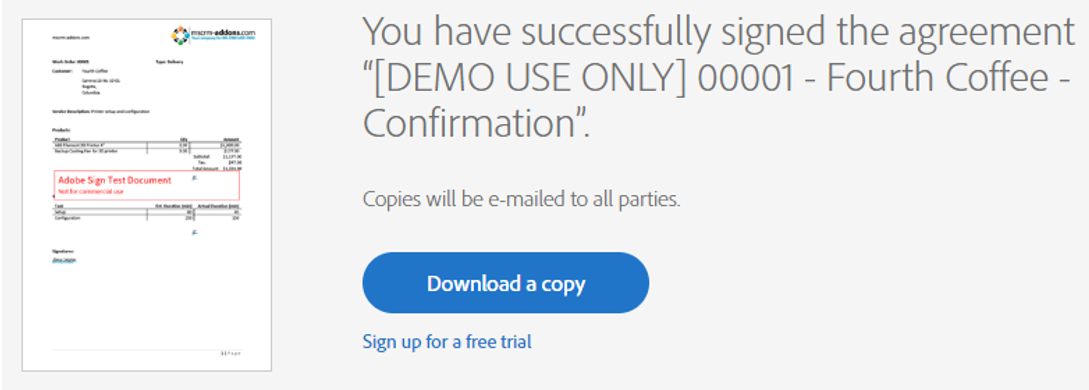
Figure 9: Document successfully signed – message
Step 5: Signed document ready for download
Hit the blue text the document in the received e-mail to open the signed document.
In the window that opens in your browser, you can see:
❶ All details
❷ The steps of the process and the document
❸ Both signatures
❹ The option to download your signed document as a PDF
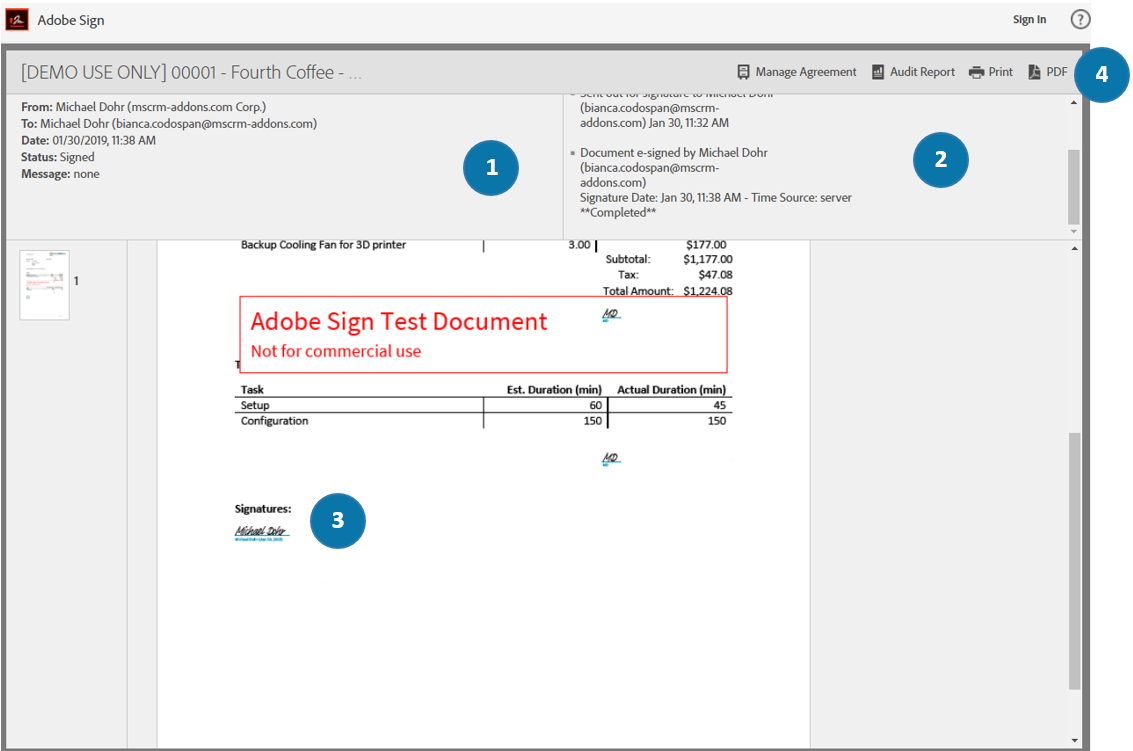
Figure 11: The signed document ready for download
You have now signed your first Adobe Sign document using in-person signing.
That’s it! We appreciate your feedback! Please share your thoughts by sending an email to support@mscrm-addons.com.