This article describes how to send emails with dynamic images. Sometimes, E-mail programs do not resolve inserted dynamic images correctly when they are embedded. With our DocumentsCorePack Insert as Picture-Link field, you can solve this problem.
How to prepare your DocumentsCorePack TemplateDesigner
First, open a template or create a new one with the email content. Then insert the dynamic image into the document.
There are two different ways to insert dynamic images in a Word Template:
1) Insert pictures as “Base64String”
The picture will be inserted in the email content as a picture. This is set in Word as default.
2) Insert pictures as a “Link”
With the Insert as Picture-Link-Field functionality users are able to insert a picture directly from a link that is stored in any CRM field. This functionality is available for DocumentsCorePack v5.97 and higher. Click here to download and test it. For more information on how to insert a Picture-Link-Field to your template, click here for a step-by-step description. Please note that the recipient needs to access the picture externally.
Enable Word properties to use picture link
As a default, Microsoft Word properties are set to always insert pictures as Base64String. This means that the picture will be inserted in the email content as a picture. Sometimes it happens, that email programs do not resolve these pictures correctly when sent.
To ensure it works correctly, open the Advanced Settings, navigate to the General Tab and check Do not export Picture-Link-Images as Base64.
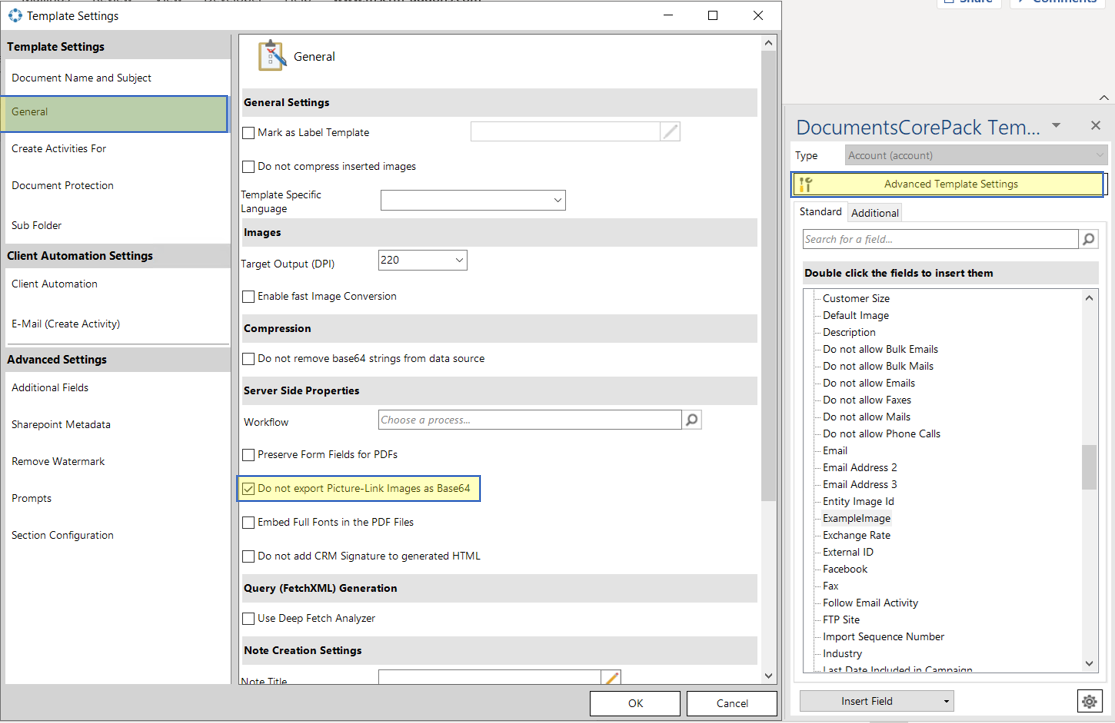
Figure 1:
Please Note: You must enable this property for every template you want to insert dynamic images into. Now Picture-Link-Fields can be inserted into your template and resolved correctly.
Once finished, save your template.
Next, create or open an appropriate email-workflow and upload your template. As a result, the picture will have been added as a picture link and the email program will resolve it correctly when sent. (See next screenshot.)
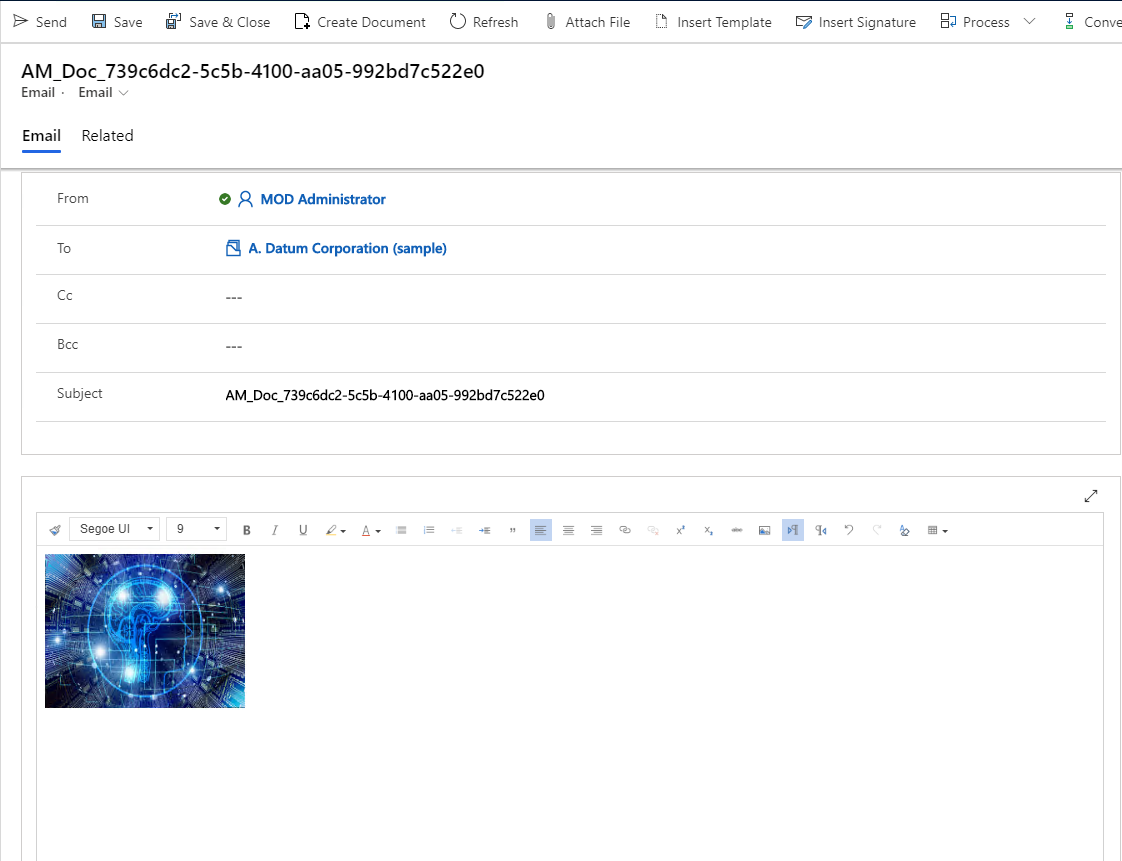
Figure 2: Picture in an email body which has been inserted as picture-link-field
Finally, open your CRM and navigate to an entity e.g. Account, MSCRM-ADDONS.com. Click on the more commands sign at the top to start a workflow.
Learn how to create a workflow here.
Back to “How to use a picture with DocumentsCorePack“.
That’s it! We appreciate your feedback! Please share your thoughts by sending an email to support@mscrm-addons.com.