This article outlines how to sort data in DocumentsCorePack templates with the Relationship Designer.
Step-by-Step Guide
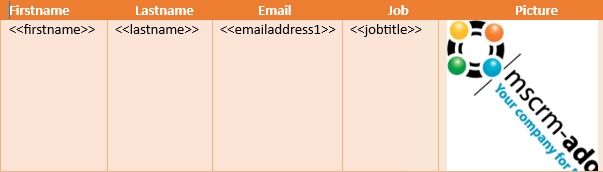
Step 1: Open Microsoft Word and navigate to the www.mscrm-addons.com tab. Next, click on the Insert MailMerge Fields button and prepare the data you want to sort, such as the fields shown in the example below.
Step 2: Next, navigate to the ❶ Additional tab in the DocumentsCorePack Template Designer. Select the data table you want to sort, which in this example is ❷ Contact (table1) and then click the ❸ Edit button.
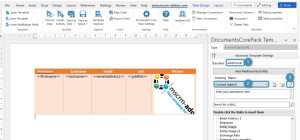
Figure 2: Open the Relationship Designer
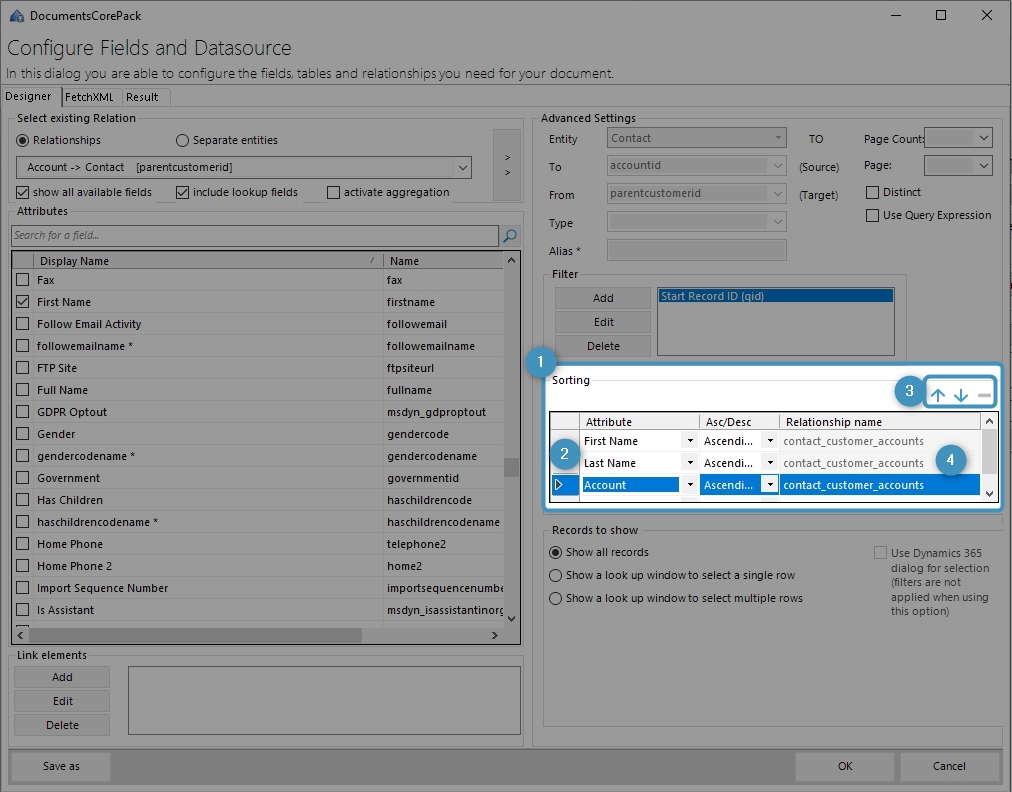
Step 3: The Relationship Designer window opens. Here you can define how you want to sort your data by adding the respective fields to sort by (see Figure 3) ❶.
The sorting priority is automatically determined by the ❷ order in the list (prior to v10.45 of the Template Designer it was defined by an integer value). All sorting entries can be ❸ rearranged with the up and down arrows and deleted with the minus sign.
Please note: If you are using fields from related records, the respective sorting field can only be edited within the ❹ correct relationship context.
Please note: This function will sort all records before these are merged. After saving your template and merging it with Dynamics 365 data, the table should look like below.

Figure 4: Resulting table with rows sorted as defined via the Relationship Designer
That concludes the overview of how to sort data in DocumentsCorePack with the Relationship Designer. It is also possible to sort grouped tables. For more information about how to group tables in DocumantsCorePack templates, please look at this blog article.
That’s it! We appreciate your feedback! Please share your thoughts by sending an email to support@mscrm-addons.com.