This article outlines how to set up a new DocumentsCorePack service for local / OnPremise deployments of DocumentsCorePack.
Note: For online deployments of Dynamics 365, we recommend using our Online Service Configuration as outlined here.
Prerequisites
Before configuring any OnPremise services, please download and install DocumentsCorePack Server. Detailed instructions on the installation process can be found in the DocumentsCorePack Installation Guide.
Step 1: Opening the Service Management app
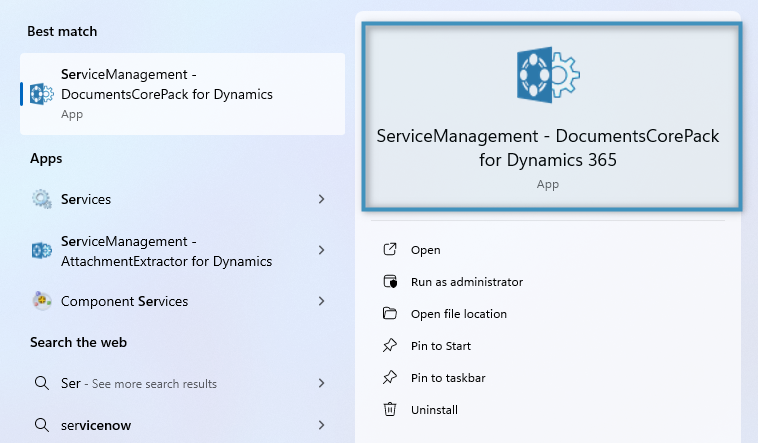
First, locate the Service Management app. This can be found via the Start menu by searching for ServiceManagement – DocumentsCorePack.
Step 2: Creating the service
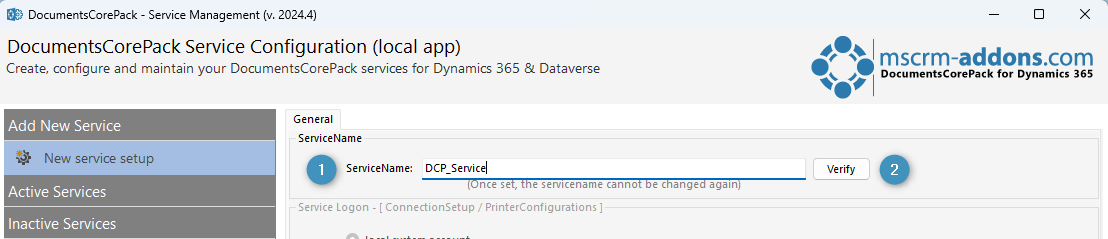
After the DocumentsCorePack Service Management app opens, define a ❶ ServiceName and click ❷ Verify.
Note: Once set, the service name cannot be changed again.
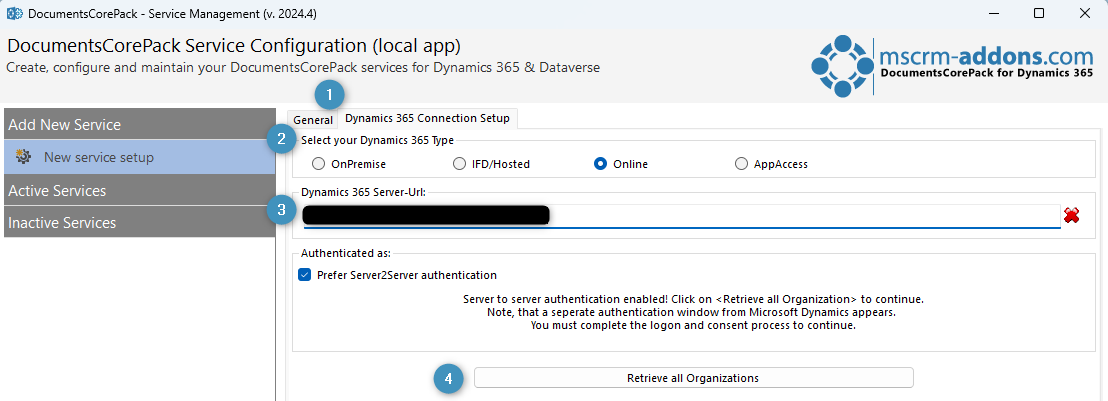
Once verified, the ❶ Dynamics 365 Connection Setup tab is shown. Click on it and set the ❷ Dynamics 365 Type to Online. Then, enter the ❸ Dynamics 365 Server-Url and click on ❹ Retrieve all Organizations.
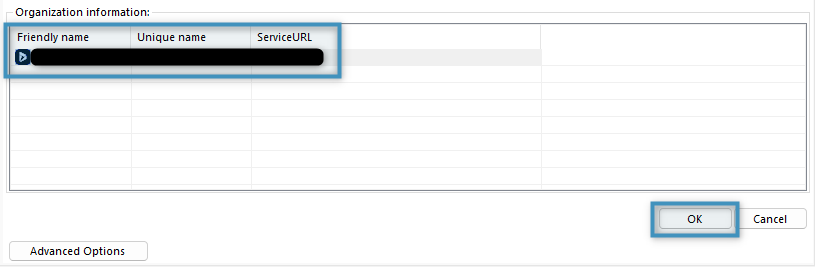
Once you have entered your credentials, your organization information will appear below. Select your organization and click OK.
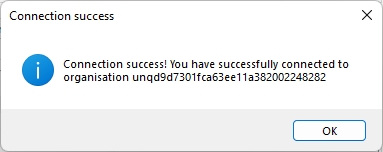
When the connection is successfully created, the following message will appear. Confirm with OK, then save your service configuration to create the service.
Step 3: General settings
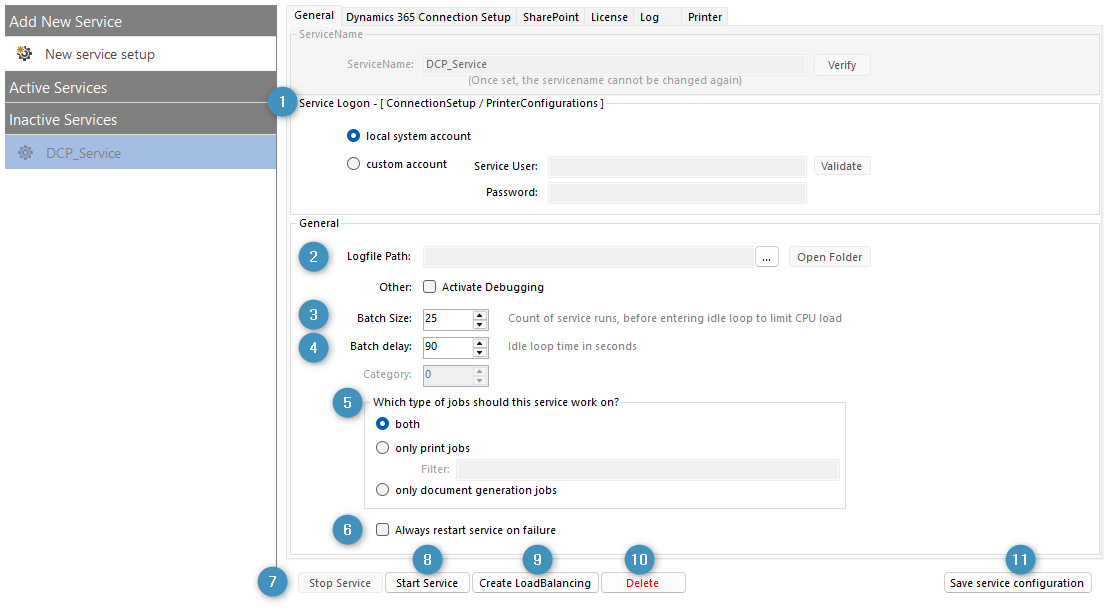
Returning to the General tab, you will now be able to adjust additional service settings:
- The ❶ Service Logon settings allows you to configure a service user for use with printing.
- You can define a ❷ logfile path where debug logs will be saved to if debugging is enabled.
- Note: Each Load Balancing service needs its own path
- The ❸ batch size and ❹ batch delay settings can be adjusted for batch document generation jobs. We recommend setting the batch delay to ten (10) seconds.
- You can decide if the service should work on ❺ print jobs, document generation jobs, or both.
- The ❻ Always restart on service failure setting restarts the service automatically when an error occurs to prevent any downtime.
Additionally, you can ❼ stop or ❽ start the service, or❾ configure Load Balancing as needed (more info below). You can also ❿ delete the service if required.
Don’t forget to ⓫ save your service configuration once you have finalized your settings.
Step 4: Starting the service
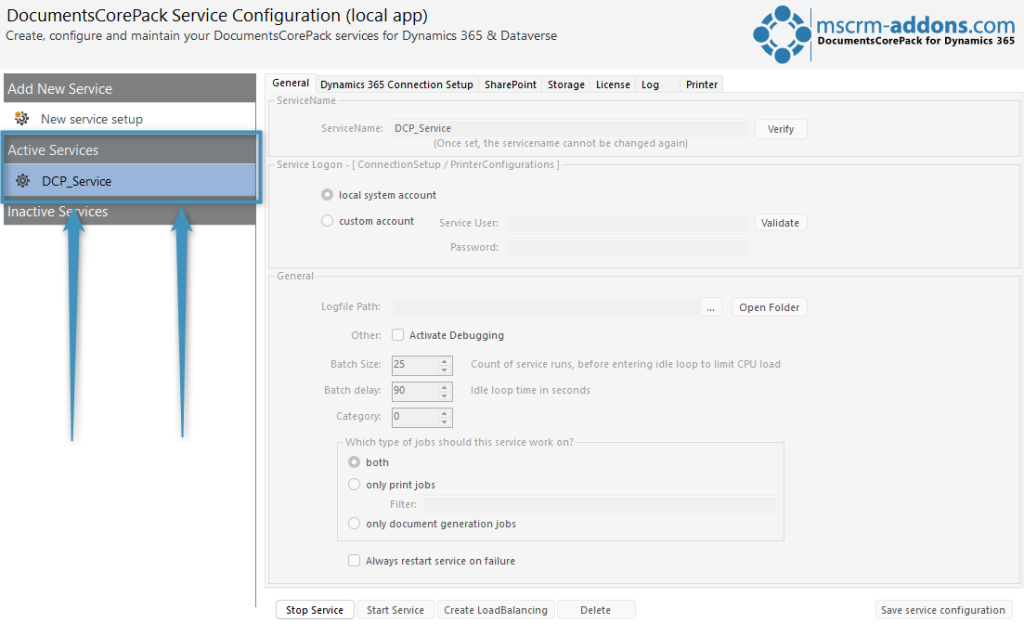
When you are ready, click the ❽ Start Service button. Once the service is running, the service will be placed under the Active Service tab.
Note: The service’s settings cannot be changed unless the service is stopped.
Enabling Load Balancing
Load Balancing plays a crucial role in ensuring the scalability, availability, and performance of DocumentsCorePack services. Further details regarding the impact of Load Balancing can be found here.
Note: Load Balancing requires a license that can be optionally added to your subscription. Please contact sales@mscrm-addons.com for details.
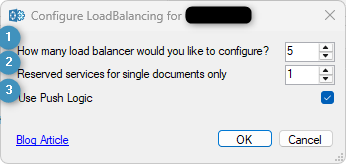
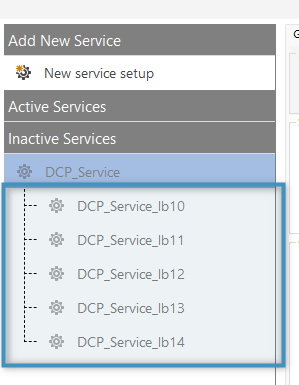
To enable Load Balancing, click on the Create LoadBalancing button after creating your service while the service itself is stopped. In the following dialog, you can decide ❶ how many load balancing services should be created and ❷ how many services should be reserved for single documents. The ❸ Use Push Logic setting, enabled by default, helps improve load balancing performance and should not be disabled unless specified by our support team (see more on push logic here).
The services will appear as subservices on the left hand side. When starting the primary services, the Load Balancing services will start automatically.
The Storage Tab
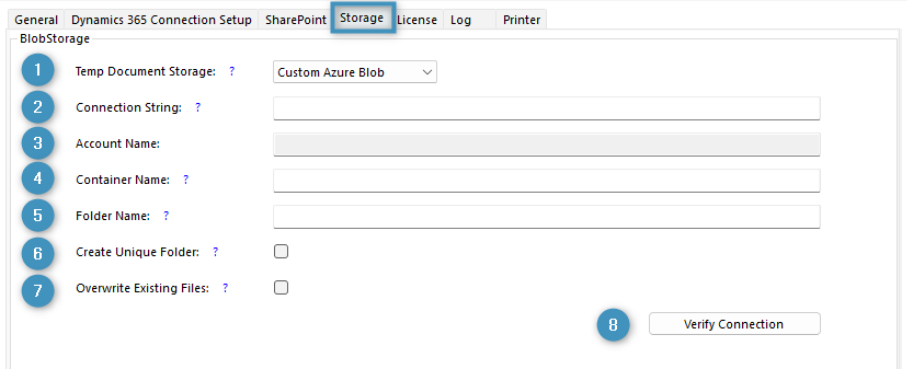
The storage tab allows you to configure where temporary documents should be stored. The following settings can be adjusted:
❶ Temp Document Storage: Determines where the documents should be stored. You can choose between Dataverse and Custom Azure Blob. If Custom Azure Blob is chosen, you must enter information in items (2)-(7)
❷ Connection String: A connection string associated with your Azure Storage account must be entered here. Note that SAS is not supported in this case.
❸ Account Name: The name associated with your Azure Storage account.
❹ Container Name: The name of a container within your custom Azure Blob Storage to store temporary documents in. Optional.
❺ Folder Name: The name of a folder within your custom Azure Blob Storage to organize your temporary documents in. If not provided, temporary documents will instead be stored in the root of the default container or the specified custom container.
❻ Create Unique Folder: If enabled, a separate subfolder will be created for each document within the specified contained or folder in your Azure Blob Storage.
❼ Overwrite Existing Files: If enabled, overwrites existing files with the same name in the storage location. If disabled, a unique file name will be generated by prepending a GUID to the filename to avoid conflicts.
❽ Verify Connection: When you have configured your settings, clicking this button will verify the connection to Dataverse/your custom Azure Blob.
That’s it! We appreciate your feedback! Please share your thoughts by sending an email to support@mscrm-addons.com.