This article demonstrates how to update your solutions for DocumentsCorePack and AttachmentExtractor Online Service. Additionally, this guide details how to check the access mode of your user, in the event issues occur when attempting to update your solutions.
Note: Updating your solutions can take up to 60 minutes. During this time, the peformance of Dynamics 365 may be impacted. Due to this, we recommend updating your solutions outside of business hours.
How to update your solutions
Open mscrm-addons.com and login with your admin credentials. Navigate to you My Account and select the Manage Services tab.

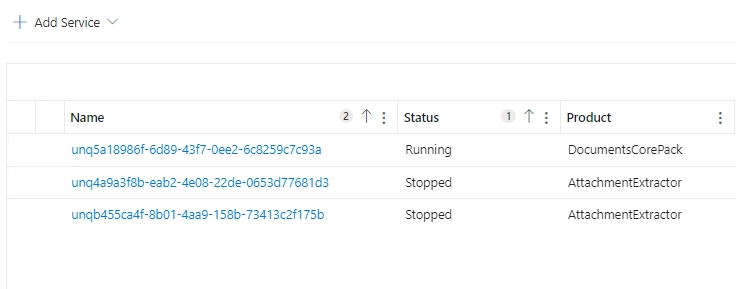
A list of services is displayed. Select one to open the service overview.
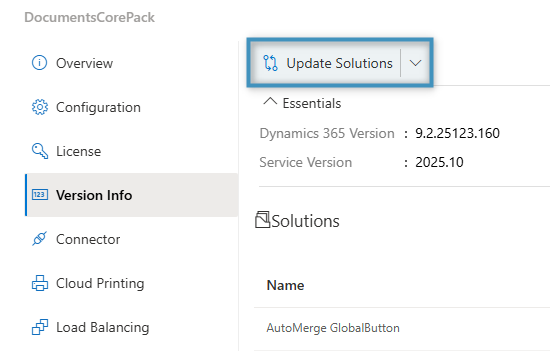
Navigate to the Version Info tab and click on the Update Solutions button to update your service.
How to check your access mode
If you experience problems updating your solutions, you may need to check the access mode of your admin user.
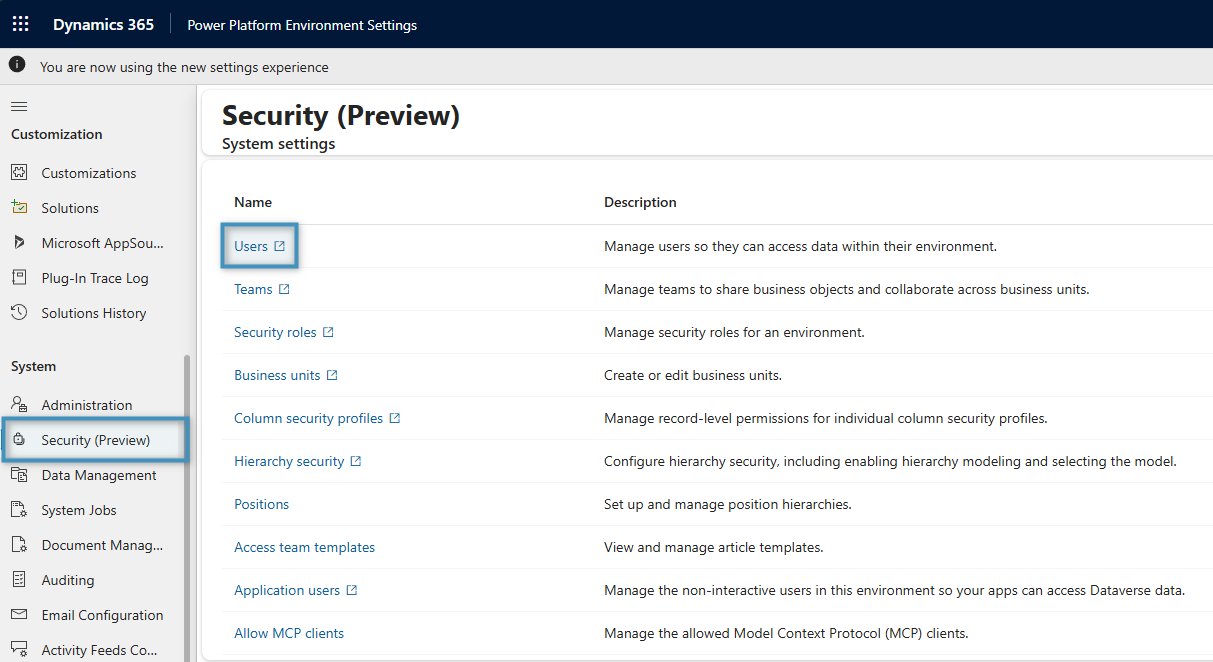
To find this information, begin by navigating to the Power Platform Environment Settings in your Dynamics 365 environment and click on the Security (preview) button. Then, click on Users.
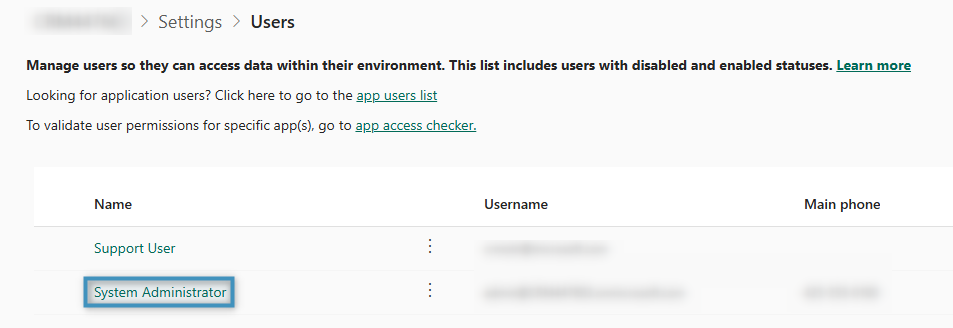
An overview of enabled users is displayed. Find and select your admin user. In this example, it is the System Administrator user.
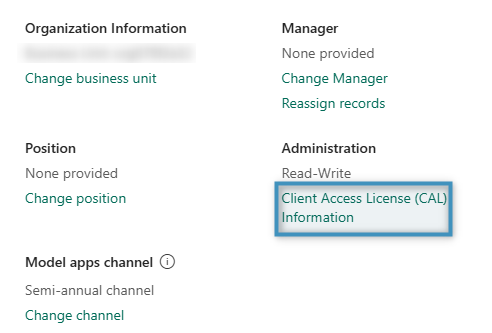
A task pane will open. Scroll down and click Client Access License (CAL) Information.
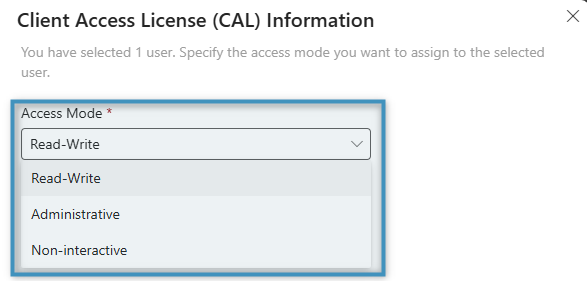
Check if the profile has the access mode:
- Read-Write or
- Non-interactive
These access mode options are necessary for the admin role to prevent errors from occurring while updating.
Make sure that the Administrative option is not selected. This option may cause problems.
That’s it! We appreciate your feedback! Please share your thoughts by sending an email to support@mscrm-addons.com.