This articles outlines how to deploy DocumentsCorePack on your own virtual machine.
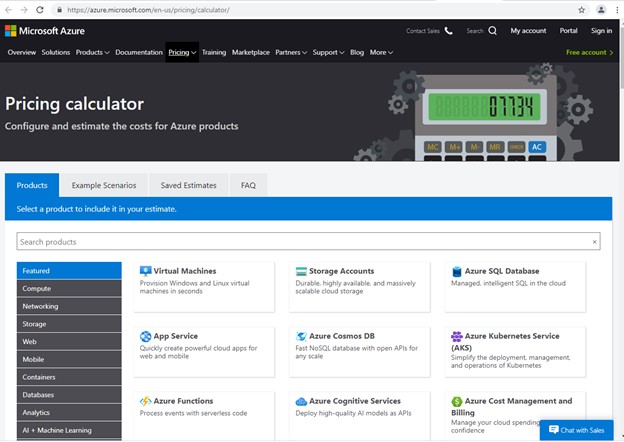
To purchase a virtual machine, please access the Microsoft Azure pricing calculator.
Recommended virtual machine settings
If you are purchasing a virtual machine via Microsoft Azure, we recommend a virtual machine with the following configurations:
- Region: Select same Region where your Dynamics 365 environment is hosted
- Operating System: Select “Windows”
- Type: Select “(OS Only)”
- Tier: Select “Standard”
- Instance: Select “D2s v4: 2vCPUs, 8GB RAM, 0GB Temporary Storage……”

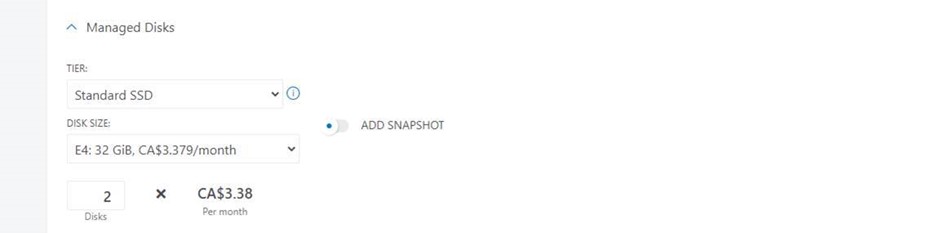
Note: The additional “Managed Disks” and “Storage Transactions” options are not required. No additional software should be needed.

Prerequisites for building your own virtual machine
- If you are building your own virtual machine instead of buying an Azure Virtual Machine, we recommend installing Windows Server 2019.
- Other compatible server operating systems include: Windows Server 2016 and Windows Server 2012
- For best performance, it is recommended that the virtual machine for your DocumentsCorePack service be located in the same datacenter as your Dynamics 365 instance (i.e., inside the same network and physically close as possible).
- No other software is required
- However, for Windows Server 2012, .Net 4.6.2 installation is required.
DocumentsCorePack installation and information
The DocumentsCorePack Installation consists of two main parts:
- Server Install: Installation of DocumentsCorePack Service and import of DocumentsCorePack Managed Solutions into the Dynamics 365 environment
- Template Designer Client Install: Client executable only installed on workstations of designated template designers – nothing installed on virtual machine
DocumentsCorePack installation and configuration is covered in our installation guide:
| DocumentsCorePack Installation Guide | EN | 05/18/2026 | 4.35 MB | Download |
| DocumentsCorePack User Guide | EN | 12/13/2022 | 4.84 MB | Download |
Note: The use of the DocumentsCorePack Connector for PowerAutomate and PowerApps is not supported for self-hosted deployments of DocumentsCorePack. Automation is still supported using the native Dataverse connector or through Microsoft Dynamics 365 Workflows.
Virtual machine architecture and security for DocumentsCorePack
When installing DocumentsCorePack on your own hosted Virtual Machine, mscrm-addons.com does not have any direct access to your hosted Virtual Machine or other systems (i.e., Dynamics 365, SharePoint, etc.).
Scheme diagram and process flow
Once a customer sends a document generation request, the service will grab the request from Dynamics 365, retrieve the data, generate the document, and push it back to Dynamics 365. Afterwards, the document can be accessed by customers. This process is visualized as follows:

- Document Generation Request: Once a document generation request is triggered, a Dynamics 365 record called an “AutoMergeWorkingItem” is generated in Dynamics 365. Document requests can be triggered manually by a user using pre-configured “One-Click-Actions” or automated through Dynamics 365 Workflow. (PowerAutomate (Flow) is not supported for self-hosted installations).
- Document Generation: The cloud service connects to Dynamics 365 using Dynamics 365 web services (secure communication via https) and loads both the document to generate (template) and the Dynamics 365 data needed inside the document. There is no information stored on the virtual machine that hosts the cloud service except when debugging is activated – in that case, the data fetched from Dynamics 365 will show up in debug files.
- Send document back to Dynamics 365: The generated document is sent back to Dynamics 365 using web services (secured communications via https). The document itself is never stored on the virtual machine.
Note: To communicate from the cloud service to Dynamics 365, we use Server2Server authentication without the need to store login credentials locally on the virtual machine.
That’s it! We appreciate your feedback! Please share your thoughts by sending an email to support@mscrm-addons.com.