The Master Template feature allows you to manage the design of the documents header and footer in a separate template. So when the design changes you have to modify one template instead of each template. In your actual templates, you have to set the Master Template which should be applied when the document is merged.
Example:
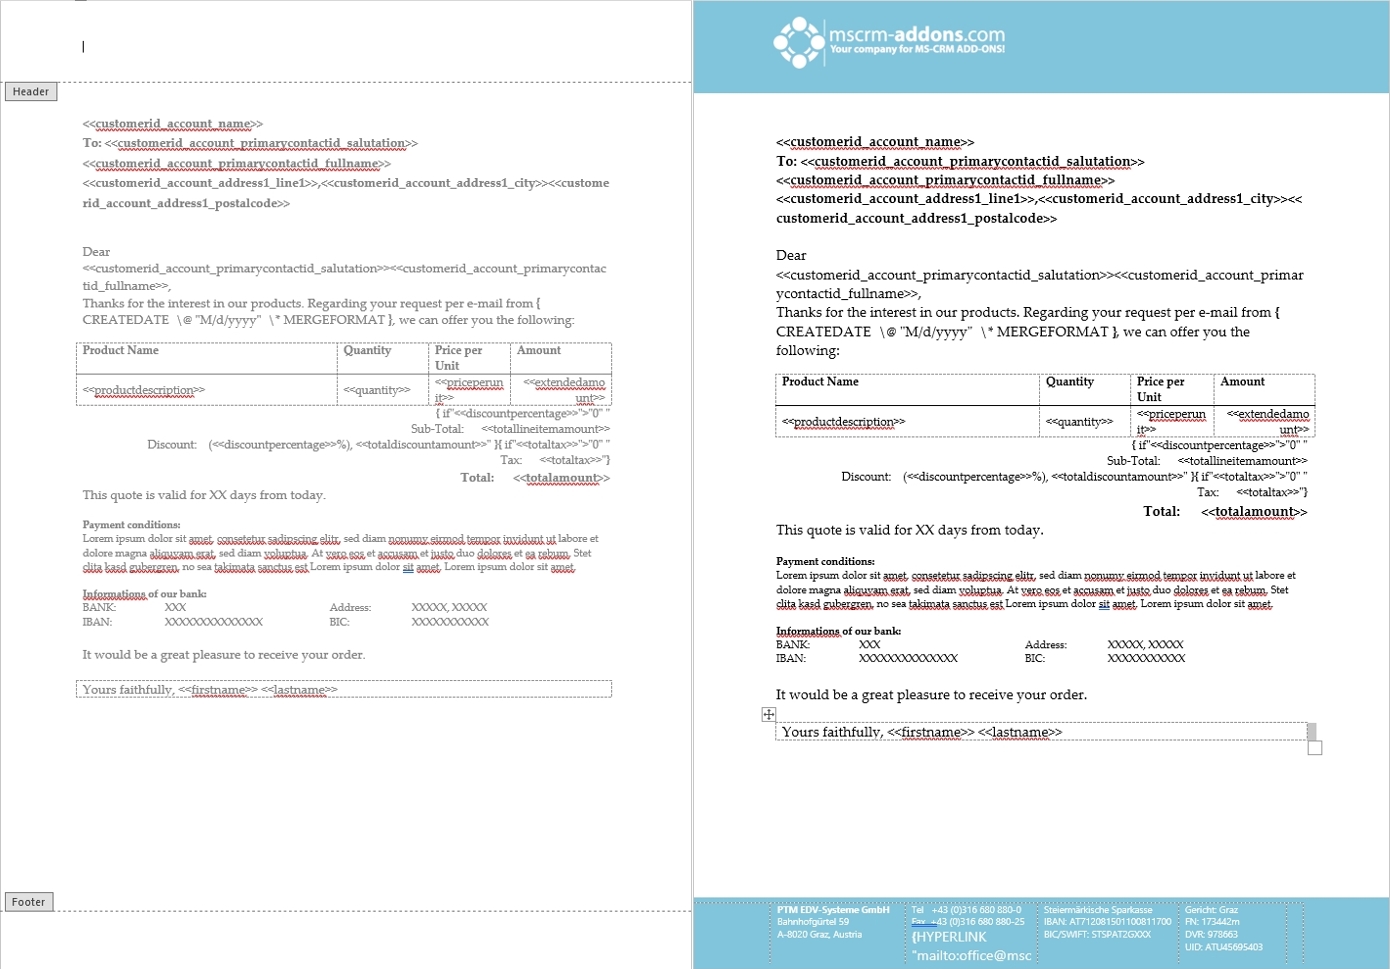
The left example shows the document which is to edit and on the right side, the created document contains the company’s design and the Header and Footer.
Step-by-step description: How to set up a Master Template for your company
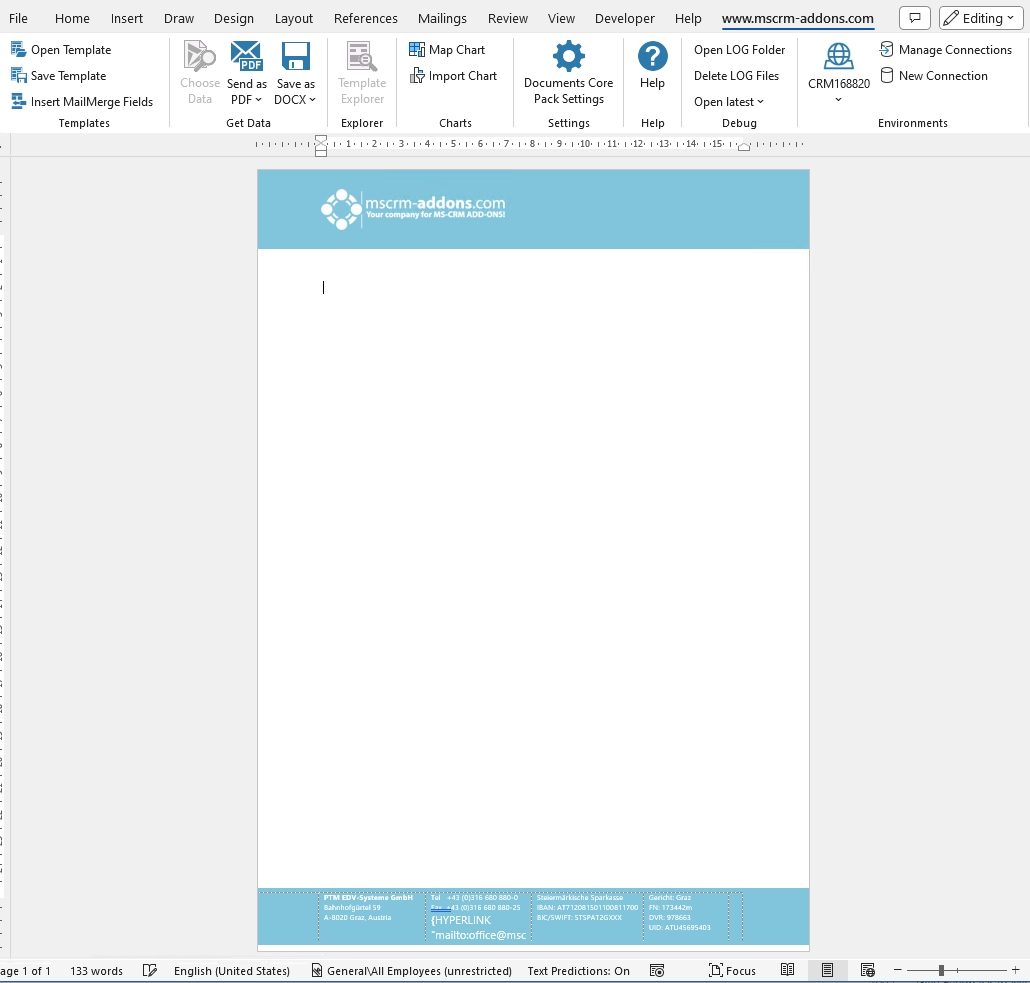
Step 1: Open a document and edit the Header and the Footer according to the company´s design.
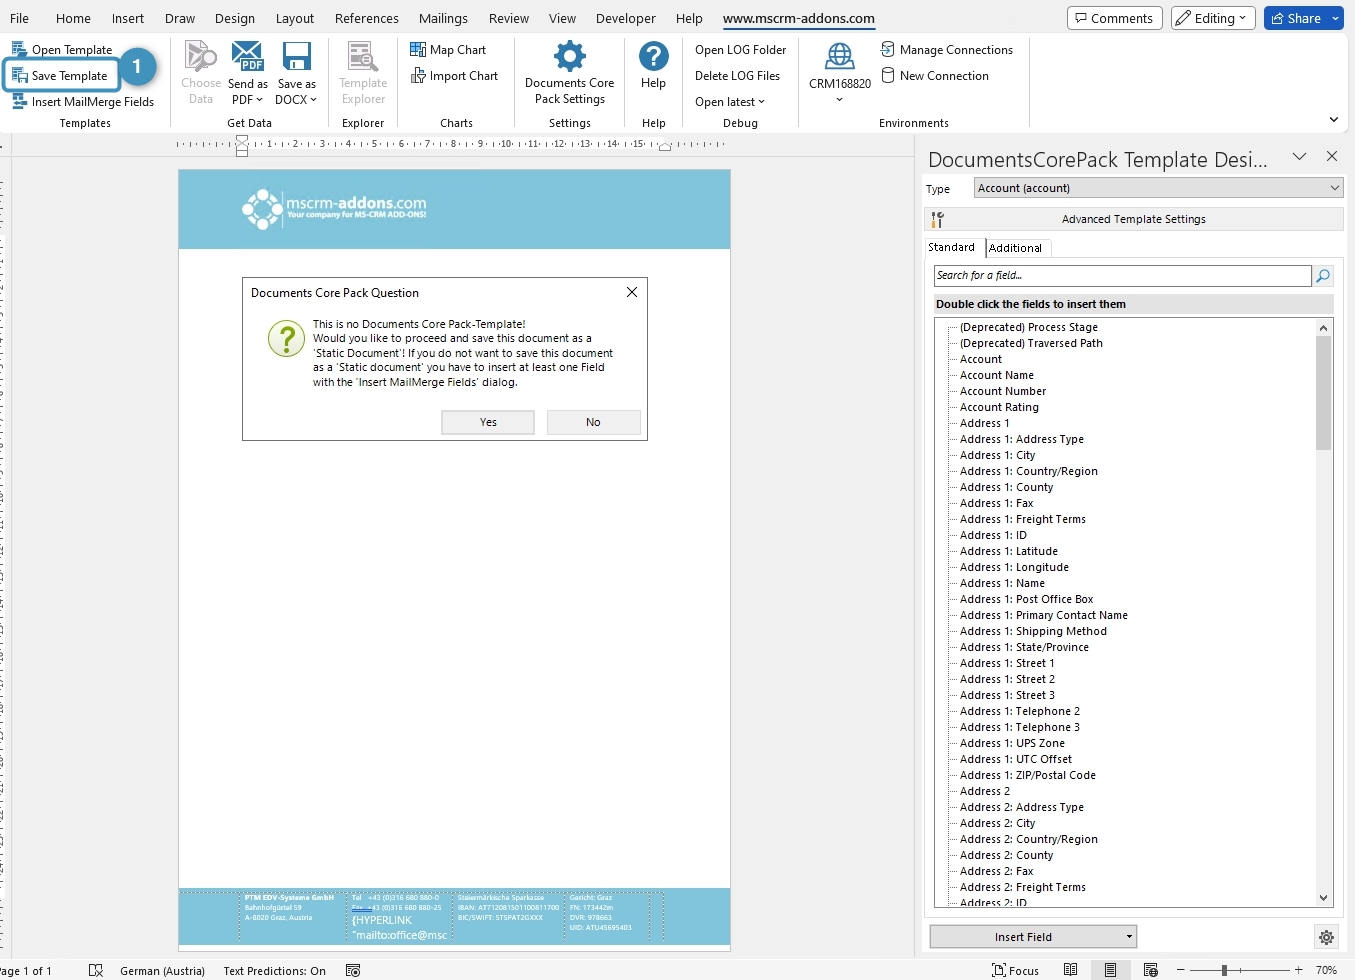
Step 2: Save the document by using the ❶ Save Template option as a static template in your Dynamics 365.
When the Documents Core Pack Question occurs, please confirm with Yes.
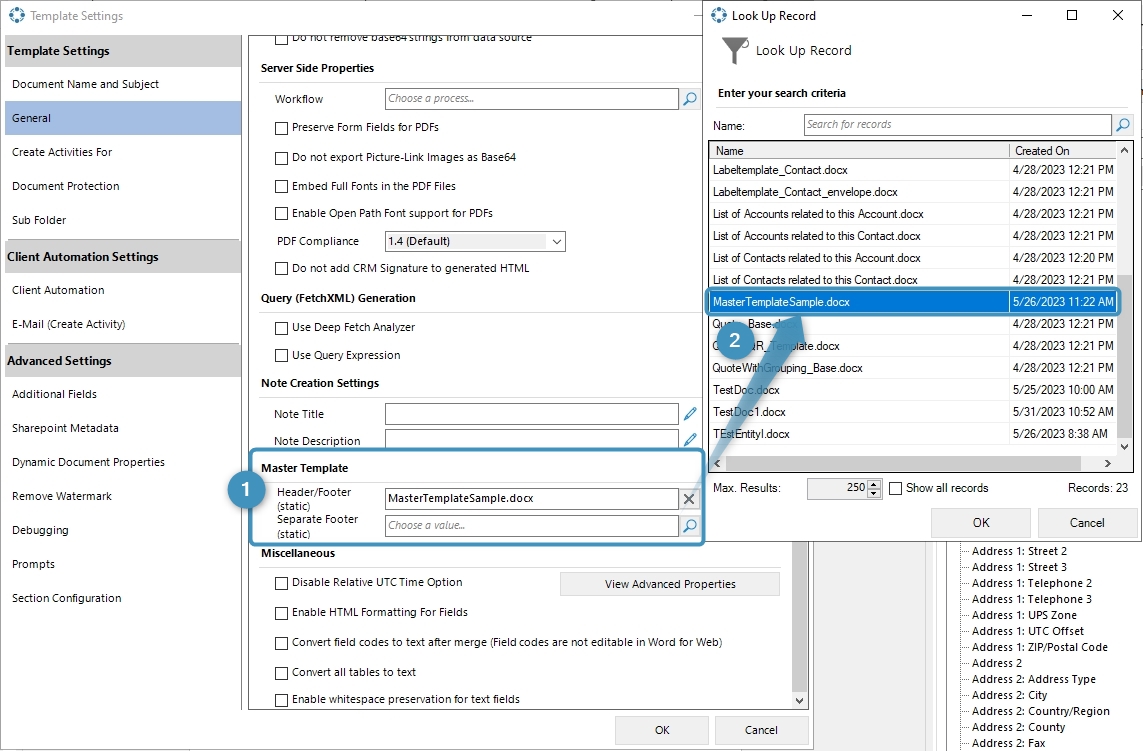
Step 3: Assign the Master Template to your regular templates. Open the ❶ Advanced Template Settings and go to the ❷ General tab and navigate to the ❸ Master Template settings.
Two settings:
❹ To define which Master Template should be applied for all Headers and Footers in the document. ❺ It is an optional setting for a Master Template for the Footer.

Step 4: To assign a Master Template type in the ❶ Header/Footer (static) search bar the name of the Master Template you prepared, or you can open it with the ❷ Look Up Record by clicking on the magnifier glass.
Step 5: Save the Master Template.
Before use or test the defined Master Template it is necessary to save it:
- Locally with the standard Save.
- Save as functionality of Microsoft Word.
- Save Template option of the DocumentsCorePack Template Designer to publish the template to Dynamics 365.
Step 6: Test your template (optional). Find out if your changes on the template are working. A step-by-step description of how to test your template can be found here.
Please note:
- If you want to use “Different First Page” or “Different Odd & Even Pages”, then you have to design also the second page in the Master Template otherwise those sections will be blank in the result document.
- The size of the Header/Footer in the Master Template shouldn`t be bigger than the page margin of the main template. Otherwise, it will shrink the document body size in the output document. There is no setting to limit the size of the header/footer.
- Format styles of the Master Template are not merged into the main template. Text formatting made in the Master Template without format styles will be displayed correctly. If you like to work with format styles in the Master Template, please make sure that they exist in each template.
That´s it! We appreciate your feedback! Please share your thoughts by sending an e-mail to support@mscrm-addons.com