This blog article explains how to configure Microsoft Universal Print printers to be used for printing with DocumentsCorePack (DCP).
Microsoft Universal Print Prerequisites:
You must install, configure and license the Microsoft Universal Print Connector (see Microsoft licenses for licensing information).
Within the Microsoft Universal Print Dashboard you can see all available printers.
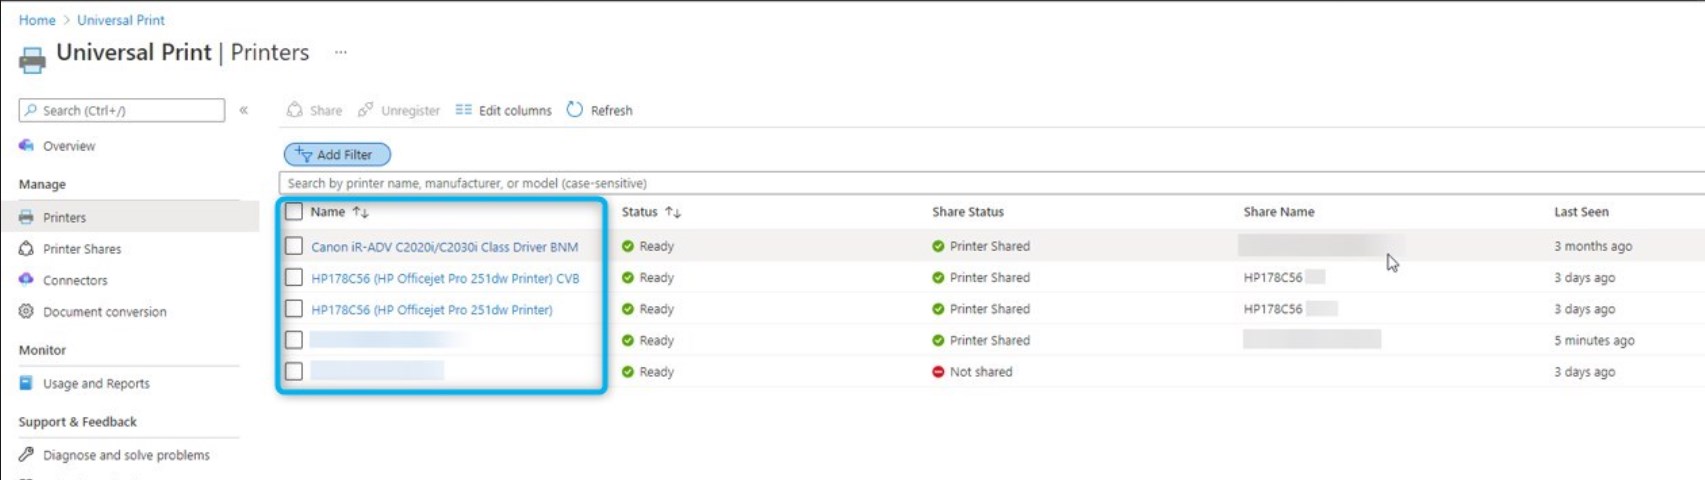
Figure 1: Universal Print dashboard
Please Note: After the installation, the following Powershell script must be executed on the computer where the Universal Print Connector was installed:
PS C:\windows\PrintConnectorSvc> .\UpdateConnectorConfigJson.ps1 -Feature Connector -Name enable-pdftoxps -Value trueConfigure a new Microsoft Universal Print printer for DocumentsCorePack
First, log in to the DocumentsCorePack Service Configuration.
Please note: Your DCP Service needs to be configured to handle both Document and Print Jobs. Double click on your service and ensure the Job Type is set to “Both.”

Figure 2: Service configuration
Once confirmed, you can start by clicking [configure cloud print].
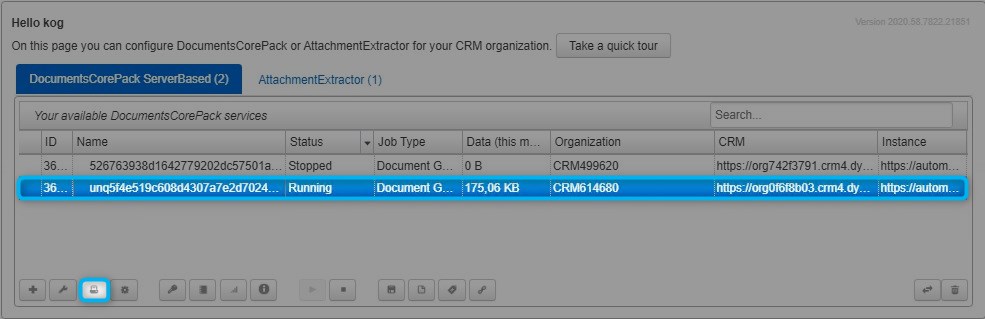
Figure 3: DCP-Service Configuration
This Cloudprint Configuration opens. Press the [+] button to continue.
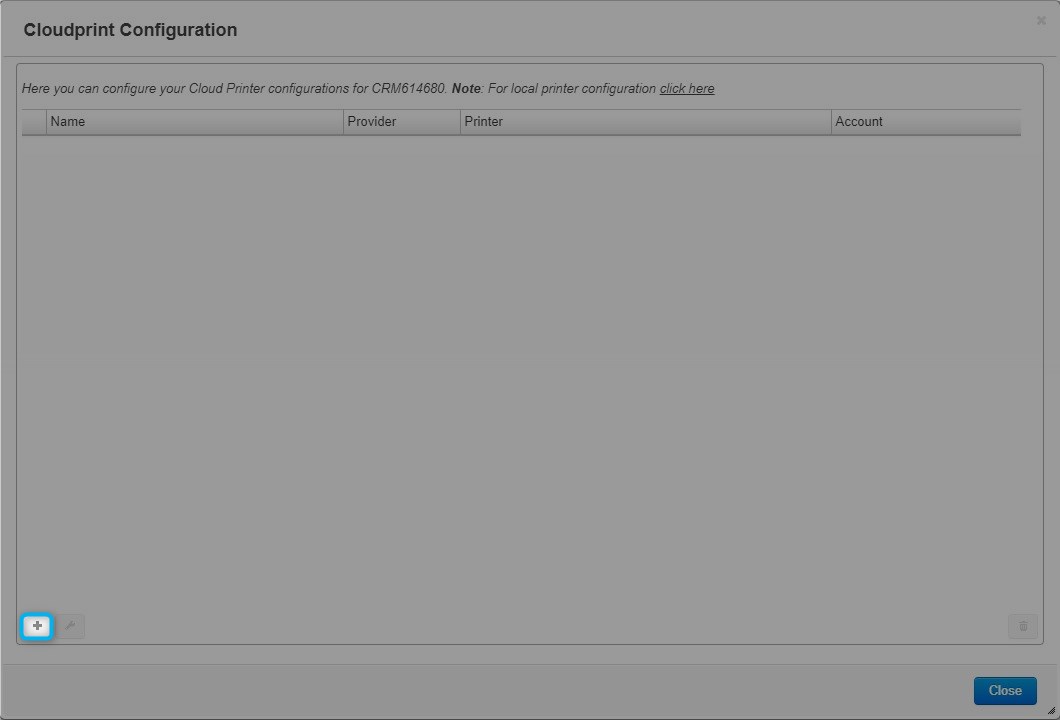
Figure 4: Cloudprint configuration
The Configure Cloud Printer Configuration site is shown. To configure your Universal Print – Cloud Printer, you have to:
❶ Select Universal Print.
❷ Name your configuration.
❸ Press Get available printers.

Figure 5: Get available printers
You are requested to sign in to your Microsoft account.

Figure 6: Sign in
All available printers in your environment are shown. Select the printer you want to configure and finish with a click on [Save Configuration].
Please note: The Printer Settings allow to overrule some of the basic printer settings retrieved from Microsoft Universal Print. Options listed depend on your printer and/or print driver.
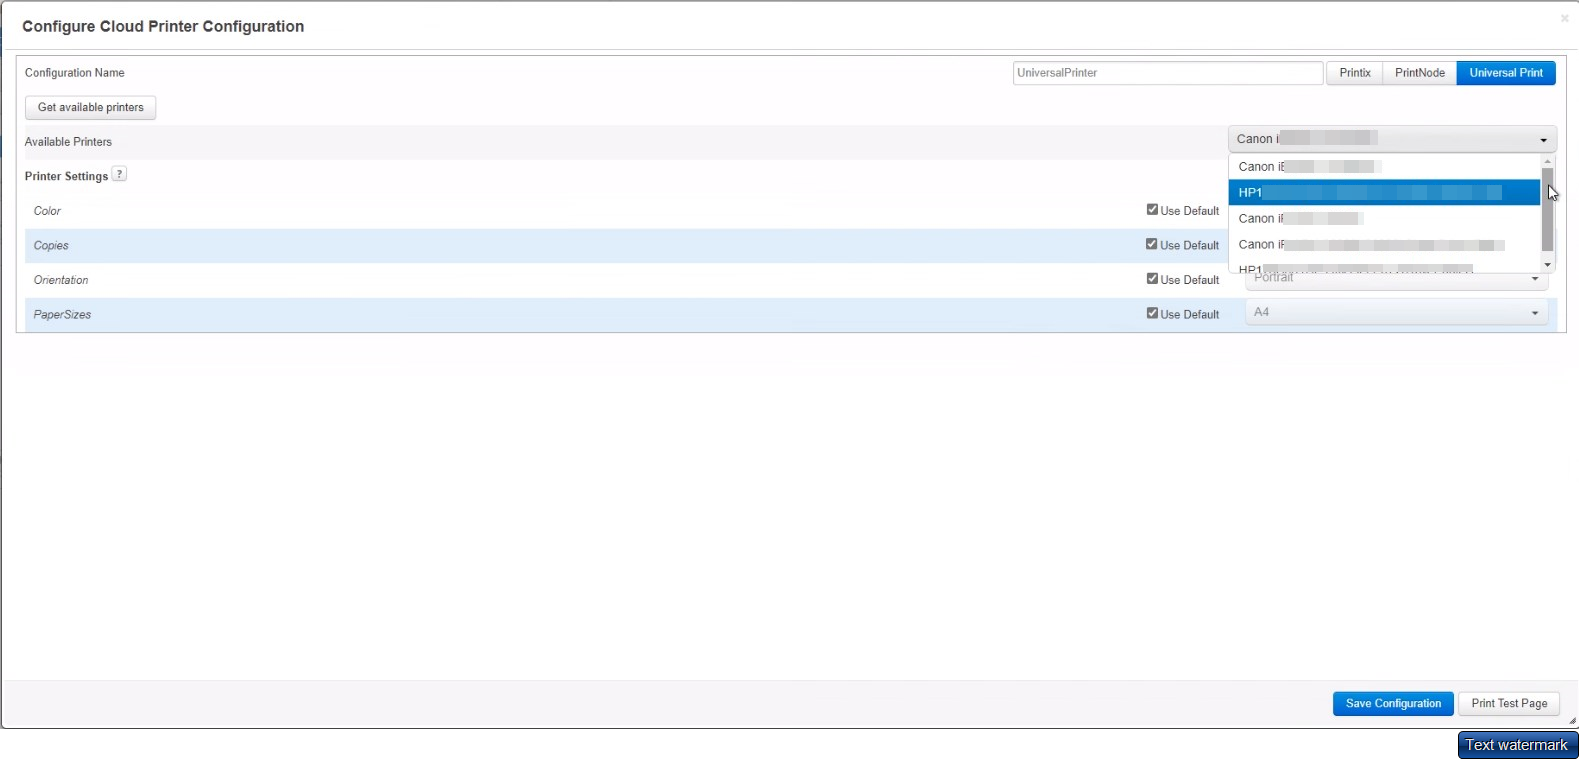
Figure 7: Available printers in your environment
The print service Universal Print is now successfully installed.
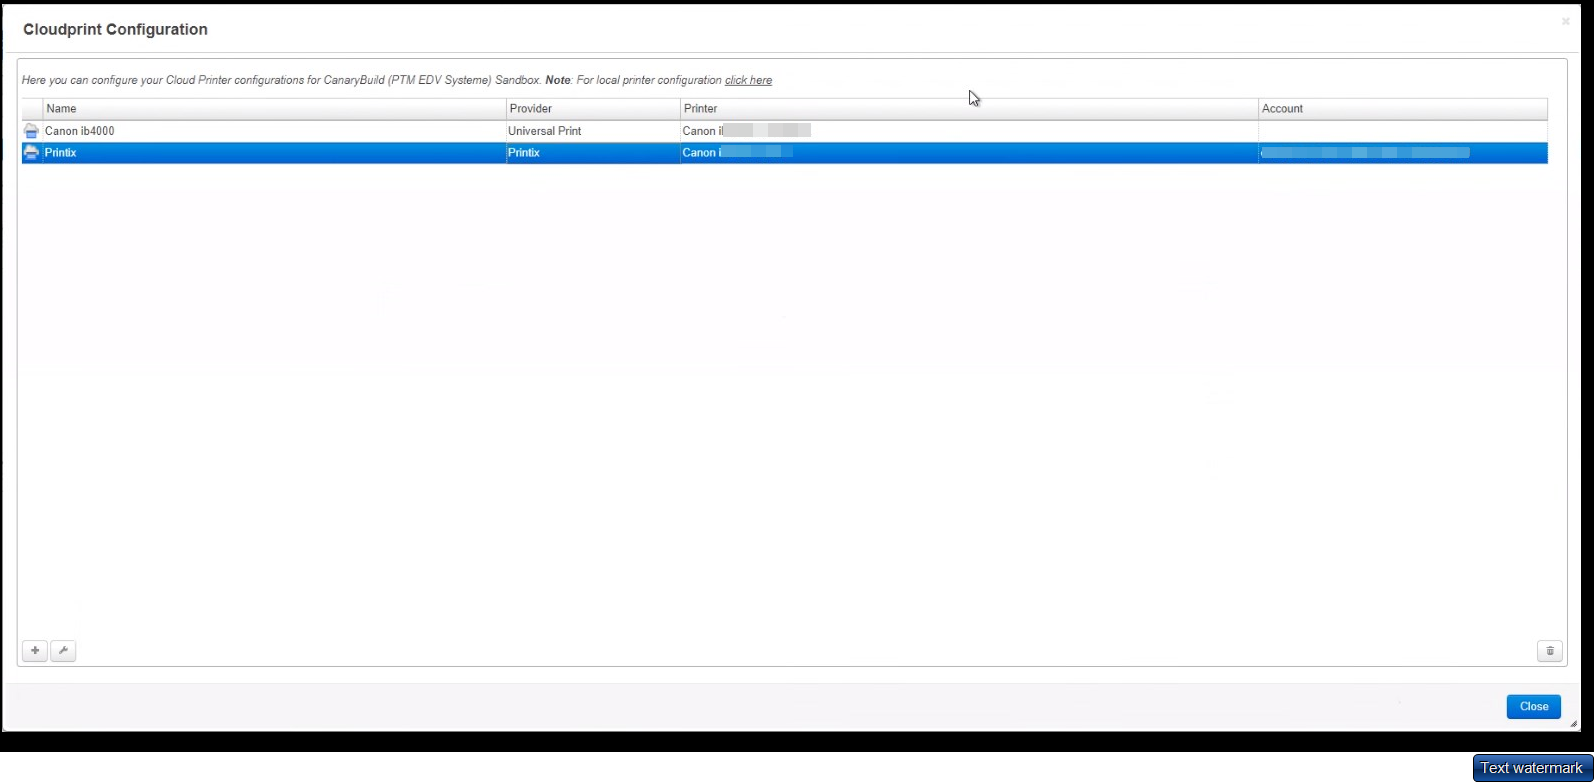
Figure 8: Installed Universal Print
Back to Printing with DocumentsCorePack.
That´s it! We appreciate your feedback. Please share your thoughts by sending an email to support@mscrm-addons.com.