The Service Configuration options help you to configure and modify your service as well as create a new one. To use these options for managing services, you have to navigate to the Service Configuration page. If you are not sure how to reach this page, find the information you need by following this link.
Please note: If the Service Configuration options buttons are not visible, click on a service and they will appear.
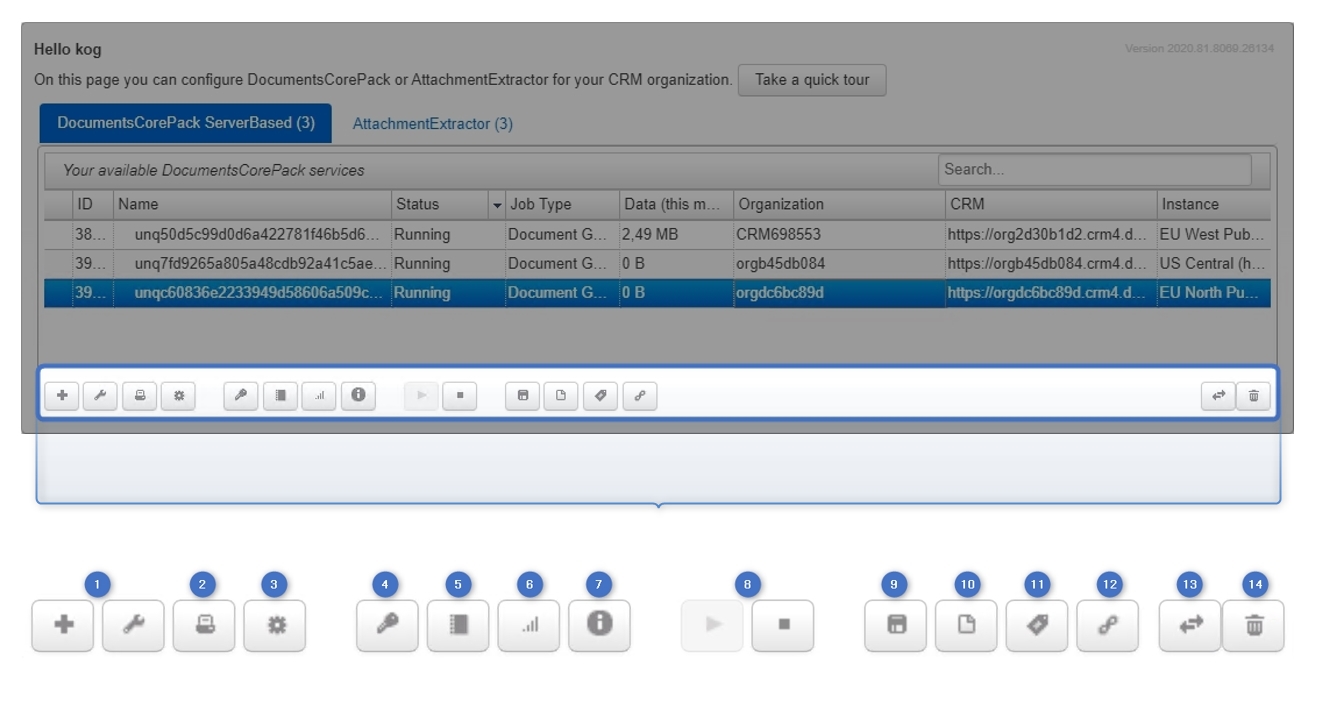
Figure 1: Service Configuration options
1. Add a new DocumentsCorePack Service Or Configure an Existing One
With the Add button you can create a new DocumentsCorePack Service or with the Configure button you can modify a service. A double-click on the service will open the edit mode.
2. Configure Cloud Print
Once you have created a CRM Connection profile, the printing options can be specified here. Please make sure that you have already configured your Cloud Printers. Once configured, you can access printers from Power Automate, Dynamics 365 or your PowerApp.
3. Configure Load Balancing
Select your Load Balancer Configuration here.
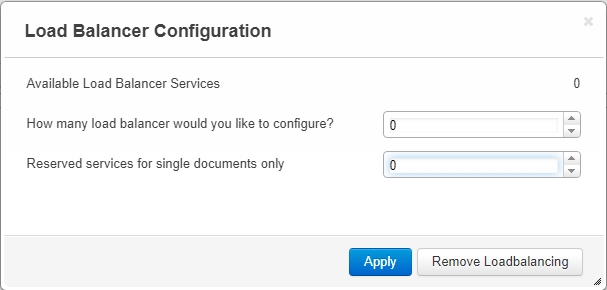
Figure 2: Load Balancer Configuration
4. View and Install the License
If you click License, you will be provided with an overview of the installed license. Furthermore, you can install a new license here. To do so, switch to the product of your choice and click on the Install button. DCP is delivered with a fully supported, 14-days trial license.
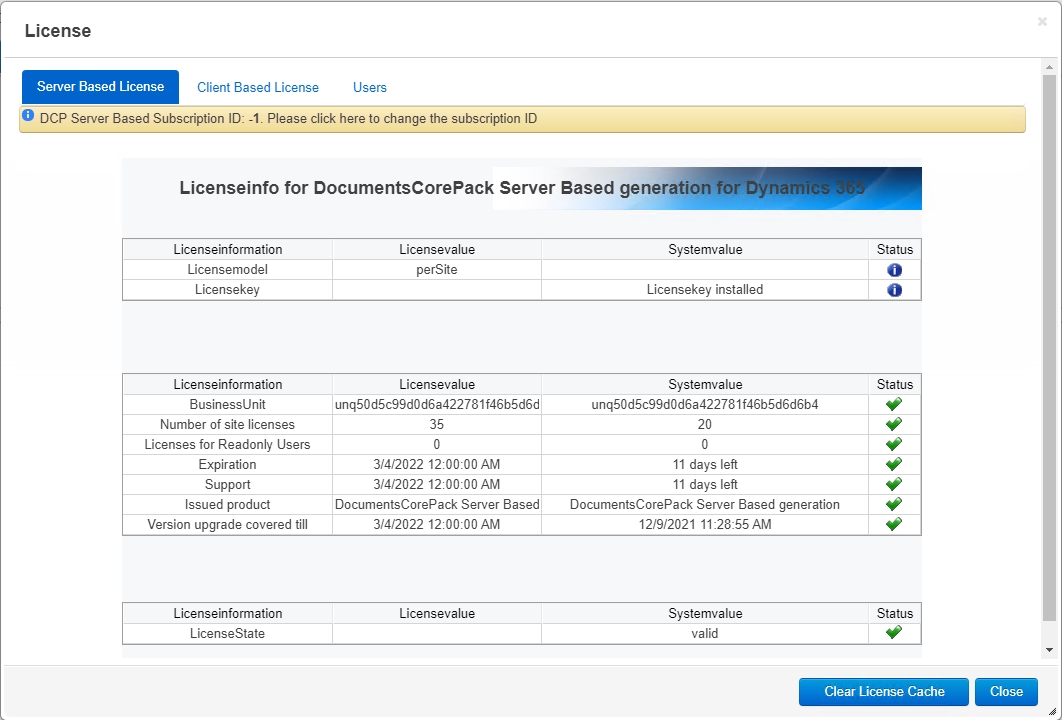
Figure 3: License overview
5. View Service Logs
See the latest event log entries of your service. You can manage how many event log entries of your service should be seen and with a double-click on an entry, the details are shown.
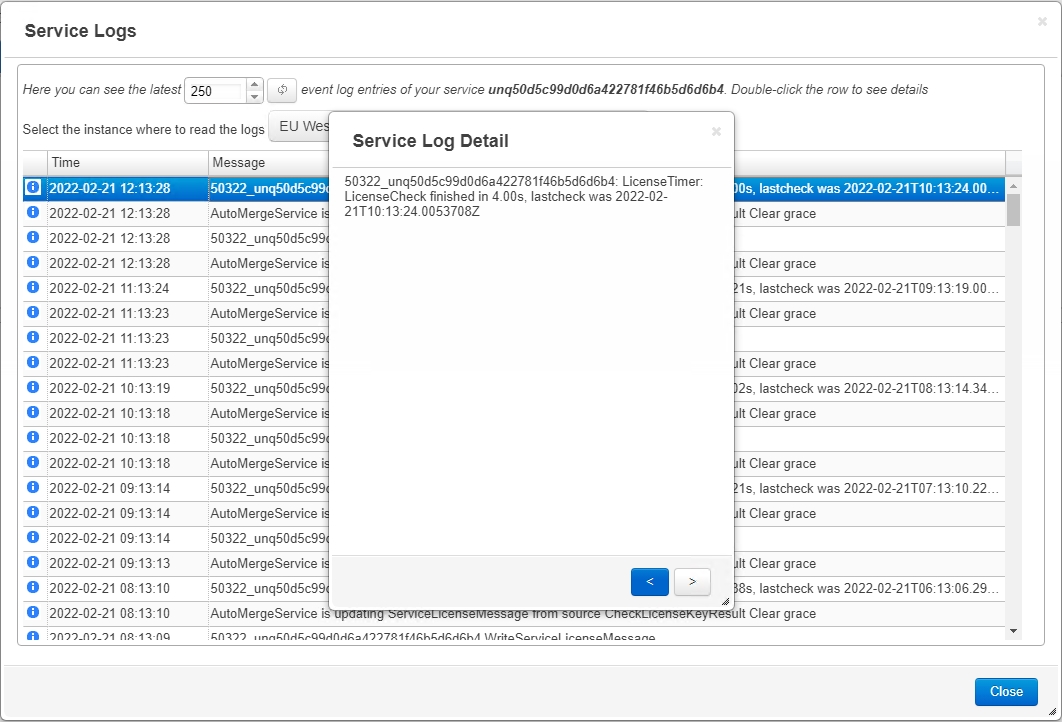
Figure 4: Service Logs
6. View document statistics
Have a look at the statistical data related to the documents created with the DocumentsCorePack Online Service. You can manage how many Service Log entries of your service should be seen or you can specify the time span and with a double-click on an entry, the details are shown.
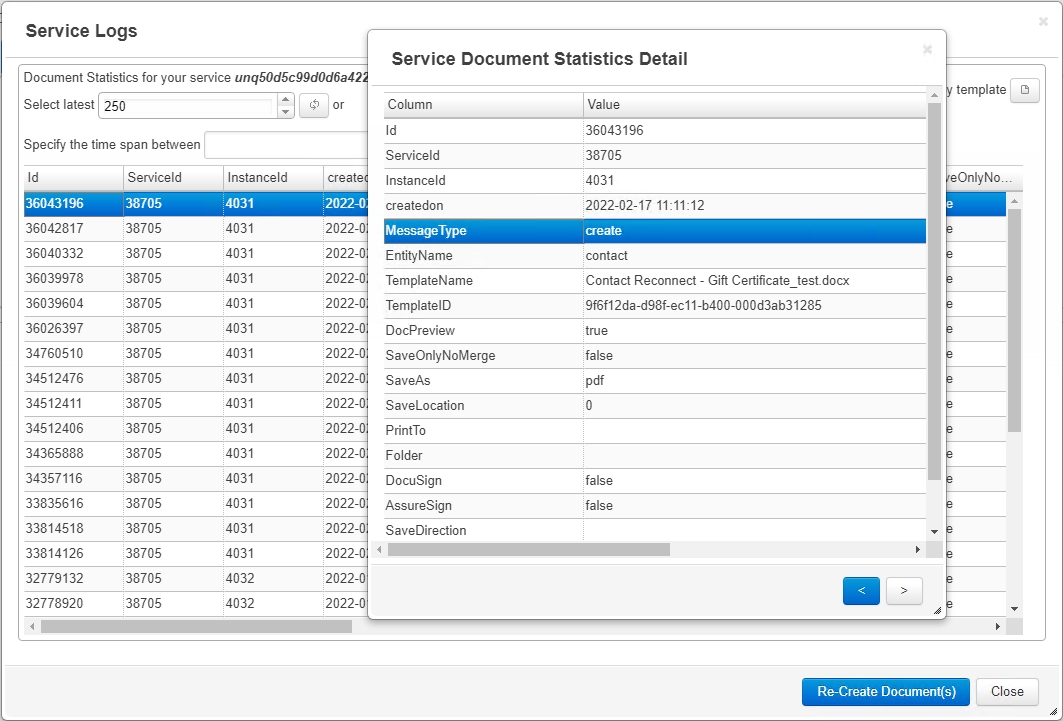
Figure 5: Doc Statistics
7. View Version Info
A click on this button opens the Version Information window. Here, you can get an overview of your license. With a click on the Reinstall/Upgrade button, you can reinstall or upgrade your license.

Figure 6: View Version Info
8. Stop and Start Service
Click on the Start button (triangle) to start the service. Usually, there is no need to start the DocumentsCorePack Online Service because the service is running automatically once it has been configured.
9. View Data Usage Report
A click on this button opens the data usage report, which provides you with your monthly used data volume.

Figure 7: Data Usage Report
10. Import/Export DocumentsCorePack Templates
This Template Management window opens where you can:
- Import DocumentsCorePack Templates: Here, you will be asked to specify how to proceed with the templates you import, but that already exist in the system. You have the possibility to select between the following three options:
- Overwrite – The template GUID stays the same.
- Import the new version – The ‘old’ version will be kept with the ‘old’ template GUID and the ‘new’ version of the template will be imported with a ‘new’ template GUID.
- Ignore – All existing templates will be ignored. Only new templates will be imported.
- Export DocumentsCorePack Templates as *.zip-files.
- Transfer DocumentsCorePack Templates to another organization.
- Enable a Scheduled Template Backup to Azure Blob Storage.

Figure 8: Import – Export – Configure Templates
11. Manage Fonts
If your templates are using fonts which are not installed by default, you may upload and install your fonts into your DocumentsCorePack instance with a click on the Upload Font button.
12. Get API Key
Obtain the API key of your service here.
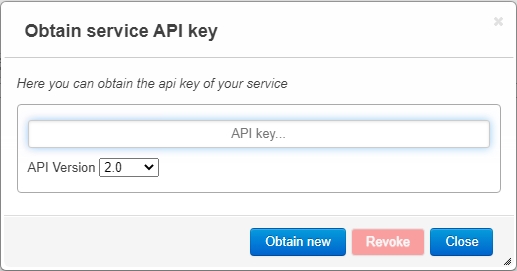
Figure 9: Obtain service API key
13. Move/Copy the Instance
You can find it on the right of the settings bar. With a click on this button, you can move the service to another instance. Simply select a certain instance from the list and click on the Move Service button. Alternatively, you can also copy the service by clicking on the Copy Service button.
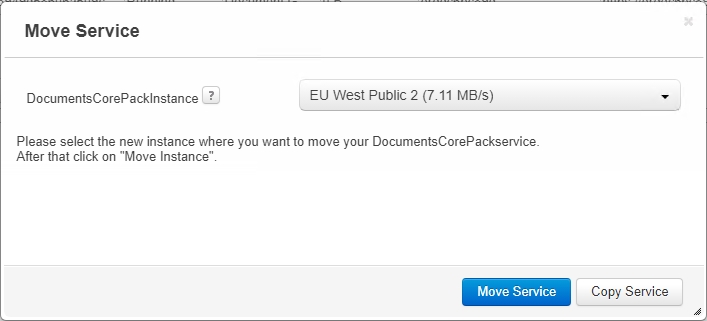
Figure 10: Move Service
14. Delete Service
With a click on this button, you have the possibility to delete the service. Before the service is deleted, you will be provided with the Delete Service window. Here, click on the Delete button in order to delete the service or click on the Cancel button in order to cancel.
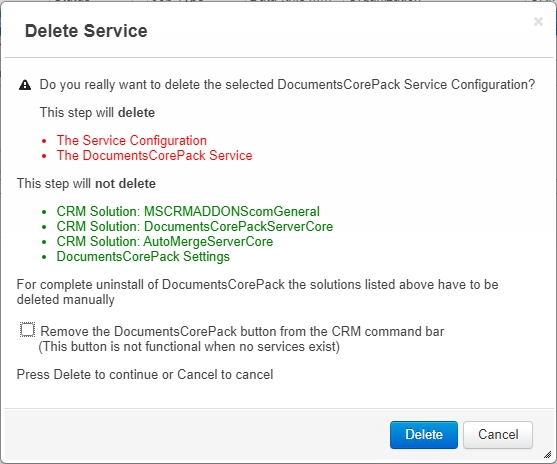
Figure 11: Delete Service
That’s it! We appreciate your feedback! Please share your thoughts by sending an email to support@mscrm-addons.com.