This article outlines how to simplify and automate contract processes by using Dynamics 365, DocumentsCorePack, and E-Signature.
Learn how to create and test a contract template and then how to utilize that template below. The E-Signature DocuSign is used in the following examples, but AdobeSign and AssureSign are also supported.
Prerequisites: DCP Template Designer and a pre-configured E-Signature provider (DocuSign, AdobeSign, or AssureSign).
References:
- DocuSign for DocumentsCorePack
- DocumentsCorepack Template Designer – Getting Started
- Additional information about simplifying contracts with DocumentsCorePack
How to create and test a Contract Template with Dynamics 365 and E-Signature
First, view the video and step-by-step instructions below to learn how to create a contract template that allows for E-Signature, and then test and save it for future use.
1. Open a sample contract as a Word document.
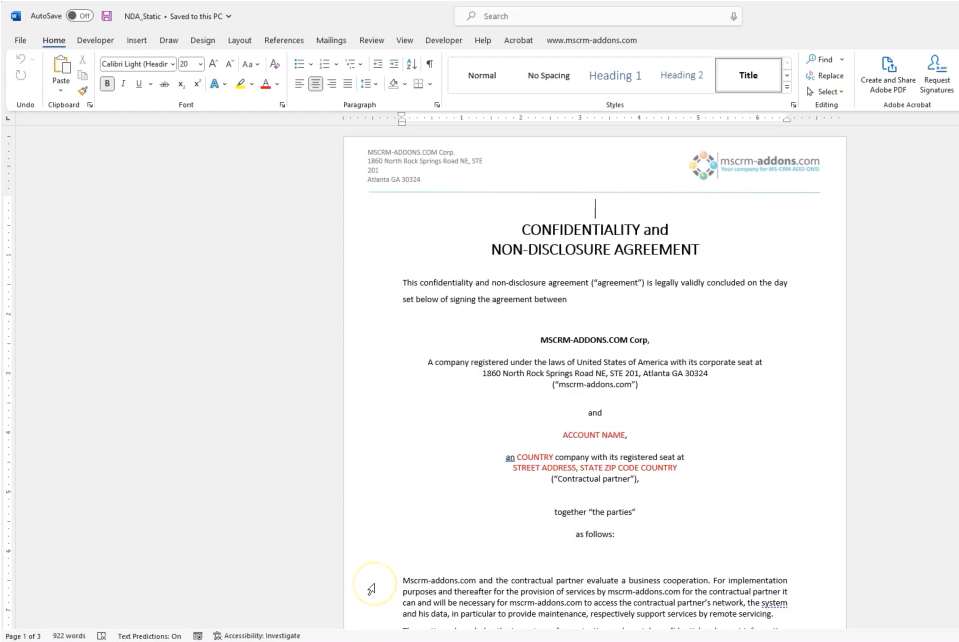
Figure 1: A sample contract
2. Access the mscrm-addons.com tab > Insert MailMerge Fields.

Figure 2: The Insert MailMerge Fields tree-view
3. Define the Type as Opportunity.
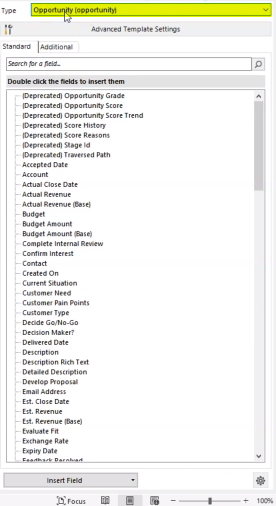
Figure 3: Type set as Opportunity
4. Add Relationships.
Add relationships based on the options listed in the tree-view, or add additional relationships with the Additional tab.
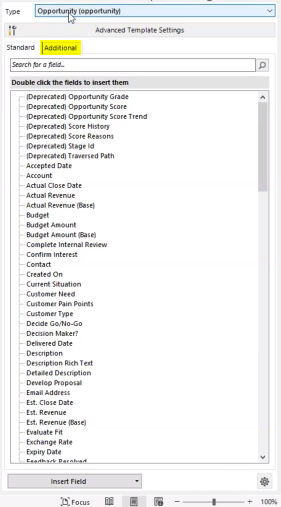
Figure 4: Add relationships from the tree-view or Additional tab
5. (Optional) Simplify the process with a sample record.
To simplify this process with sample data, you can select the gear icon in the bottom-right of the tree-view, and then search for a record. The tree-view will be updated based on the data from the sample record, which will be highlighted in red.
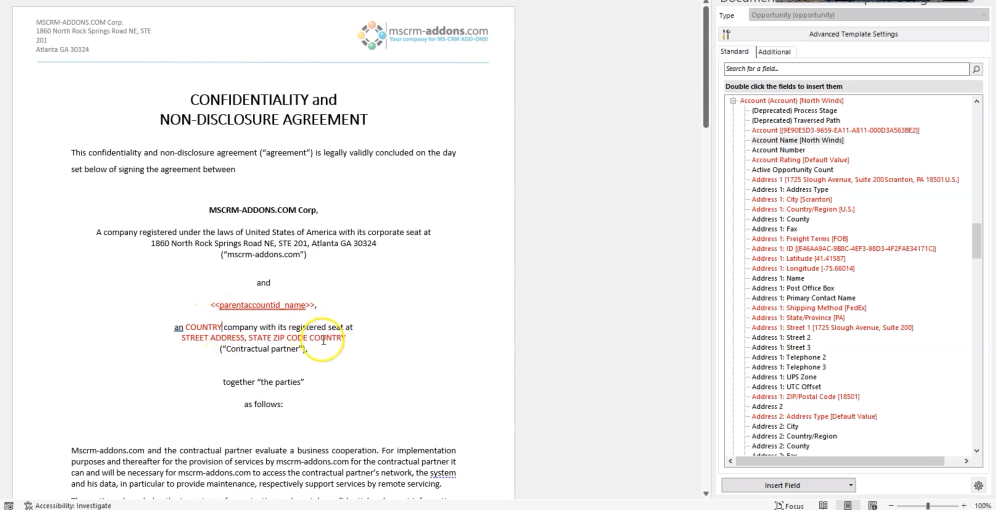
Figure 5: Sample data from a record
6. Set conditions.
You may need to add conditions so that your contract template can be used for multiple use cases. You can do this by selecting Insert Field > Insert Computed Item > Condition Field. You can use the dialog that appears to set conditions to add additional fields, paragraphs/text, an image, a table, etc.
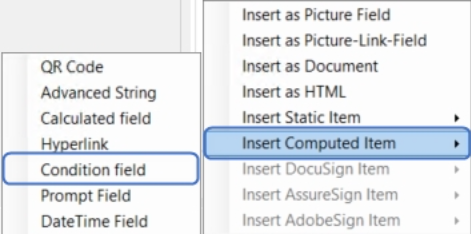
Figure 6: Insert Field > Insert Computed Item > Condition Field
7. Add the E-Signature functionality.
Click where you want to insert the E-Signature in your document and then select Insert Field > Insert DocuSign > Signature. The E-Signature is now activated for the document.
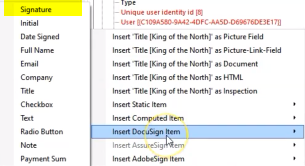
Figure 7: Insert Field > Insert DocuSign Item > Signature
8. Insert a date based on the signature.
To insert a date based on the date that the document is signed via the E-Signature, open Insert Field > Insert DocuSign Item > Date Signed.
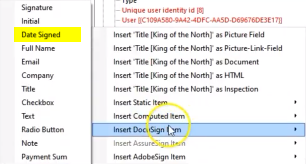
Figure 8: Insert Field > Insert DocuSign Item > Date Signed
9. Save Template.
Once you are finished with your template, go back to the mscrm-addons.com tab in the Word ribbon and select Save Template. You can then change the template name and hit save again.

Figure 9: Save Template
10. Test Template
You can test the template by selecting Choose Data from the mscrm-addons.com tab and selecting an opportunity record. Once you click Select, the generated contract based on that opportunity will appear.

Figure 10: Test Template
How to simplify and automate Contract Processes with Dynamics 365 and E-Signature
Learn below how to use a contract template to simplify the generation and sending of contracts via One-Click-Actions (OCAs) and Power Automate.
1. Access your Dynamics 365 environment > Opportunities > an existing opportunity.
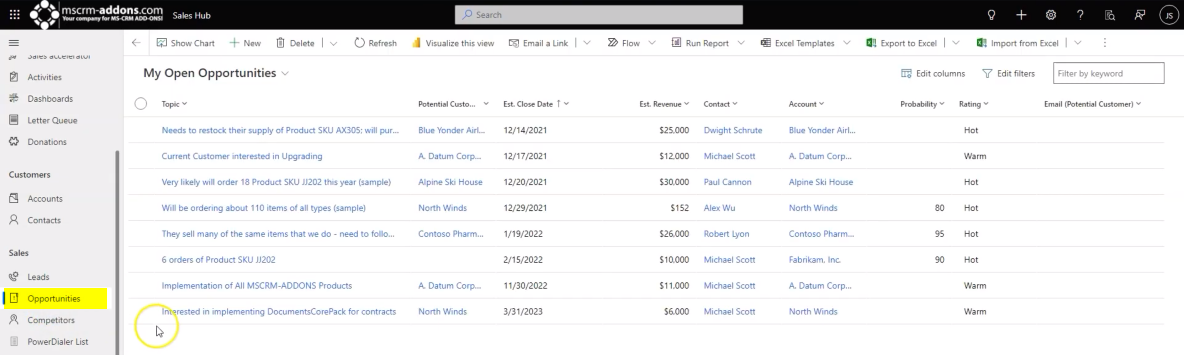
Figure 11: Open an existing opportunity.
2. Select Create Document.

Figure 12: The Create Document button
3. Select the One-Click-Action (OCA) that was made based on a previously designed contract template. Click here to learn more about how to create OCAs.
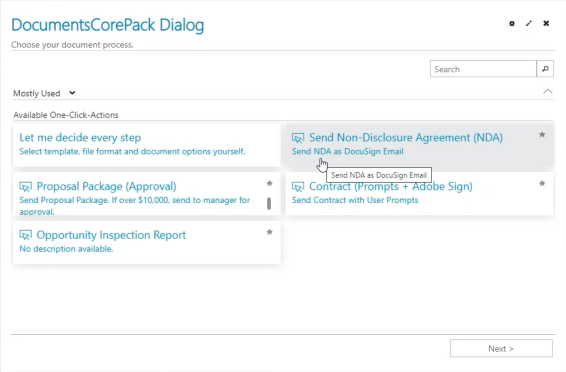
Figure 13: Choose an available OCA.
4. Select recipients (selection can be automated).
After you have selected your recipients, click Create Document and the dynamic content of the template will be filled, and the E-Signature field added.
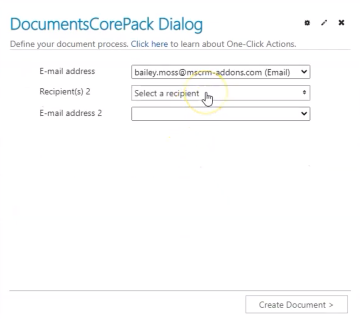
Figure 14: Select recipients.
5. Once the document is generated, you have the option to preview and edit it.
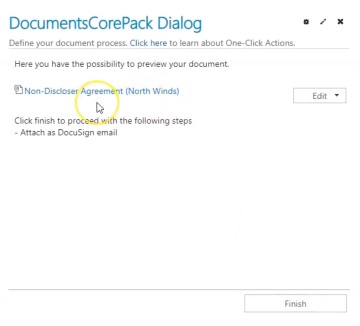
Figure 15: Preview and edit the final document.
6. Once you select Finish, the document will attach as a DocuSign email. The final document generation can take around 40 seconds. The document will then be sent and can be signed by the recipient(s).
7. You can view the status of the document by selecting the Related tab on your opportunity, and then selecting DocuSign Transactions.
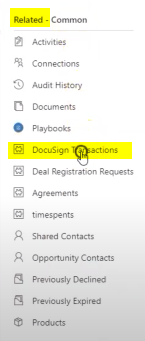
Figure 16: View the document status.
8. The completed and signed document will then be saved to the timeline for that opportunity record.
You can also automate this process through Power Automate.
That’s it! We appreciate your feedback! Please share your thoughts by sending an email to support@mscrm-addons.com.