• Release History
  • Documentation
  • Back to www.mscrm-addons.com
  • Release History
  • Documentation
  • Back to www.mscrm-addons.com
home/Knowledge Base/Template Designer(DCP)/Step-by-Step: How to create a welcome letter template for a customer

Step-by-Step: How to create a welcome letter template for a customer

612 views 0

This article outlines how to create a simple welcome letter template for a contact. 

In this step-by-step description, we will create a template that welcomes a new customer.  This template will make use of the following features: 

  • Adding fields from Dynamics 365 
  • Advanced String 
  • Creating relationships 
  • Aggregation  
  • Hyperlink fields 

This guide is based on a sample template.  To view the finished sample template, please see the attached document at the bottom of this article. 

For a video version of this guide, please see the video below: 

Step 1: Setting the base entity 

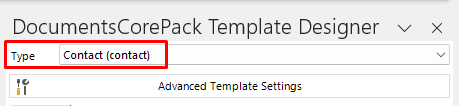
When creating a template, it is always important to set your base entity first.  This is because the fields displayed in the Template Designer will be determined by this base entity, and once a field has been inserted into a template, the base entity can no longer be changed.  In this case, our base entity is Contact, so we will set the Type accordingly. 

setting the type
Figure 1: Setting the type

Step 2: Add your text 

We will begin by adding the body of our letter.  For this example, this is what our letter body looks like: 

template text
Figure 3: The text for our template

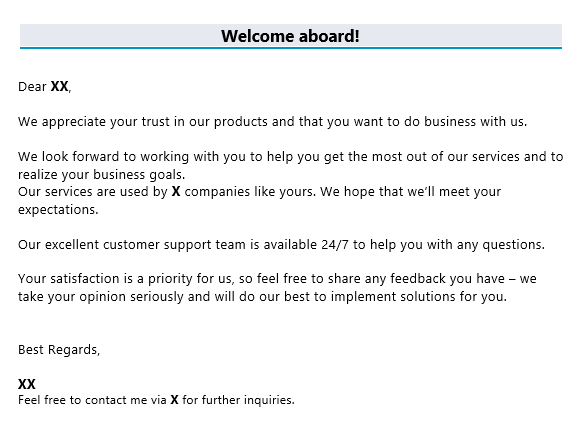
Note the location of the Xs.  This is where we will insert our fields. 

Step 3: Adding standard fields 

Next, we will add some standard fields to our template.  These standard fields will come from our base entity. 

standard fields added
Figure 4: Our template with our standard fields added

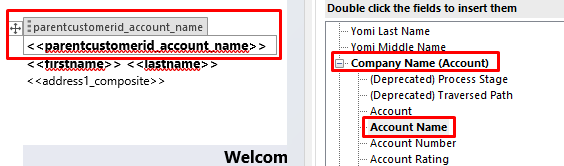
Some fields come from the base entity’s lookup fields.  Lookup fields are located at the bottom of the fields list.  These fields are N:1 relationships that are related to the current base entity.  In our case, we need to get the Account Name field from Company Name (Account), and the First Name and Last Name fields from Owning User (User). 

lookup fields
Figure 5: Lookup fields

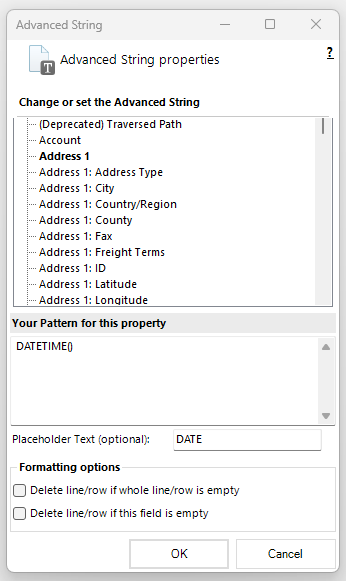
Step 4: Adding the date via Advanced String 

We can add a date field through the Insert Field menu in the Template Designer.  By selecting Advanced String under the Insert Computer Item submenu, we can access the Advanced String window and add the current date to our document by writing DATETIME() under Your Pattern for this property.  

adding the date
Figure 6: Adding the date
advanced string date
Figure 7: Our Advanced String field with the date highlighted

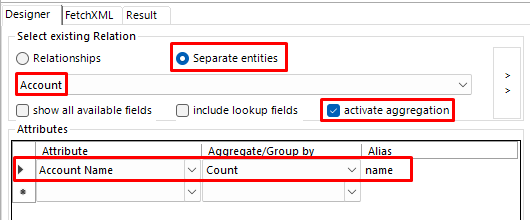
Step 5: Adding the total number of accounts via aggregation 

To get the total number of accounts in our environment, we will need to take advantage of our aggregation feature.  To do this, we need to open the Relationship Designer, set the existing relation to Separate entities, and enable the activate aggregation setting.  Then, we need to select the Account Name attribute and aggregate by Count.  This will give us the total number of accounts in our environment. 

aggregation to table
Figure 8: Adding aggregation to our table

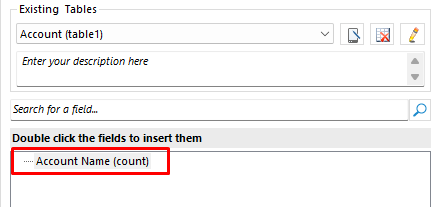
Then, we can insert the field from the fields list into the template.  If prompted to insert the field as a table, select No, as we only want to include this as a field. 

field list
Figure 9: The field list of our account table

field in template
Figure 10: The field as shown in the template

Step 6: Adding an email using the Hyperlink field 

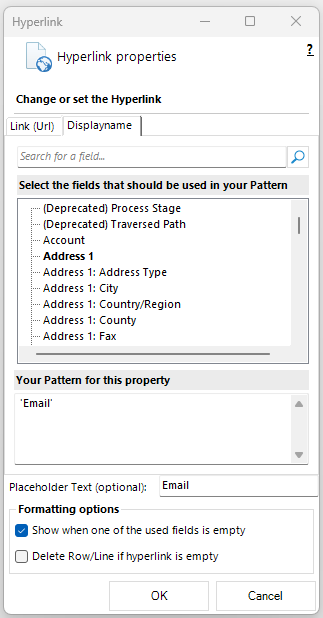
We can add a link to our email using the Hyperlink field.  Similar to Advanced String, we can access this field through the Insert Field menu from the Template Designer.  This time, under the Insert Computer Item submenu, we’ll select Hyperlink. 

In the Hyperlink window, we can add a link to our email by entering the following: 

configuring the hyperlink
Figure 11: Configuring the Hyperlink

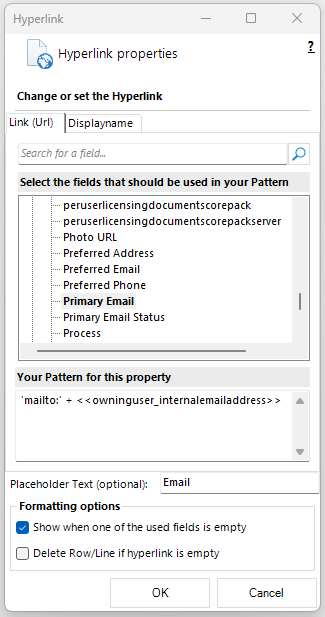
Don’t forget to include a display name in the Displayname tab. 

setting the displayname
Figure 12: Setting the Displayname

After clicking OK, this will add the field to the template. 

hyperlink field in template
Figure 13: The Hyperlink field in the template

Final step: The merged document 

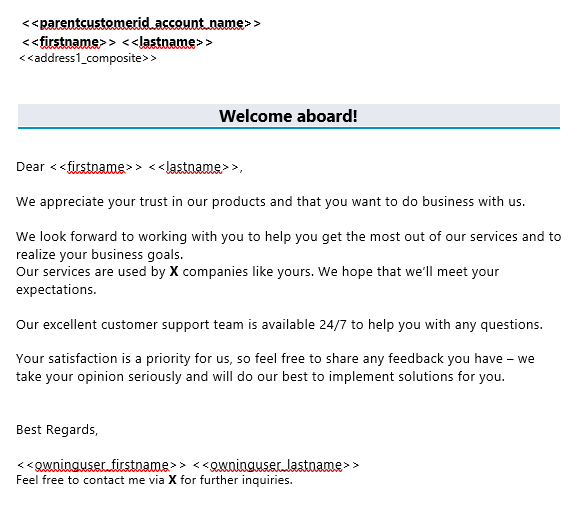
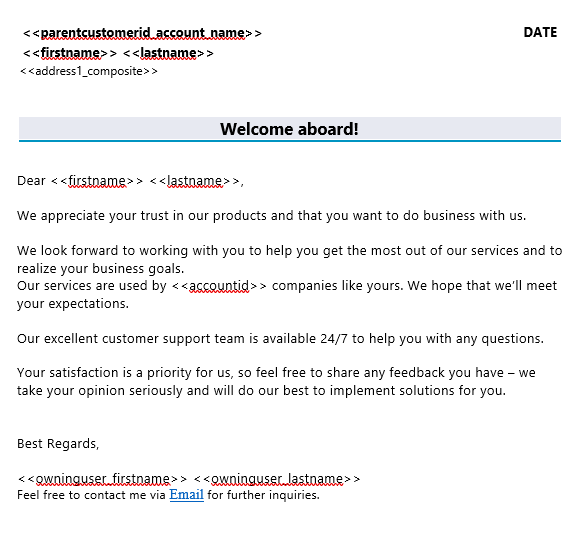
We have now inserted all the fields we need for our template.  This is what the template looks like: 

final template
Figure 14: The final template

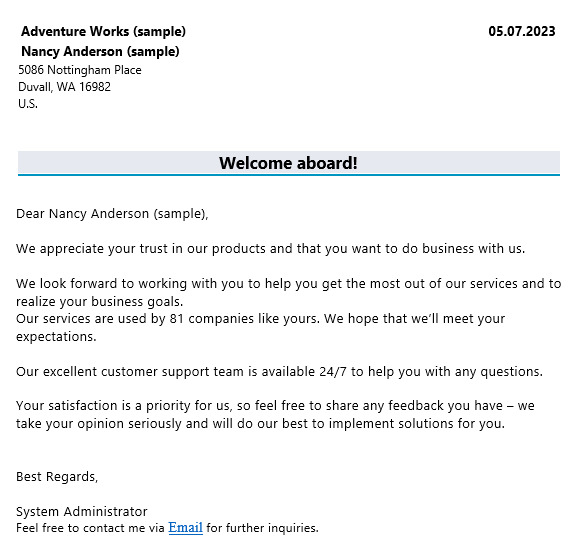
Once we save the template, we can merge it with a record within our system.  The generated document should contain the data from our environment. 

Here is our result: 

result document
Figure 15: The result document with some merged data

That’s it! We appreciate your feedback! Please share your thoughts by sending an email to support@mscrm-addons.com. 

Attached Files
#
File Type
File Size
Download
1 .docx 413.60 KB Contact Welcome Template

Was this helpful?

Yes  No
Related Articles
  • Ensuring correct time zone display for DateTime fields
  • How to compare a date-fields with the current date 
  • Create a template for XML or plain text
  • E-Invoicing with DocumentsCorePack
  • How to add content from SharePoint to a document
  • Using MS Word field codes in DocumentsCorePack templates
Latest Articles
  • DocumentsCorePack: Best practices for Dynamics 365 on-premises to online migration projects
  • Multilingual Support in DocumentsCorePack
  • Recap: ColorCloud 2025
  • Configure DocumentsCorePack within custom pages
  • AI-Powered Document Generation with Copilot in Sales
Popular Articles
  • DocumentsCorePack Template Designer – Getting Started
  • Step-by-Step: How to configure a One-Click-Action
  • Application Access for Dynamics 365
  • How to find your environment’s unique name in Microsoft Dynamics 365
  • How licenses are counted
Top Rated Articles
  • “Undefined”-labels in Chrome and Edge 114 and higher
  • Important information for Dynamics 365 online customers using DocumentsCorePack and/or AttachmentExtractor
  • How to activate the DocumentsCorePack Connector for PowerApps & Microsoft Flow
  • How licenses are counted
  • How to insert Condition Fields in DocumentsCorePack Templates designer
Categories
  • *News and General Infos* 62
  • Webinars 44
  • Template Designer(DCP 196
  • DocumentsCorePack(DCP 250
  • TelephoneIntegration (TI 65
  • AttachmentExtractor (AE 72
  • PowerSearch (PS 50
  • ActivityTools (AT 61
  • SmartBar (SB 54
  • GroupCalendar (GC 47
Our Vision

“We see it as our purpose to provide products that simplify and speed up our customers’ Microsoft Dynamics 365 experience.”

Knowledgebase
LogIn
mscrm-addons.com
  • Products
  • Online Shop
  • Downloads
  • My Account
About Us
  • About Us
  • Case Studies
  • Newsletter
  • Partner Program
  • Contact
Support
  • Support
  • Terms & Conditions
  • Documentation
  • Webinars
  • Legal Documents
  • Impressum
  • © 2022 www.mscrm-addons.com. All Rights Reserved.