This article outlines how to use the Insert as Document functionality within the Insert Field button in Word templates. This feature allows you to insert a document that is stored as a note in your Dynamics 365.
In the following example, a terms and conditions document is inserted into a quote via the Insert as a document function in Dynamics 365.
Step-by-step description
Step 1: Upload the document to a note
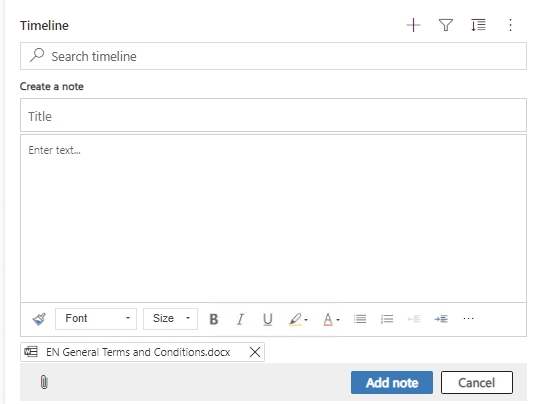
In the Note section of your record in Dynamics 365, click on the paperclip to upload your file. Click on the Add note button once you are done. In this case, we are adding our terms and conditions document.
Note: The Insert as document feature is only compatible with notes that have .docx files attached. Files such as PDFs are incompatible.
Step 2: Open the quote template
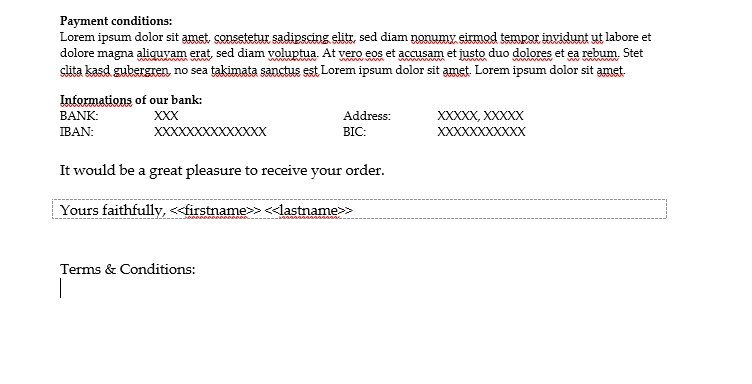
Open the template that will have the terms and conditions attached. In our example, we want to attach our terms and conditions to the end of a quote.
Step 3: Configure a relationship and insert the field
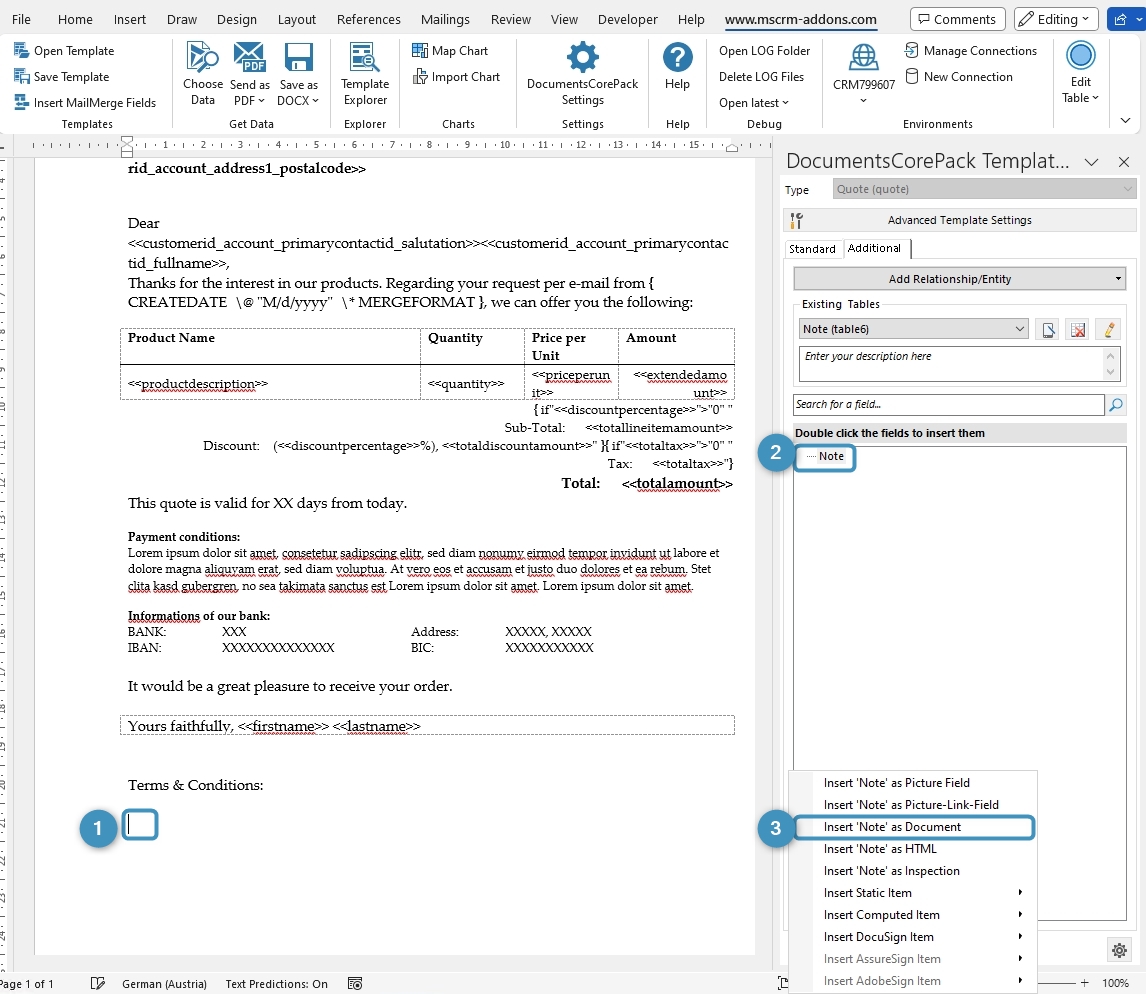
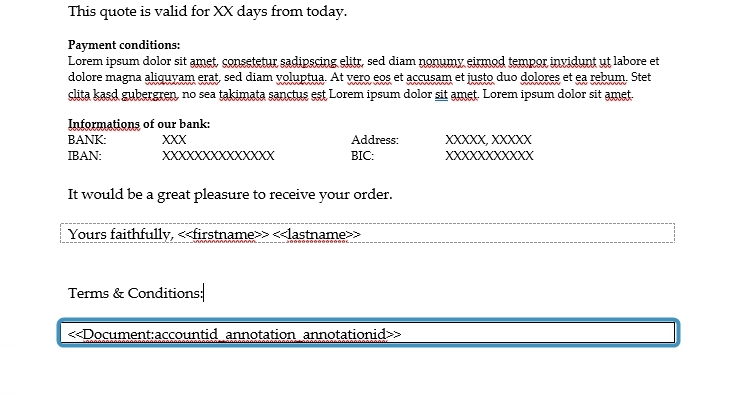
Set up a relationship between your entity and the document’s save location. To do this, open The DocumentsCorePack Template Designer and place the ❶ cursor where you want to have your document inserted. Then, select the ❷ Note field and ❸ insert the note as a document.
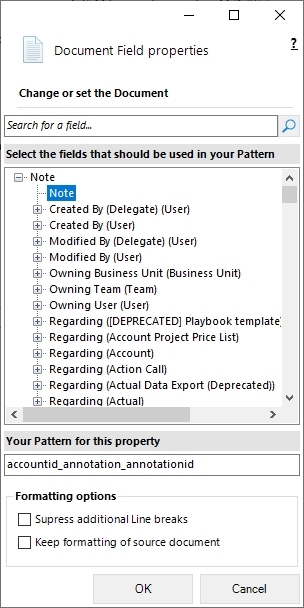
The Document Field properties window will appear. Double click on the ❹ Note field and click OK.
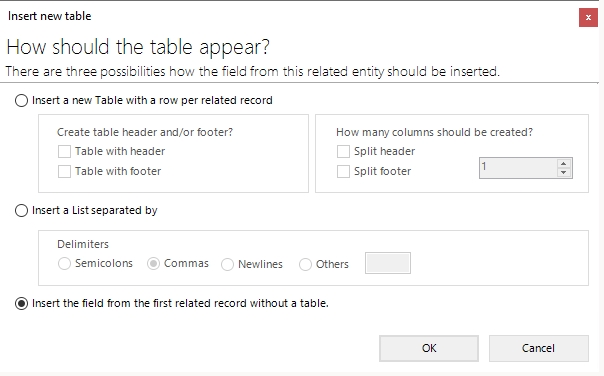
In the following dialog, choose to insert the field from the first related record without a table.
This will insert the note as a field in the template.
Step 4: Save and test your template
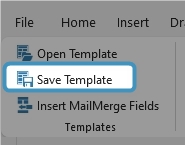
Use the Save Template option to save your template to Dynamics 365.
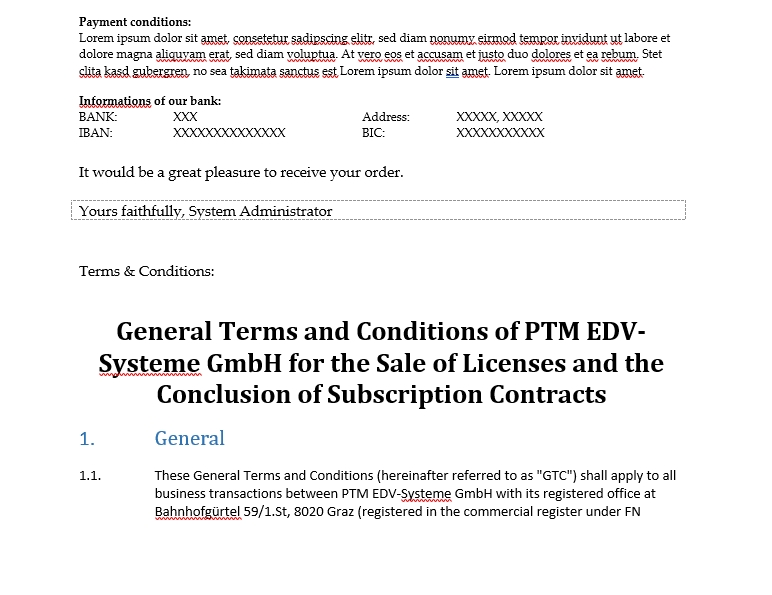
Now, you can test if your template is working. In the example below, you can see that the terms and conditions have been added to the generated document.
That’s it! We appreciate your feedback! Please share your thoughts by sending an email to support@mscrm-addons.com.