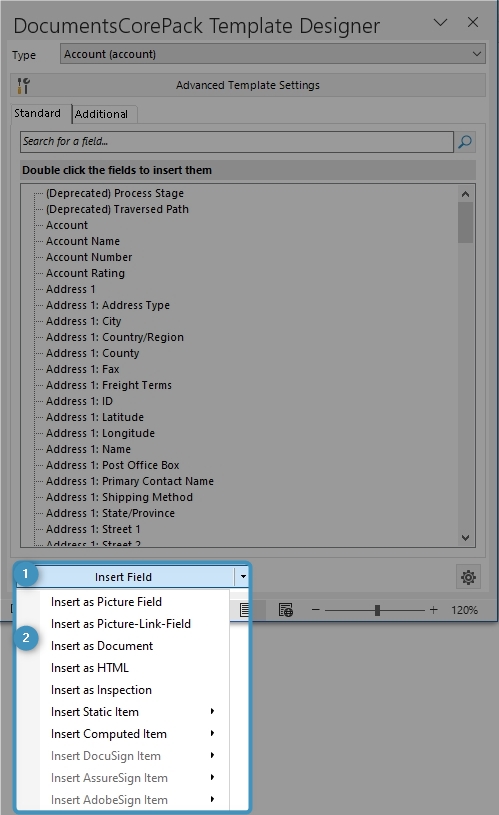
This article provides an overview of the features of the ❶ Insert Field button located at the bottom of your DocumentsCorePack TemplateDesigner. When you click on the button, it automatically inserts the chosen field directly into your document. By utilizing the ❷ drop-down menu, you can select and insert specific types of fields into your template.
Below, you will find a list of articles that describe the various functionalities.
Root elements
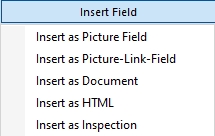
- Insert as Picture-Field
- Insert as Picture-Link-Field
- Insert as Document
- Insert as HTML
- Insert as Inspection
Insert Static Item

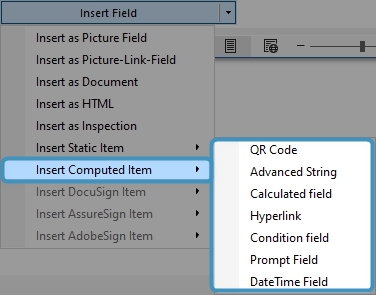
Insert Computed Item
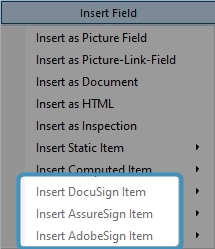
Insert e-Signing Items
Find here a List of available Template Settings.
That’s it! We appreciate your feedback! Please share your thoughts by sending an email to support@mscrm-addons.com