This article outlines how to use the Insert Join Tables function in the DocumentsCorePack Template Designer. This functionality is handy if you want to combine multiple tables with all fields merged into one table.
A step-by-step description of how to insert Join Tables
Step 1: Open a Word template and navigate to the ❶ mscrm-addons tab. With the ❷ Insert MailMerge Fields you open the ❸ DocumentsCorePack Template Designer task pane. Now click on the ❹ Insert Field button. If you are unsure how to create one, look at this article.

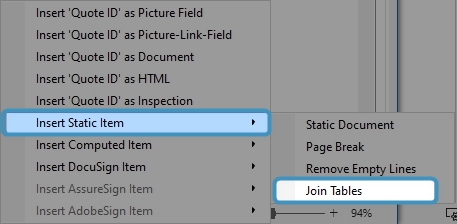
Step 2: The Insert Field button opens a selection of possibilities. Learn here more. Select Insert Static Item and then Join Tables.
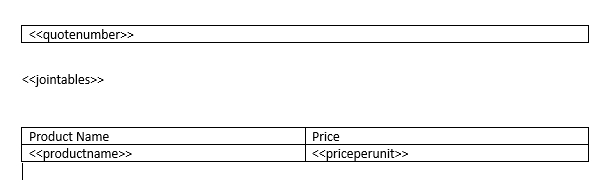
Step 3: Place the cursor between the tables and insert the Join Tables field with a double-click.
Step 4: Now merge the template. This article will help you if you are unsure how to test or merge your template.
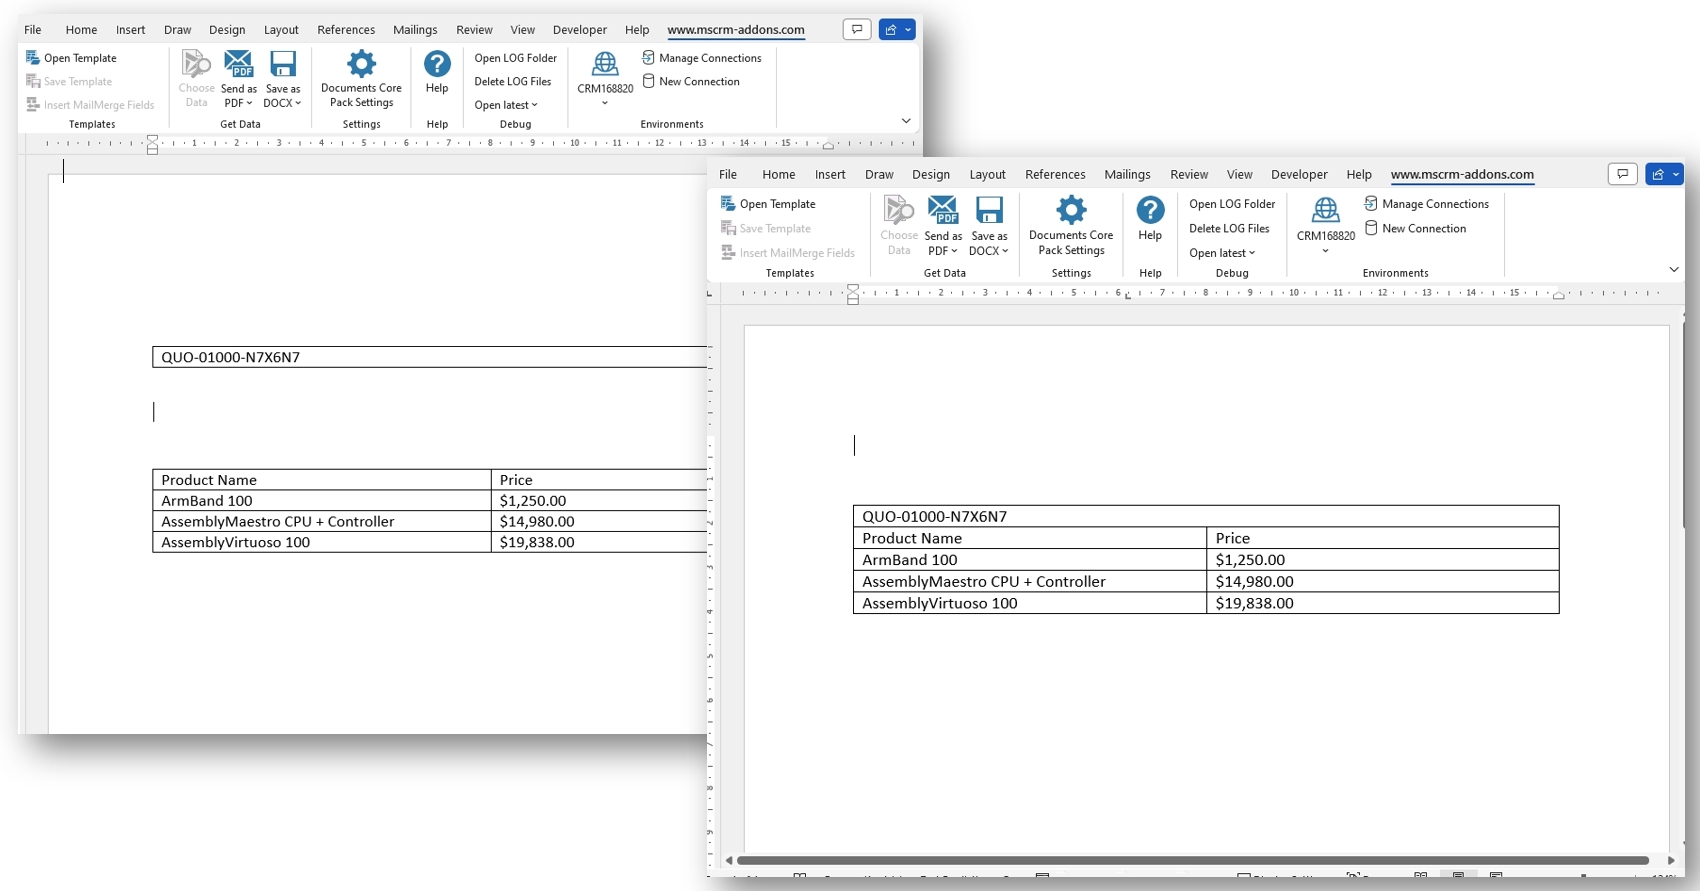
You can see in these results the effect of the Join Tables function. On the left without the function and on the right with Join Tables inserted.
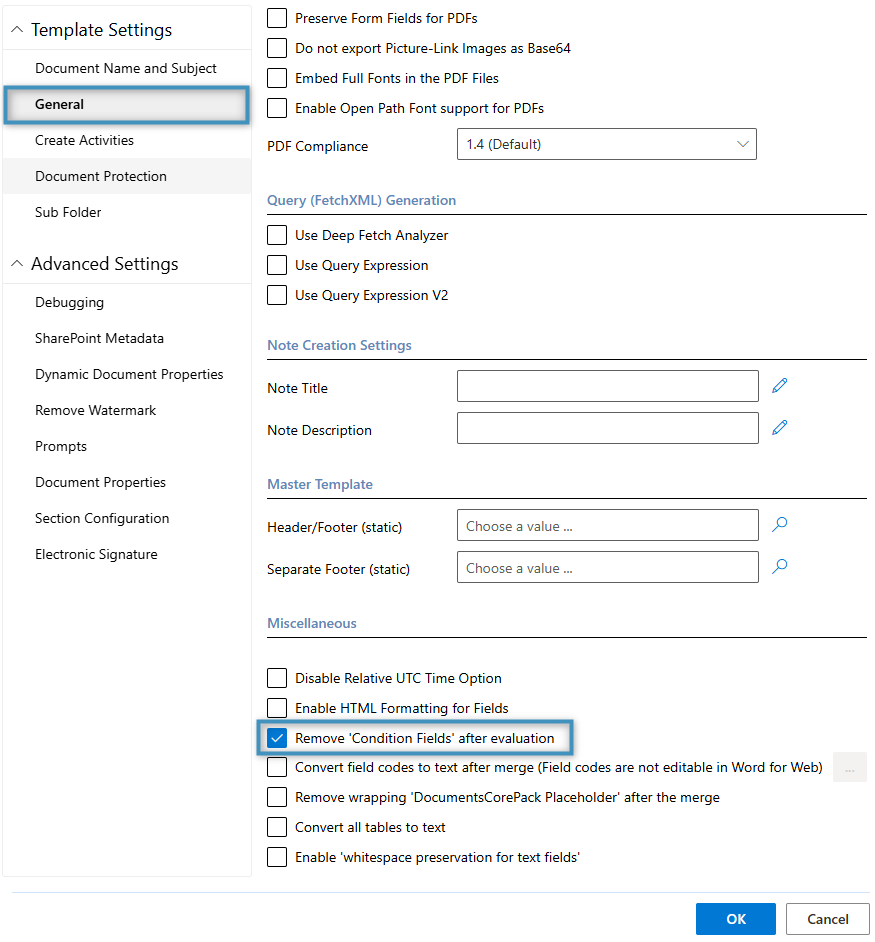
Note: When using the “Join Tables” control within a condition or other field functions – the content control – serving as the container for the condition – can interfere with the process of merging the tables. To resolve this, the template must be configured to remove the surrounding content control during the merge. We can do this by going to the Template Settings and clicking on Remove ‘Condition Fields’ after evaluation.
That’s it! We appreciate your feedback! Please share your thoughts by sending an email to support@mscrm-addons.com.