This article explains how to create a quote template. In the step-by-step guide that follows, you will learn how to create a quote template that includes a list of related products, important quote details, and any tax and discount information.
Step 1: Set the base table
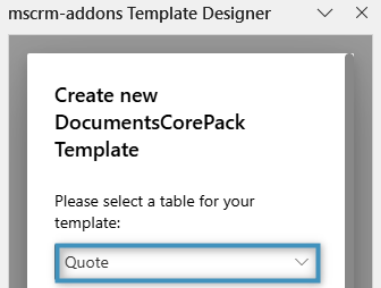
Before you start designing your template, the first step is to define the base table. This selection determines which fields will be available in the Template Designer. Please note that once a field is added, the base table cannot be changed. For this walkthrough, click on the Insert Fields button located in the Fields group under the DocumentsCorePack tab. Once the Template Designer opens, we will select Quote as the base table.
Step 2: Adding our text and general structure
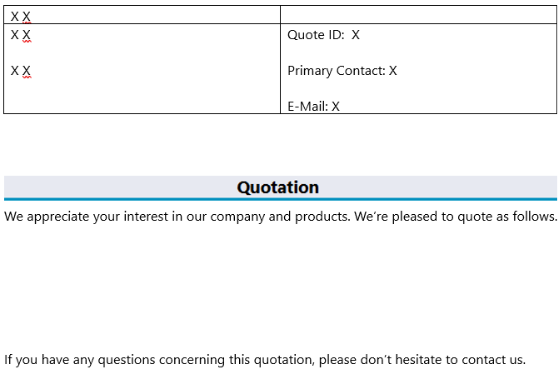
We will start by adding our text and overall structure to our template. This example produces the template displayed below.
Step 3: Adding our standard fields
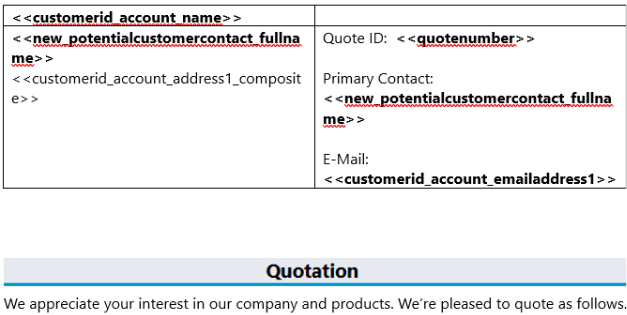
To build our quote template, we will start by adding fields that capture the essential information – such as customer details and quote specifics. These standard fields come either directly from the Quote entity or from its related lookup fields.
Step 4: Creating our product table
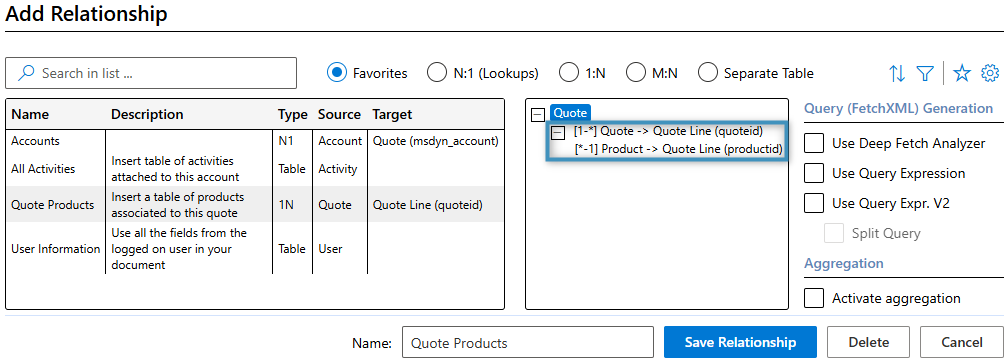
For our table, we will use the related Quote Line entity as the foundation. To set this up, we will open the Relationship Designer and locate the Quote->Quote Product relationship. Here you also resolve the Quote Product -> Product relationship, which is needed to add product details such as product name etc. as shown below.
After saving the relationship, the Template Designer will load the respective fields. Your Relationships list will then look something like this:
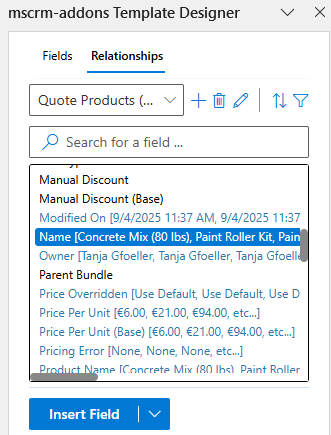
To create the table, double-click on a field you would like to add, in our case the Name field. The Table designer opens. We will organize our table as follows:
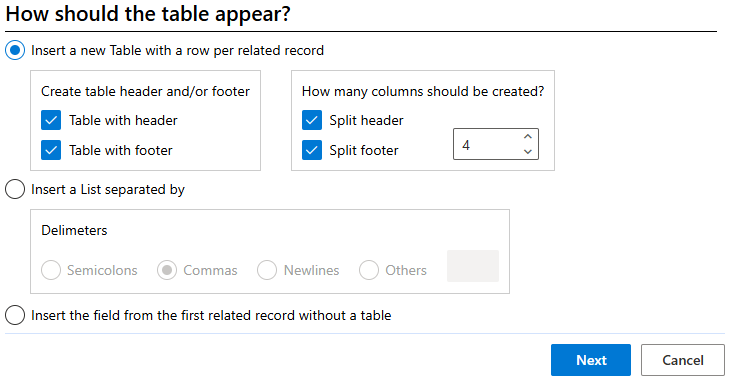
Figure 6: Our table set-up
Next, we will insert the required fields into our table and name each column appropriately. We will also add the Total Detail Amount field from the Standard tab into the footer. At this stage, the table should look like this:

Step 5: Setting up the condition fields
Along our product table, we also want to include additional fields that display any applicable discounts or taxes. However, these fields should only appear if relevant – for example, if no discount is available, the discount field will be hidden.
This is where Condition Fields serve a purpose. They allow us to include fields in the template that only appear when relevant – just as described above.
To get started, we will create a Condition Field using the Condition button in the Fields group in the DocumentsCorePack tab.

First we will configure a condition field in the footer next to the Total Detail Amount field. This field will display a message indicating whether the amount shown is the final total or just a subtotal.
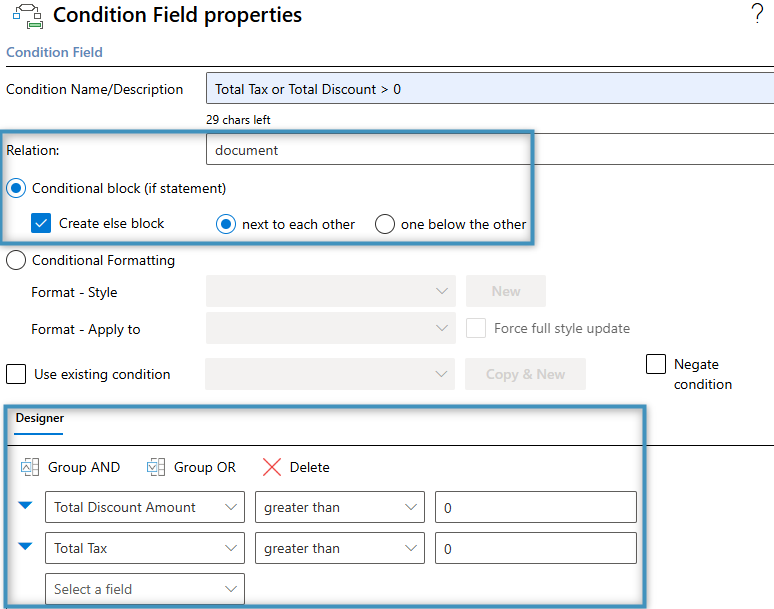
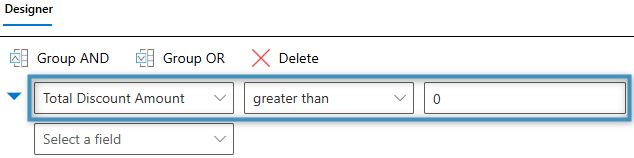
To achieve this, we will need to add an else block. You can do this by checking the Create else block option in the Relation section. Next, select the Total Discount Amount and Total Tax fields in the designer, set their operators to greater than, and enter 0 as the value for both.
This is how our condition field window should look like:
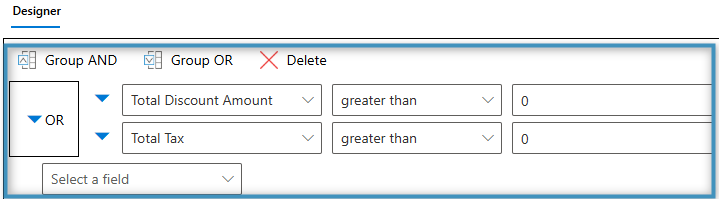
It’s important to group the fields correctly, as the condition won’t function properly otherwise. To group them, select both rows and click the Group OR button and then click OK.
The condition field will be inserted at the location where your cursor was last placed. Since we configured the condition field to include an else block, two fields will appear side by side. The table below illustrates how the condition field appears:
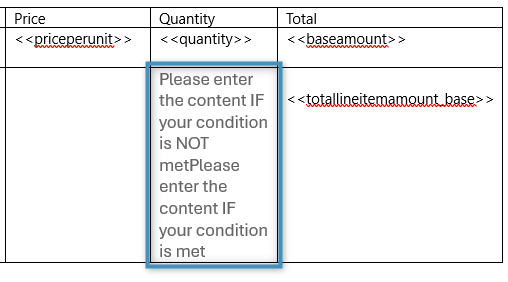
To indicate whether the Total Detail Amount represents a total or a subtotal, we will enter specific text into each condition block.
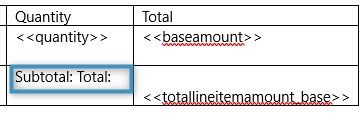
With the text entered as shown above, “Subtotal:” will be displayed if either the Total Discount Amount or Total Tax are greater than zero. If both fields are zero or empty, “Total:” will be shown.
To complete our setup, we need to add three additional condition fields. These will be placed below the product table to display discount and tax details, as well as the quote’s total amount – only if those fields contain data.
We will start by creating the discount condition field. This field can be set up similarly to the previous one; however, in this case, the else block will remain empty, and only the Total Discount Amount field will be selected.
You can follow the same steps to create the condition field for the Total Tax. Simply repeat the process used for the discount condition field, adjusting the configuration to reference the Total Tax field instead.
To create the Total condition field, you can reuse the existing condition. Simply check the Use existing condition box and select the condition previously used for the “Subtotal/Total” blocks.

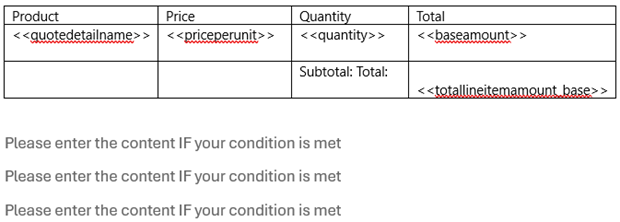
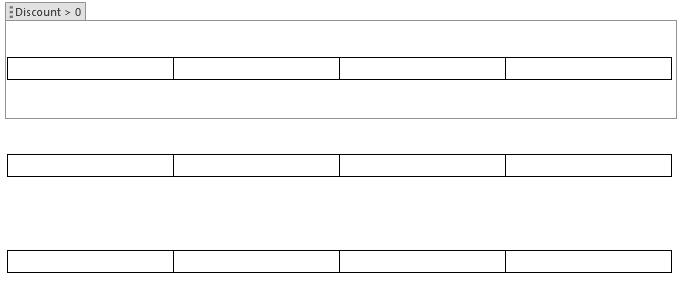
Once the condition fields have been created, they should be positioned as in the layout shown below.
To keep our data well-organized, we will insert standard 4×1 Word tables into each condition field.
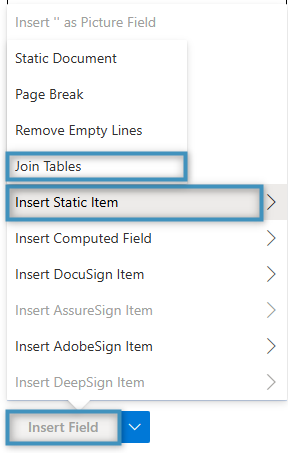
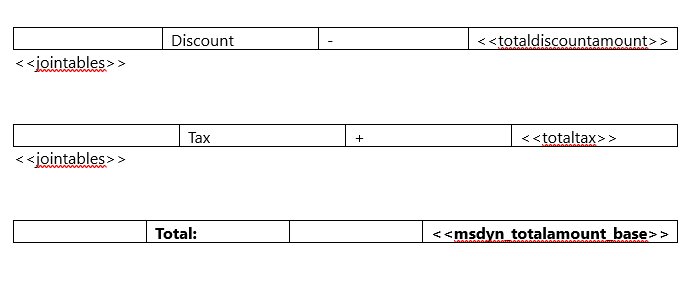
In each table, we will add text to identify the discount, tax, and overall total, ensuring these details are within the condition fields. We will also add a Join Tables field, which merges the table directly above with the one below it. In our template, we want to include this to organize our tables more effectively. This field can be added using the Insert Field menu.
We will add this field below the discount and tax tables, ensuring it remains within the condition fields section.
Then, we remove some of the whitespace separating the tables and add our relevant fields: Total Discount Amount, Total Tax, and the Total amount.
Step 6: Generating the document
At this stage, the template should resemble the following layout.
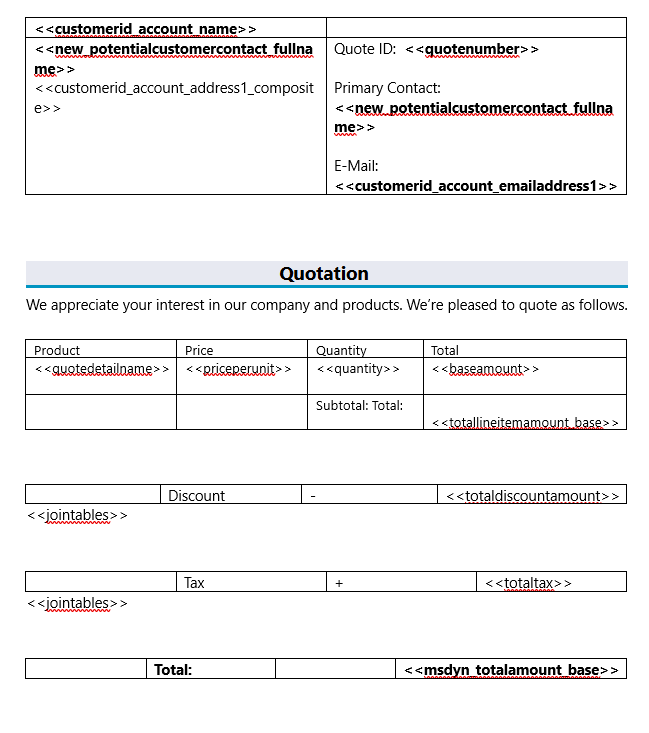
Merging this template with a Quote record from our environment produces the following result.
