This article provides a comprehensive overview of the process to create a Non-Disclosure Agreement (NDA) template.
In this step-by-step walkthrough, we will design an NDA template that incorporates predefined DocuSign fields for streamlined electronic signing.
Please note: This article presumes familiarity with the DocuSign integration provided by DocumentsCorePack. For information on configuring and installing DocuSign, please refer to this article.
Step 1: Set the base table
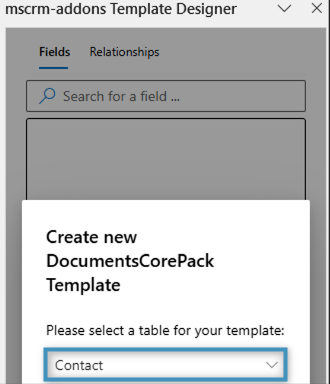
The first thing that needs to be defined before you can begin designing a template is the base table. This choice determines the fields available in the Insert Field taskbar. Keep in mind that once a field is added, the base table cannot be changed. For this walkthrough, click on the Insert Fields button located in the Fields group under the DocumentsCorePack tab. Once we open the Template Designer, we will select the base table Contact.
Step 2: Include your NDA’s text
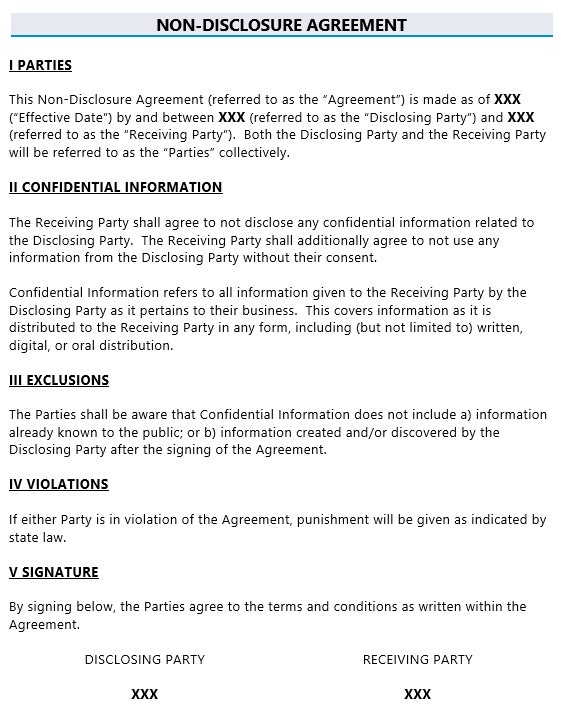
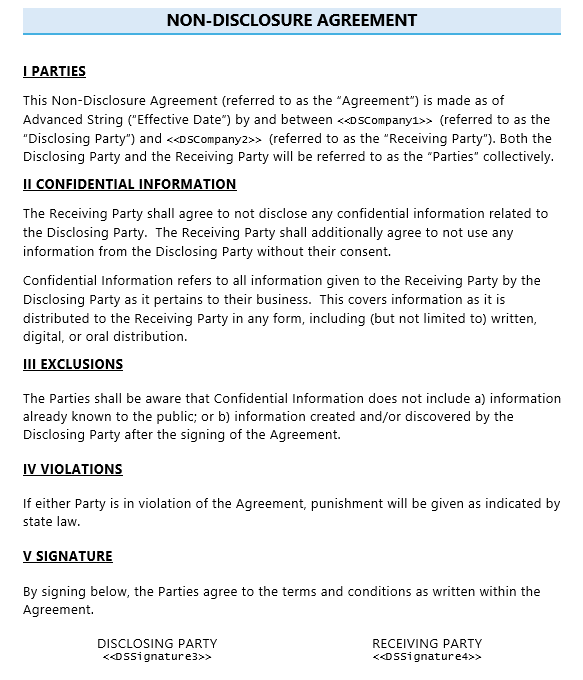
Begin by inserting the full text of the NDA. For this example, here is what our text looks like:
Step 3: Adding the ‘Effective Date’ via Advanced String
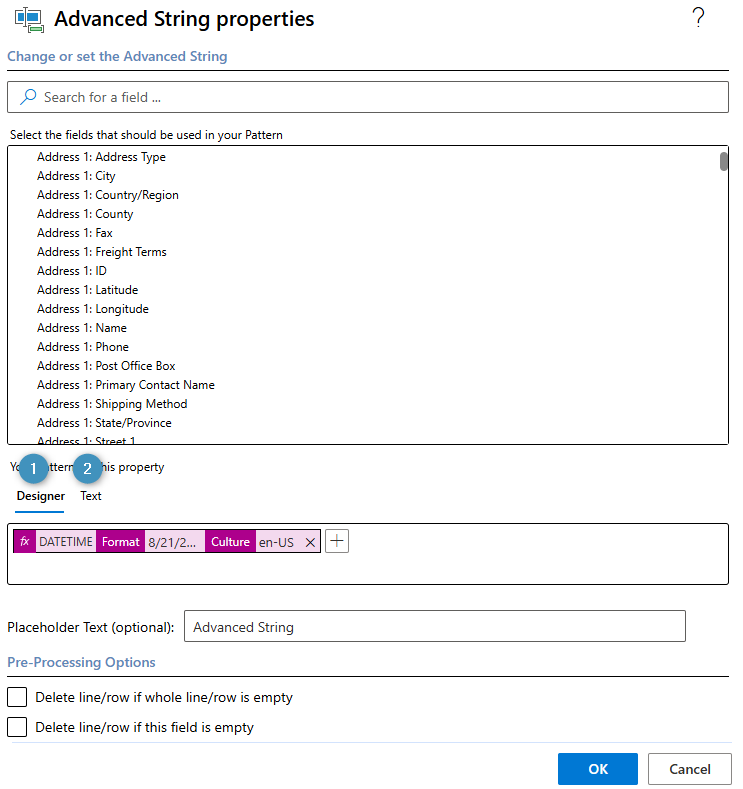
We will now add the ‘Effective Date’ field in the Template Designer by clicking on the Insert Field menu, navigating to the submenu Insert Computed Field and then selecting Advanced String to open the Advanced String properties window.
Please note: Any field can be added from the common Contact table as needed. The ‘Effective Date’ field is used here solely as an example.

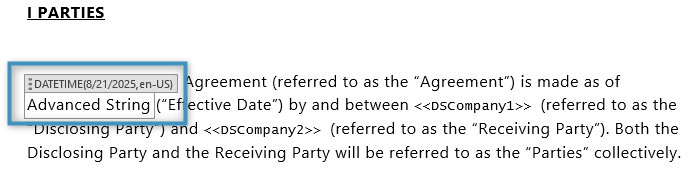
In the Your Pattern for this property field, the effective date can be added either through the ❶ Property Designer or through ❷ text.
Below is how our advanced string field should appear in the template.
Step 4: Adding the DocuSign fields
Next, we will add our DocuSign fields for our “Disclosing” and “Receiving” parties.
We need to add two sets of fields: our company fields and our signature fields. We will begin by adding the company fields within the “Parties” section of the NDA.
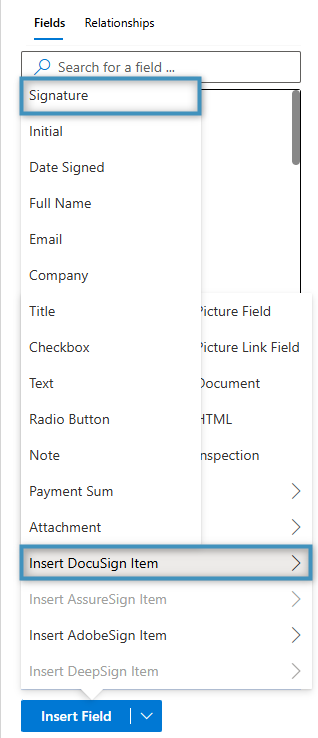
To insert a DocuSign field, place the cursor where you would like the field to be within the template. Then, navigate to the Insert Field button in the Template Designer. Under Insert DocuSign Item select Company.
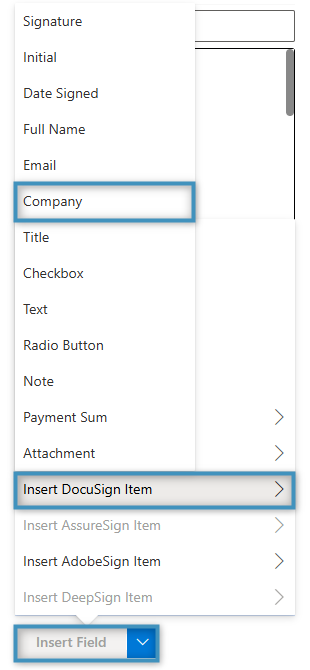
This will insert the field into the document.

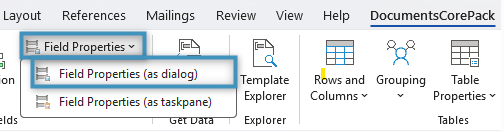
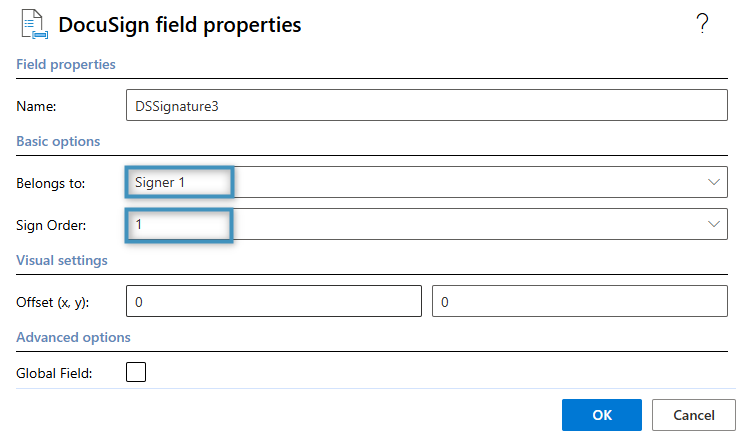
After adding the field, you can adjust its settings by selecting it and clicking the Field Properties button and then Field Properties (as dialog) in the DocumentsCorePack tab.
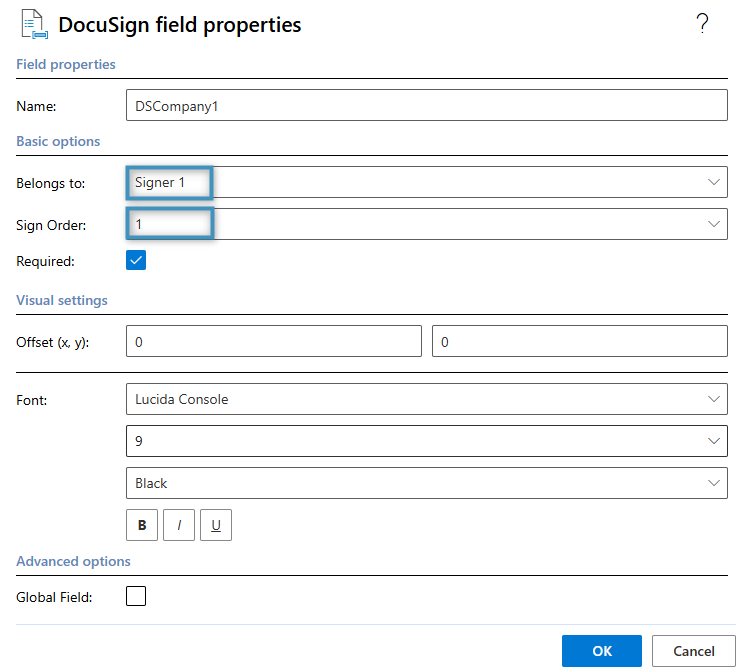
In the DocuSign field properties window, you can assign the field to a specific signer (e.g., Signer 1, Signer 2) and define the signing order. Since this field is intended for the first signer, we will assign it to “Signer 1” and set the Sign Order to 1.
Once you are done, click OK.
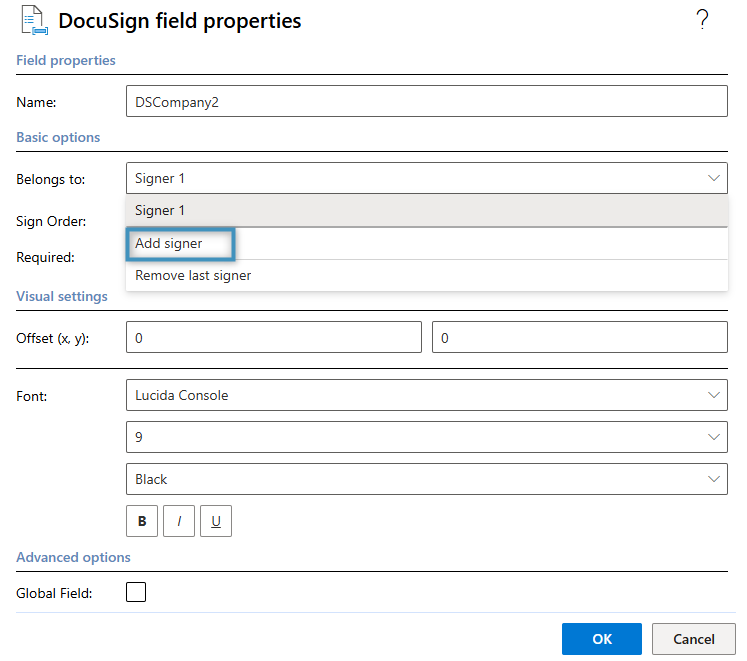
Repeat this process for the second DocuSign field in this section. After adding the second company field, open its properties and click Add signer to assign a new signer.
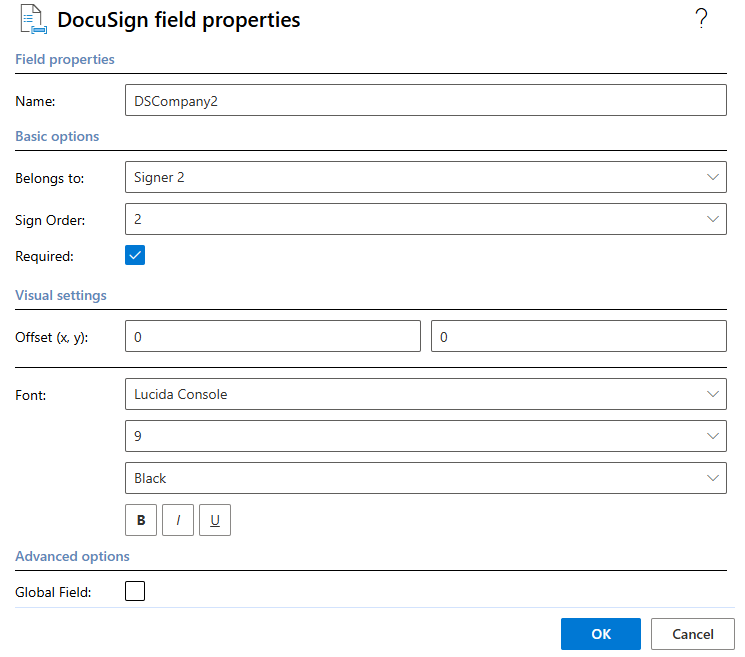
Next, we update the properties to reflect the details for our second signer, as illustrated here:
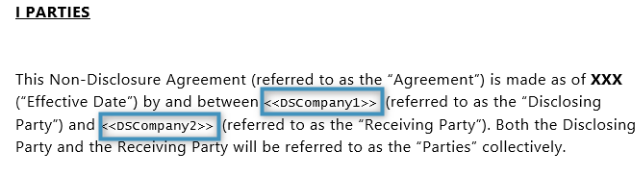
At this point, the fields in the document should resemble the following:
Next, we will insert two Signature fields into the ‘Signature’ section of the document. To do this, navigate to the Insert Field button in the Template Designer, go to Insert DocuSign Item and select Signature.
Just like before, we can add the field and adjust its properties to assign it to our first signer.
Repeat this process for the second signer. This section should now contain two signature fields – one assigned to each signer.
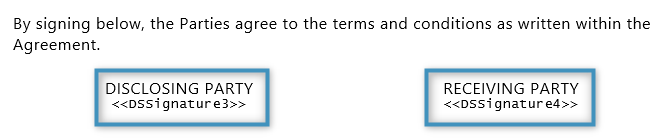
Your template should now look similar to the following:
Step 5: Generating your document
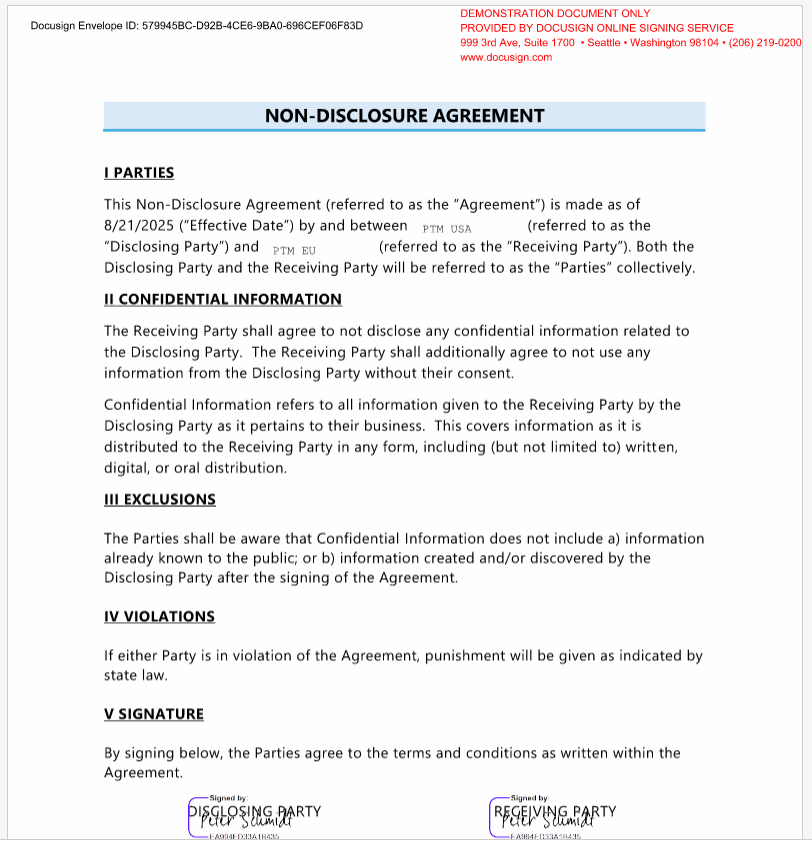
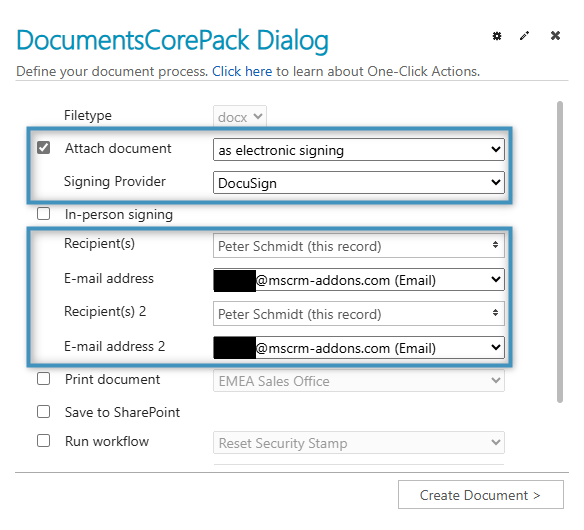
When you are finished with your template, save it and return to your environment, and navigate to generate the NDA. In the DocumentsCorePack Dialog, select to send the document as electronic signing with Signing Provider: DocuSign. You can also specify the recipients there.
Proceed through the dialog steps. Once the process is complete, send the generated document to your recipients for signing. After all signatures have been collected, the finalized document should resemble the example below.