This step-by-step guide explains how to enable SharePoint integration in Microsoft Dynamics 365 with automatic folder creation for your records, and how to activate SharePoint in DocumentsCorePack for both Online-Services and On-Premise deployments.
Enabling Server-Based SharePoint Integration
Part 1: Enable SharePoint Integration in Dynamics 365
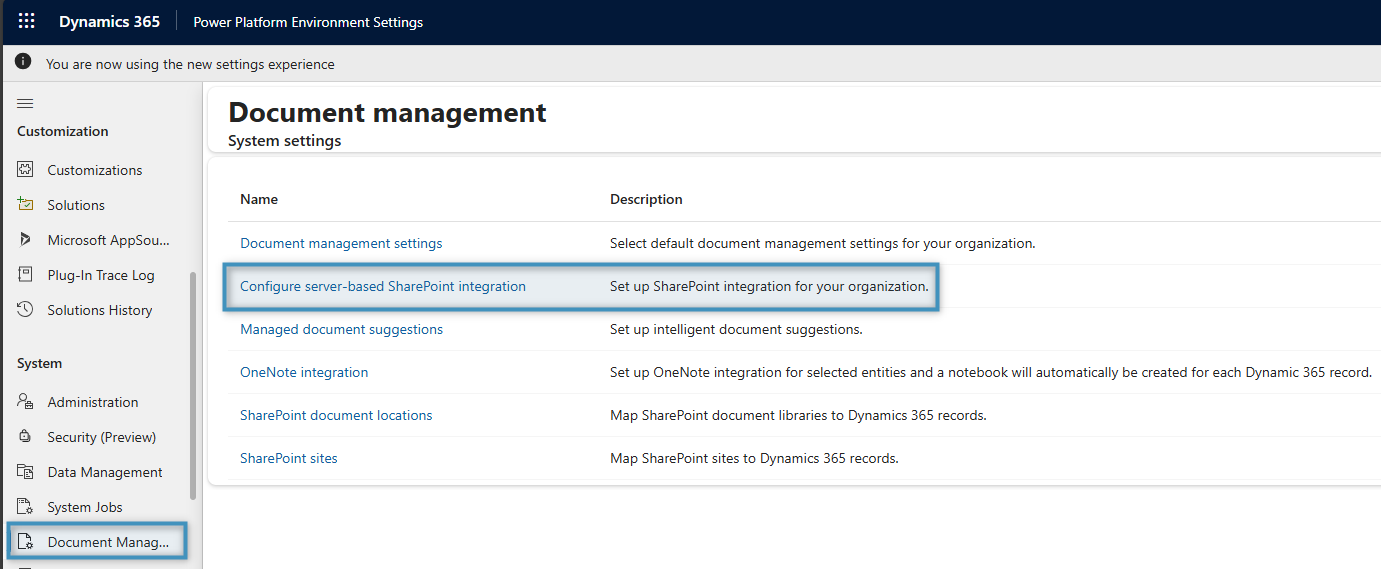
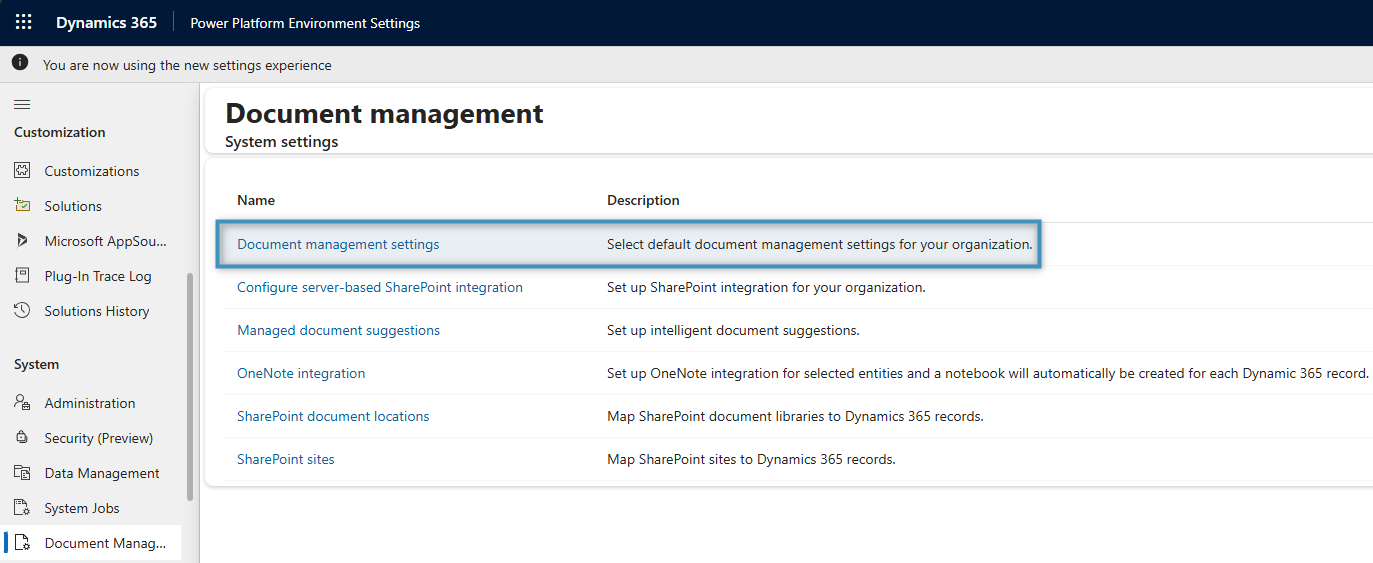
To begin, open your Dynamics 365 environment and navigate to your Power Platform Environment Settings. Under System, select Document management settings and then Configure Server-Based SharePoint Integration to confirm your SharePoint path/address.
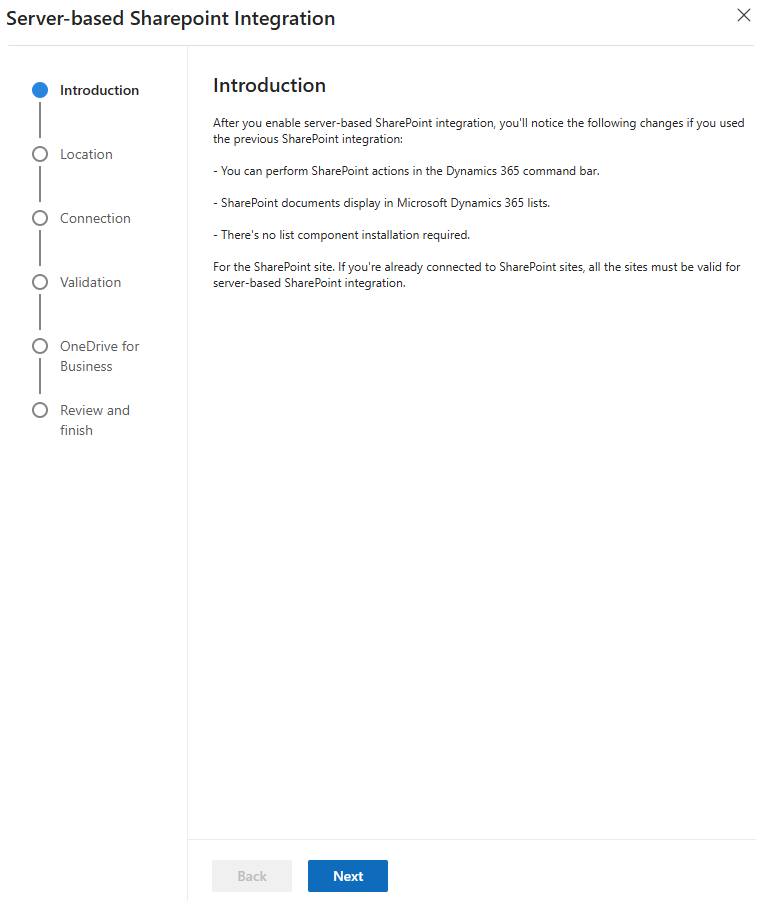
The following window will open displaying an overview of the function. Click Next to continue.
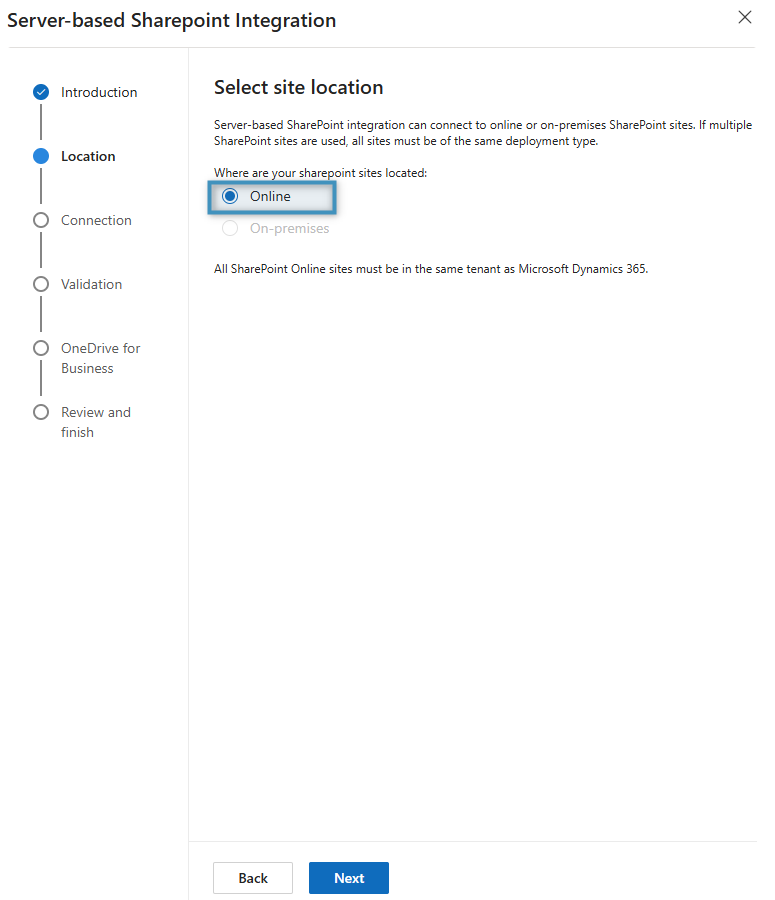
Specify the deployment type by choosing whether your SharePoint sites are located Online or On-Premises, and then click Next.
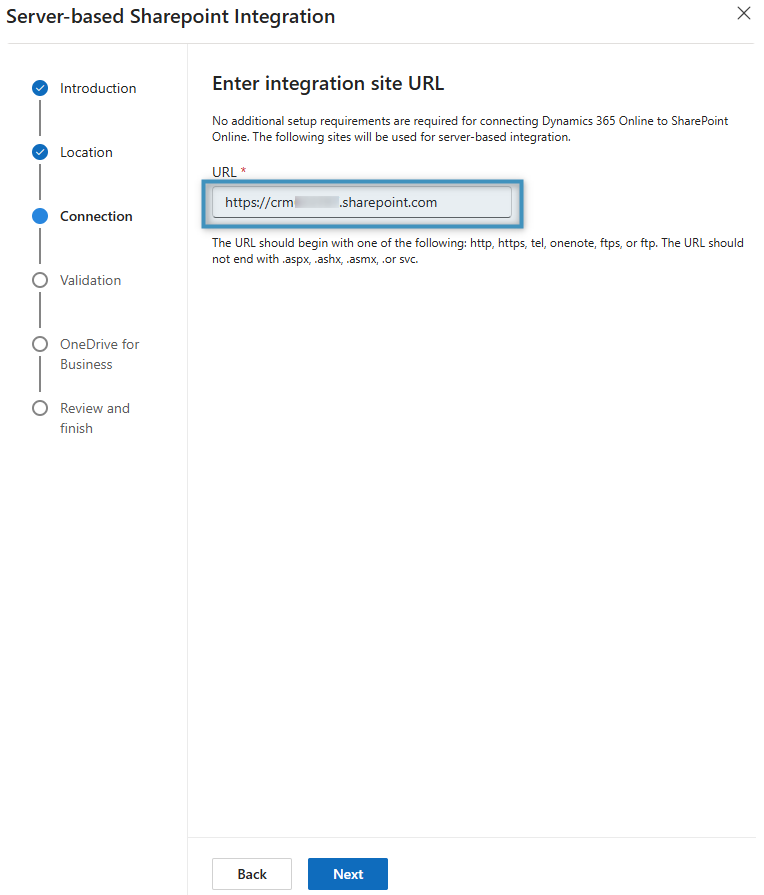
Enter the URL of the SharePoint site to prepare it for server-based integration. Once done, click Next.
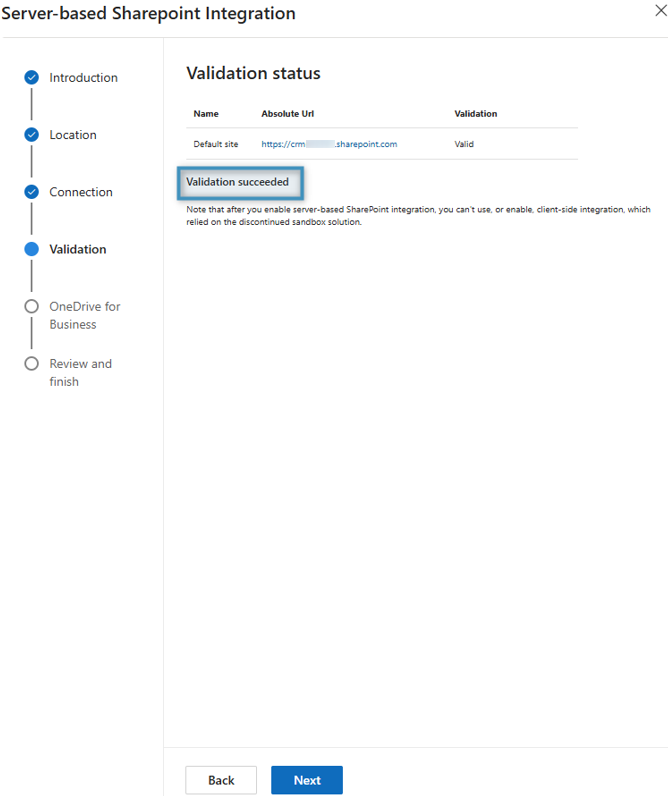
A confirmation message will appear, indicating that the site validation was successful. Click Next.
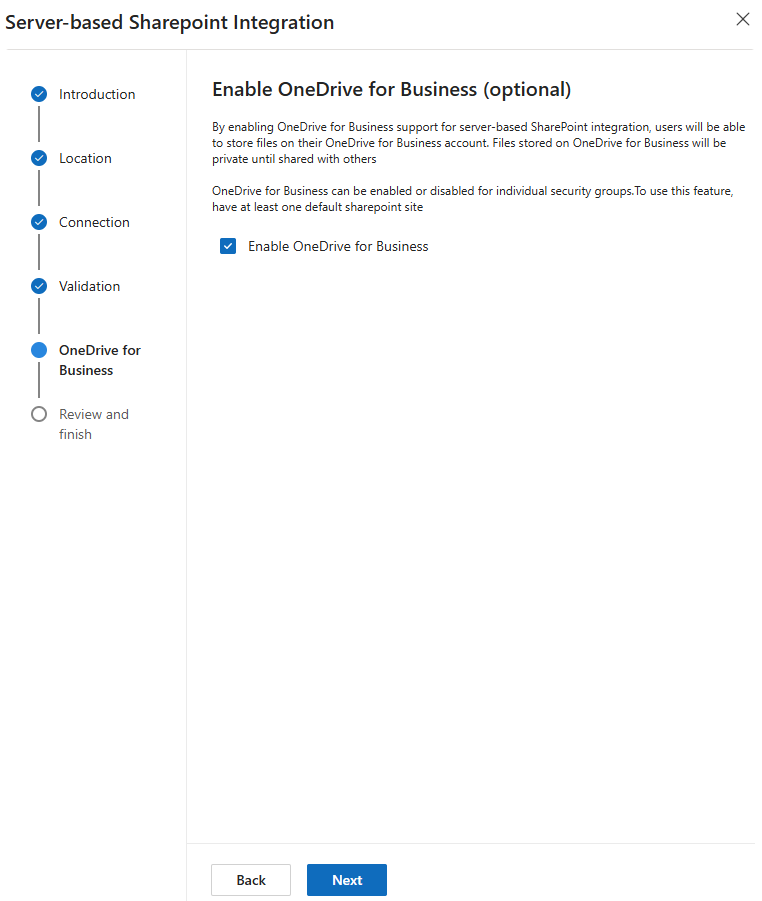
An optional window will appear, allowing you to enable OneDrive for Business. This can be ignored if desired. Click Next.
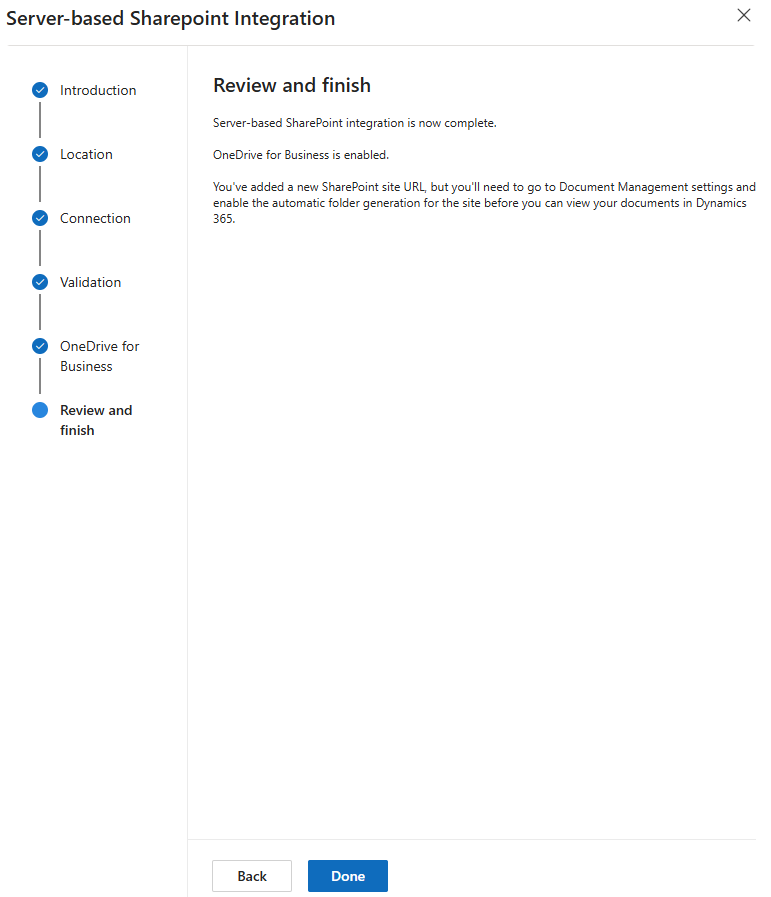
This will conclude setting up server-based SharePoint Integration.
Part 2: Configuring Document Management Settings
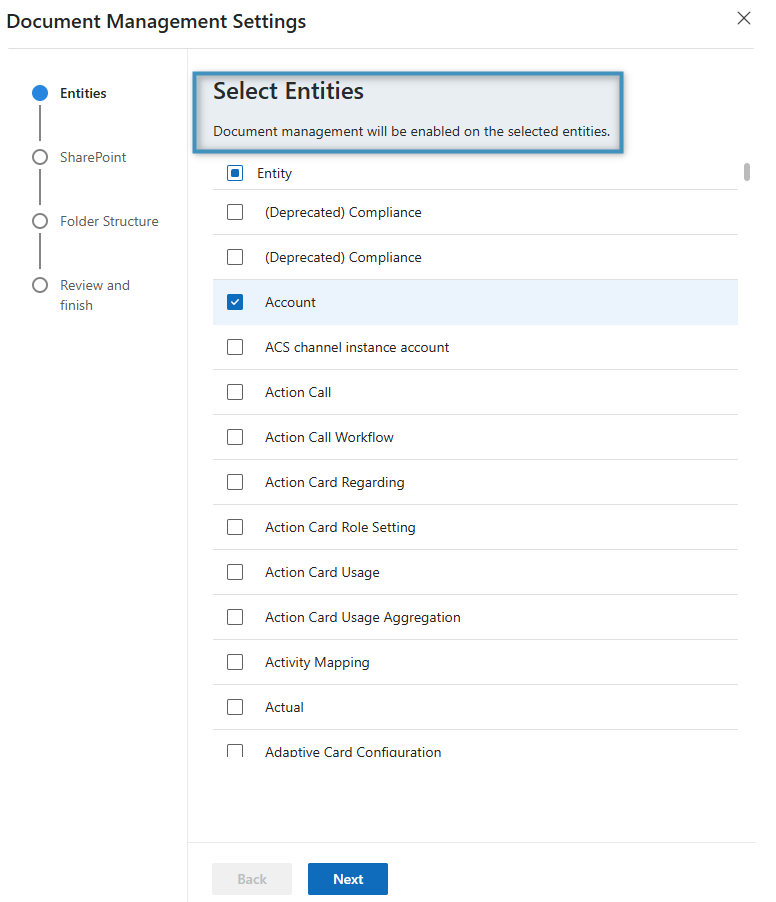
Open the Document Management Settings in your Dynamics 365 to select default document management settings for your organization.
Select the Entities for which you want to enable document management. Then, enter the SharePoint site URL that will serve as the default location and select Validate URL. Afterwards, click Next.
Note: If an entity is not enabled, then you will be unable to save generated documents to SharePoint based on that entity in the DocumentsCorePack Dialog (e.g. if generating a document from an Account record with the Account entity disabled, you will be unable to save the document to SharePoint).

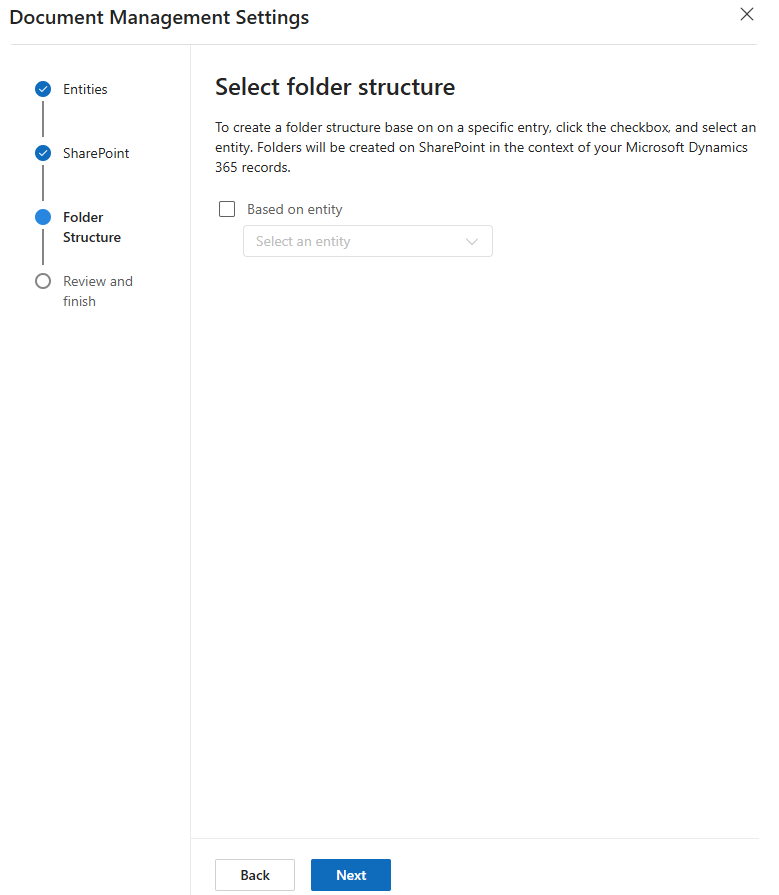
Follow the on-screen instructions to create a folder structure based on the selected table. If desired, this can be left empty. Click Next to continue.
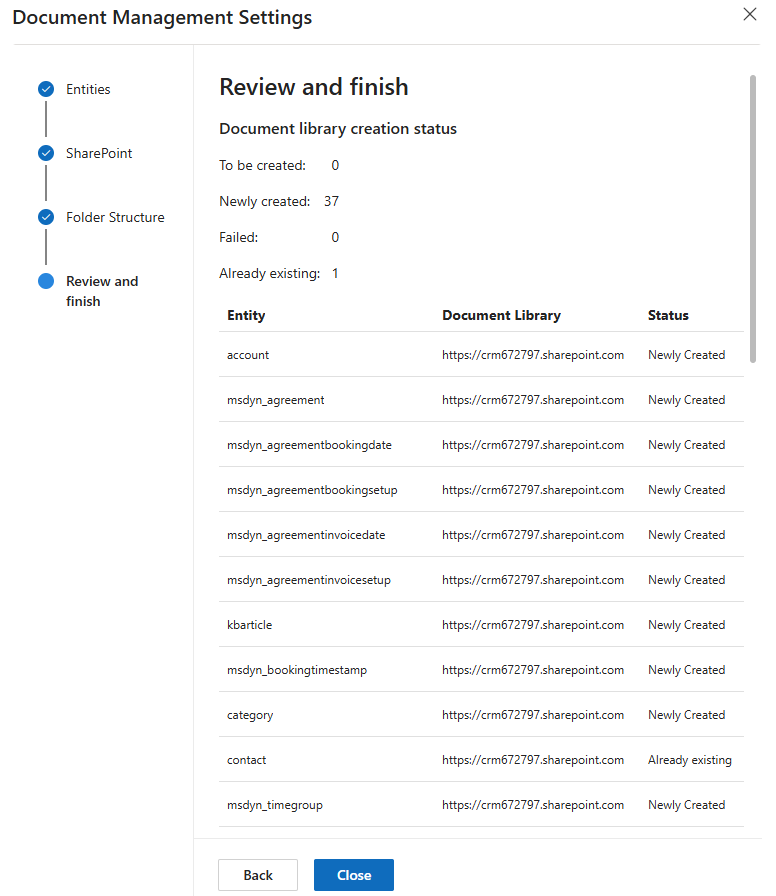
The following window will display the document libraries that are being created. Confirm by clicking Finish.
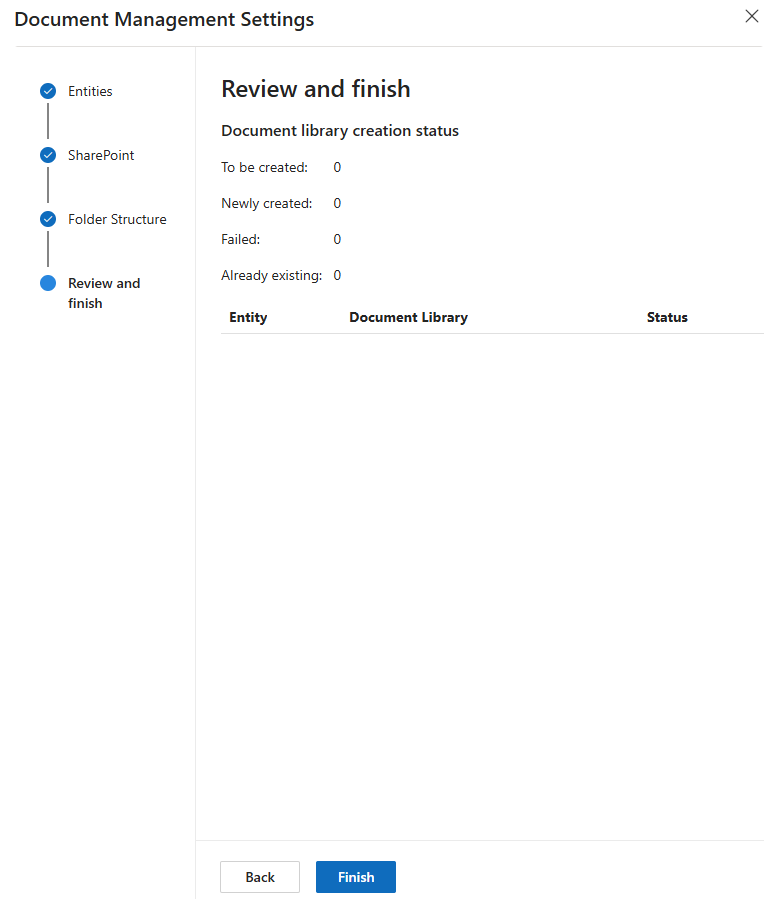
Once the creation process is complete, the next window will display the document library creation status and details. Click Close.
Activating SharePoint in DocumentsCorePack
Online Service Installation of DCP
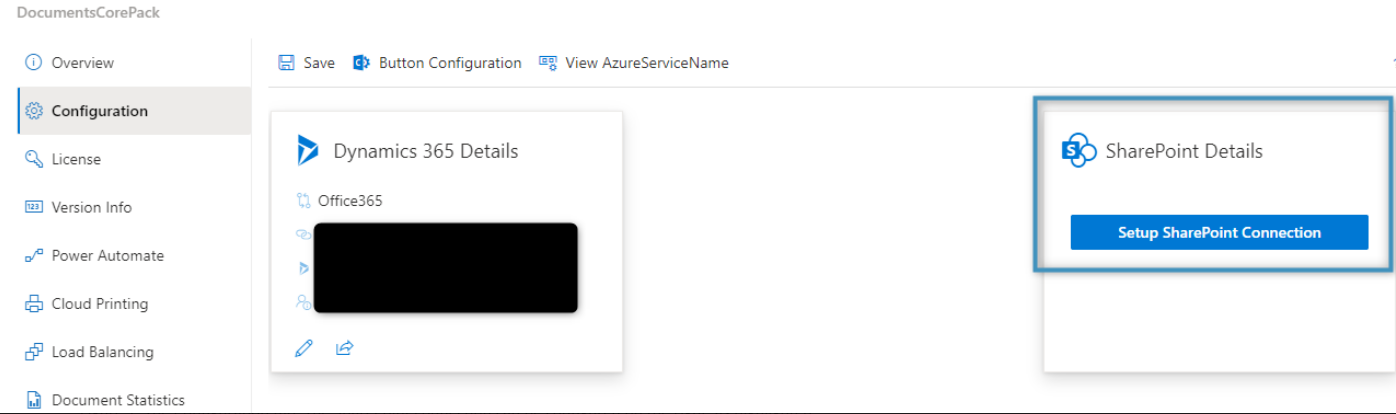
Open the DCP Online Service Configuration (find help here) and go to the Configuration tab. Then, click Setup SharePoint Connection.
Dynamics 365 Integrated SharePoint
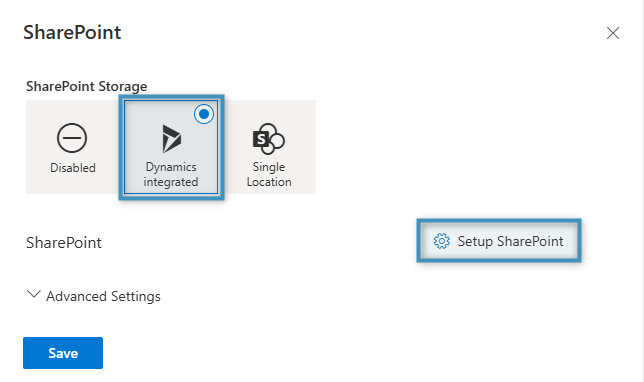
Dynamics 365 Integrated SharePoint allows documents to be stored via DocumentsCorePack’s SharePoint integration and saved through the DocumentsCorePack Dialog.
To enable Dynamics 365 Integrated SharePoint, select the setting and click Setup SharePoint.
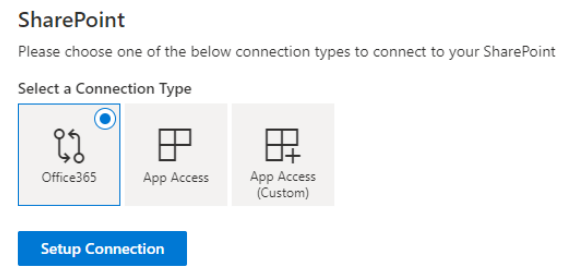
In the next window, select Office 365, App Access, or App Access (Custom) as the connection type, then click Setup Connection and enter the required credentials. Afterwards, save your changes.
Standalone SharePoint
If this setting is disabled but a SharePoint connection exists, you must specify a temporary SharePoint location for generated documents. This enables the “edit” option in the Dialog.

On-Premise installation of DCP
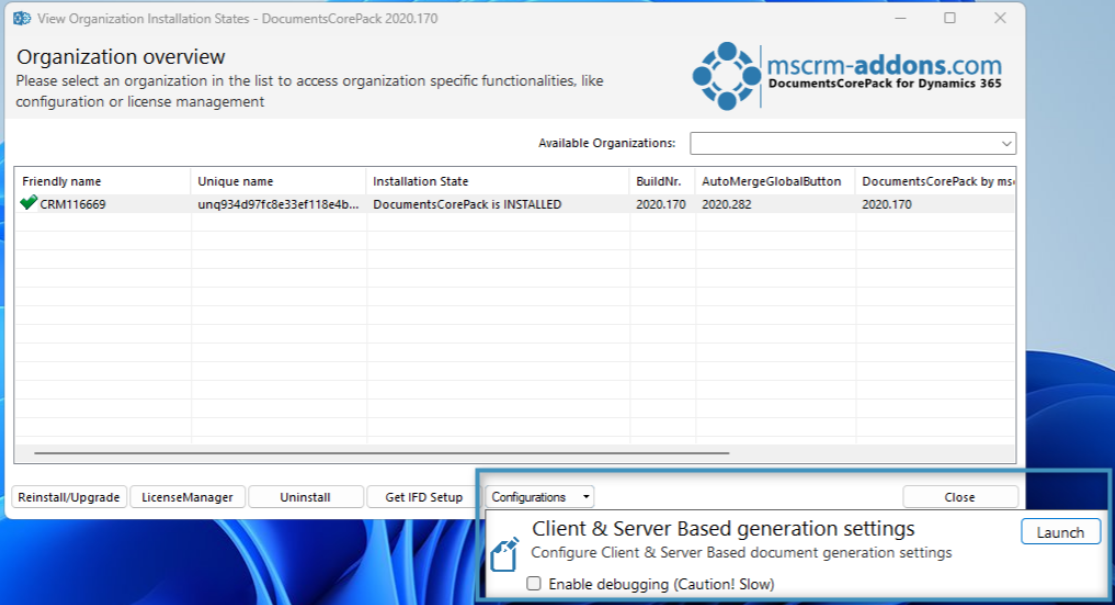
After installing DocumentsCorePack Server, open the organization overview (see section 2 of the DCP Installation Guide). Select your organization, then under Configurations, launch the Client & Server Based generation settings.
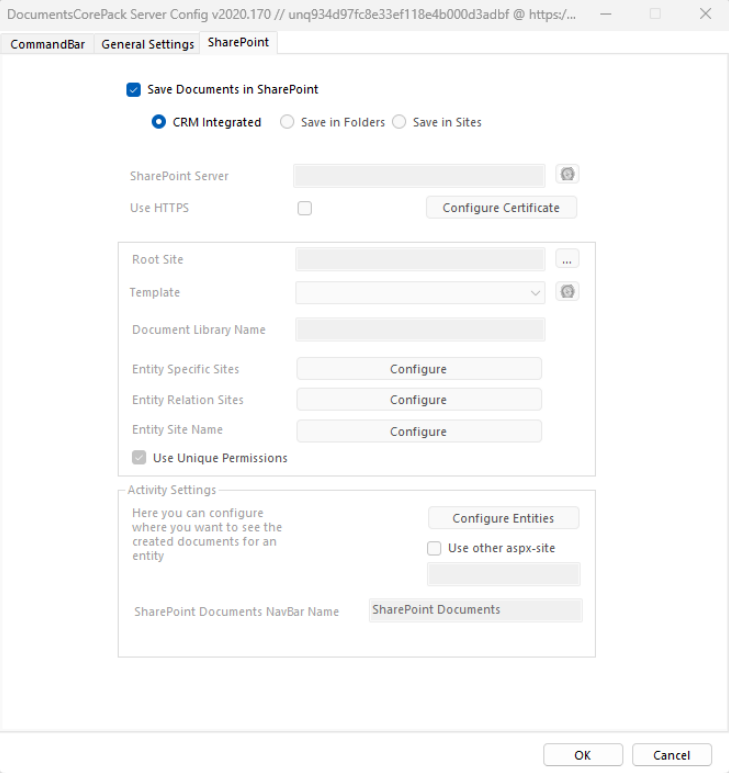
Navigate to the SharePoint tab. Enable Save Documents in SharePoint and select CRM Integrated to activate SharePoint in DocumentsCorePack.