Some templates may contain content that does not need to be shown at all times. Invoices and quotes, for example, may have discount fields that could be omitted outright instead if no discount is present. Contracts or other legal documents can contain specific passages that are irrelevant to some customers that could thus be removed in some cases.
Condition fields help manage situations like these. By inserting and defining a condition field, you can control when and if certain content should appear.
Adding a Condition
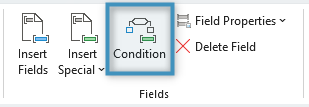
The Condition Designer can be accessed in one of two ways: either through the Fields group in the DocumentsCorePack tab…
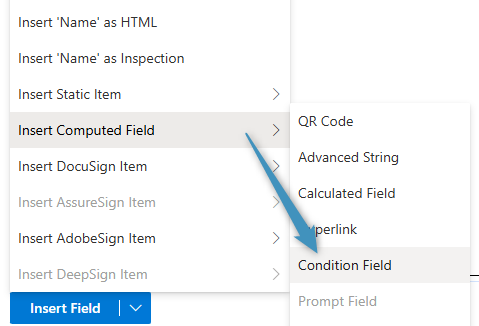
…or via the Insert Field button in the Template Designer. It is located under Computed Items.
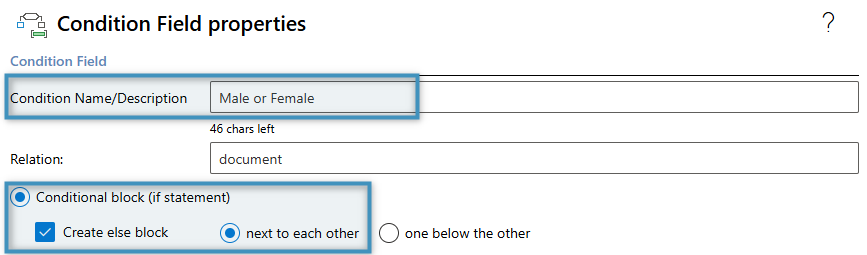
Clicking either option will open the following window:
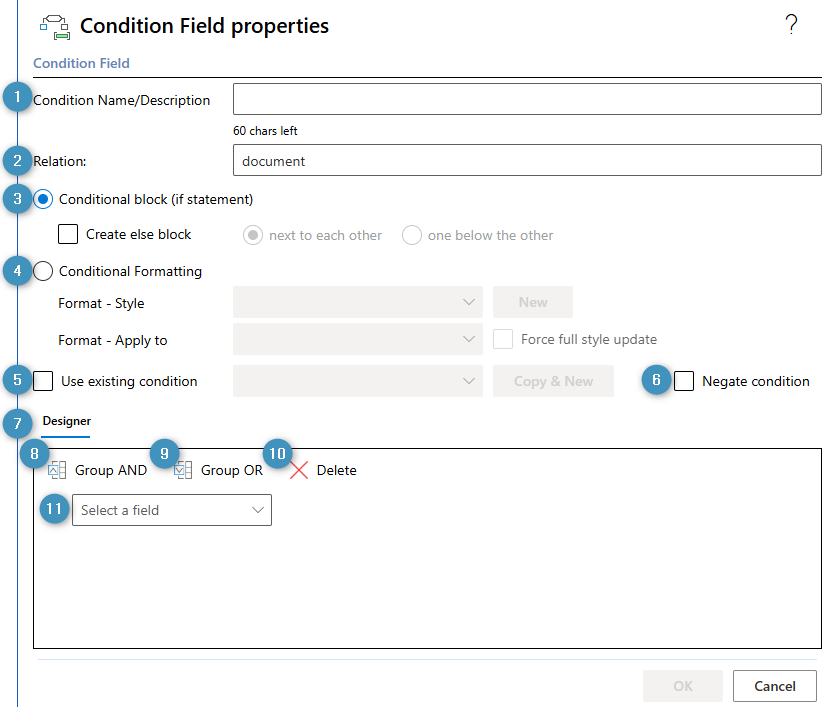
The controls are listed as follows:
- ❶ Condition Name/Description: The name of the created condition
- ❷ Relation: The relation the condition is associated with. “Document” refers to the base entity of this template.
- ❸ Conditional block (if statement): Specifies that the condition should be created as a conditional block. You can choose if the block should have an “else” block, and where the “else” block should be.
- ❹ Conditional Formatting: Specifies that a formatting style will be applied if the defined condition is met (see more on Conditional Formatting)
- ❺ Use existing condition: Allows the user to re-use an already defined condition for another block or element in the template.
- ❻ Negate condition: Negates the condition selected in ❺ when the condition is created.
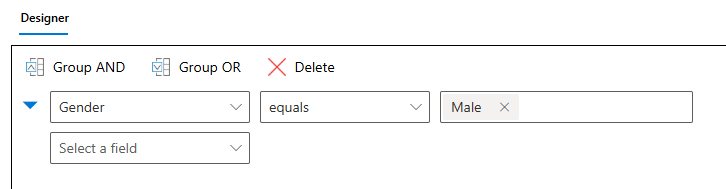
- ❼ Designer: The designer where conditions are defined
- ❽ Group AND: Groups multiple highlighted rows under ⓫ as a joint AND statement
- ❾ Group OR: Groups multiple highlighted rows under ⓫ as a joint OR statement
- ❿ Delete: Deletes the selected row or rows in ⓫
- ⓫ Field dropdown: Allows the user to choose a field or fields. The selected field(s) is/are used to construct conditions based on the operators and values chosen. The list of fields within the dropdown is based on the relation ❷ .
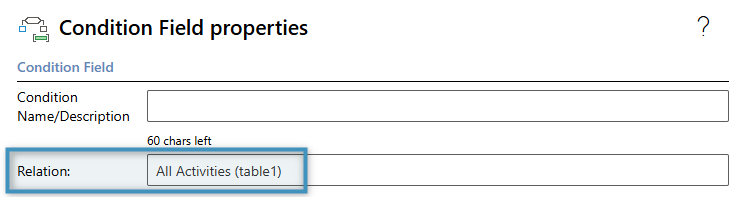
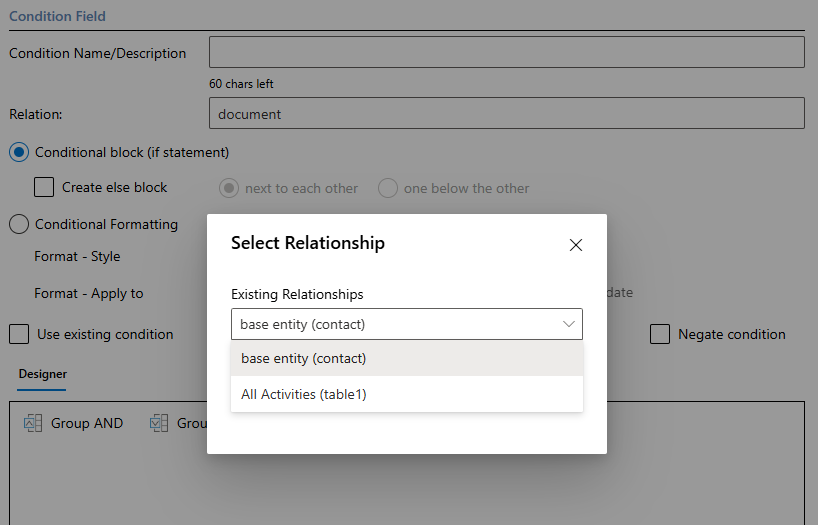
The Condition Designer’s relation ❷ can be changed. By default, the Designer’s relation is set to document. If the Designer is opened via the Insert Field button in the Relationships tab when a relationship has been resolved, the Designer will be set to that relationship.
Alternatively, opening the Designer via the Conditions button allows you to choose the relationship directly, if another relationship exists.
Designing conditions
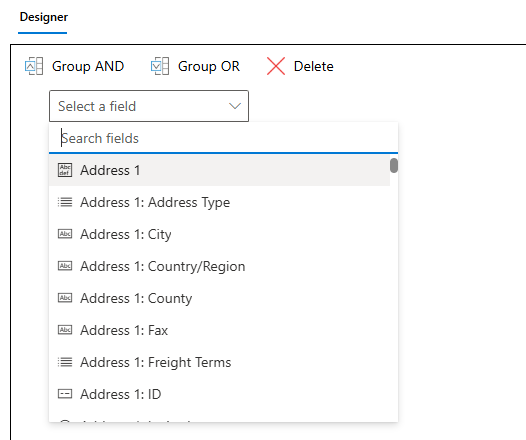
Conditions constructed in the designer are based on the fields and related records from the base entity. Clicking on the dropdown will display a list of fields.
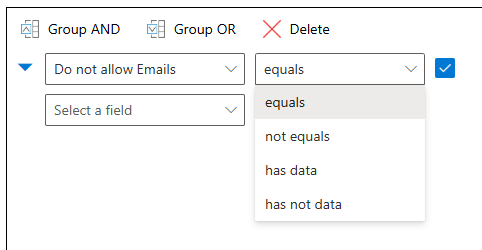
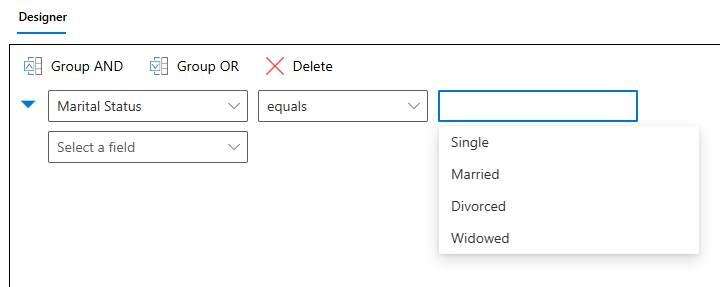
When you select a field, you can then select an operator and enter a value to compare with.
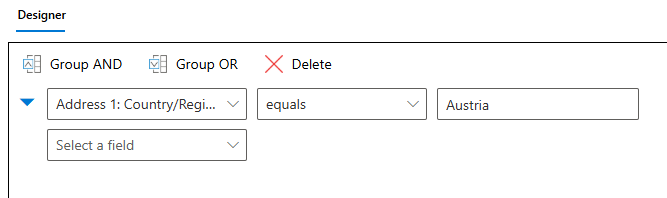
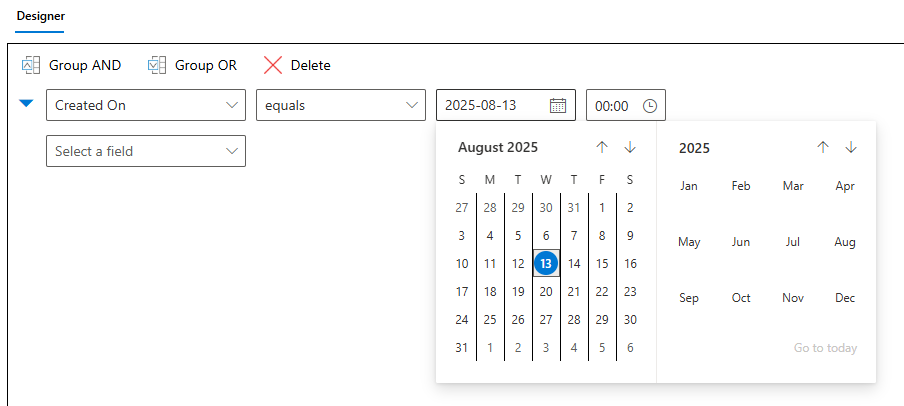
Depending on the field type, you may have different operators to choose from, or the controls may change.
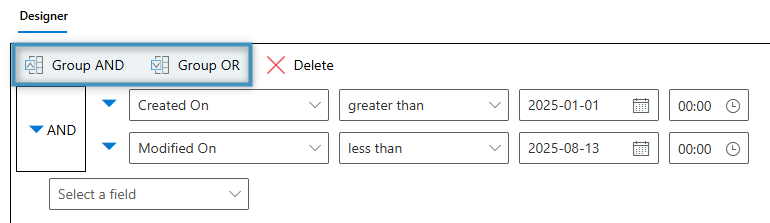
Multiple fields can be added to build more complex conditions. By selecting multiple fields, you can group them using the Group AND or Group OR buttons.
Tip: If you need to edit a condition field, click on the field and click the Field Properties button in the Fields group.
Using condition fields
In the following example, we have a template based on the Contact entity. This template serves as a welcome letter for new customers.
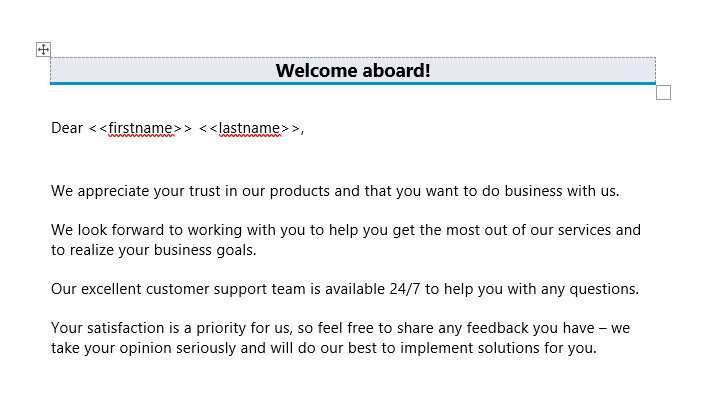
At the beginning of this letter, we would like to add a “Mr.” or “Mrs.” before the name. We can do this using condition fields and basing our condition on the Gender field.
After placing the cursor before the first and last name fields, open the Condition Designer. Give the condition field a name and select conditional block. Since the field we’re basing this on only has two values, we will create an “else” block as well.
In the designer, we will select the Gender field from the dropdown. We’ll set the operator to equals and the value to Male.
Click OK. This will add the condition fields to the template.
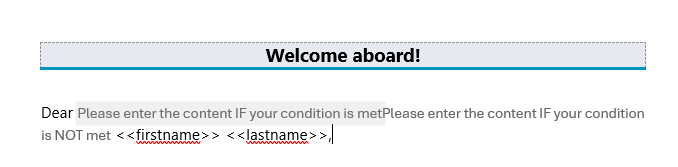
The two fields represent the two possible states of the condition. If the condition is met, the content within the first field will be displayed. If the condition is not met, the content within the second field (our else block) will be displayed. Since the condition is Gender equals Male, we will fill in the fields accordingly.
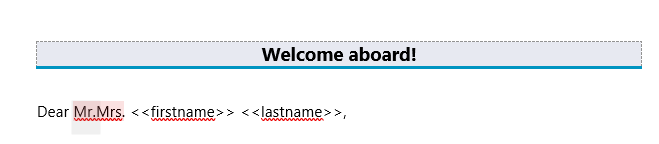
When generating a document based on this template, the condition will be evaluated based on the record’s data. In this case, since the record’s Gender field is set to Male, the condition field will display Mr. before the name.

Tip: Fields aren’t the only things that can be inserted into condition fields. Tables can also be inserted.
The IF field
Microsoft Word offers its own condition equivalents in the form of the IF field. Although it operates differently, it can still be used in combination with DocumentsCorePack fields.
Using with DocumentsCorePack fields
The syntax for the IF field is as follows, where the purple text represents the condition, the green text is displayed when the condition is true, and the red text is displayed when the condition is false:
{if ”<>”=”XY” “Content if condition is fulfilled” “Content if condition is not fulfilled”}
Fields from DocumentsCorePack can be inserted within the condition of an IF field. Using the example above, we can construct a statement like this:
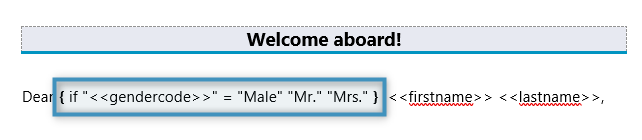
This evaluates to the following:
