This article explains how to create an invoice template using the DocumentsCorePack Template Designer.
In this step-by-step guide, we will create an invoice template that includes general invoice details, a list of products, and relevant tax and discount information.
Step 1: Set the base table
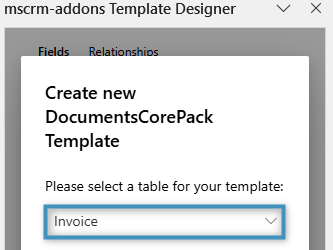
The first thing that needs to be defined before you can begin designing a template is the base table. This choice determines which fields will be available in the Template Designer. Keep in mind that once a field is added, the base table cannot be changed. For this walkthrough, click on the Insert Fields button located in the Fields group under the DocumentsCorePack tab. Once the Template Designer opens, we will select the base table Invoice.
Step 2: Adding our text and general structure
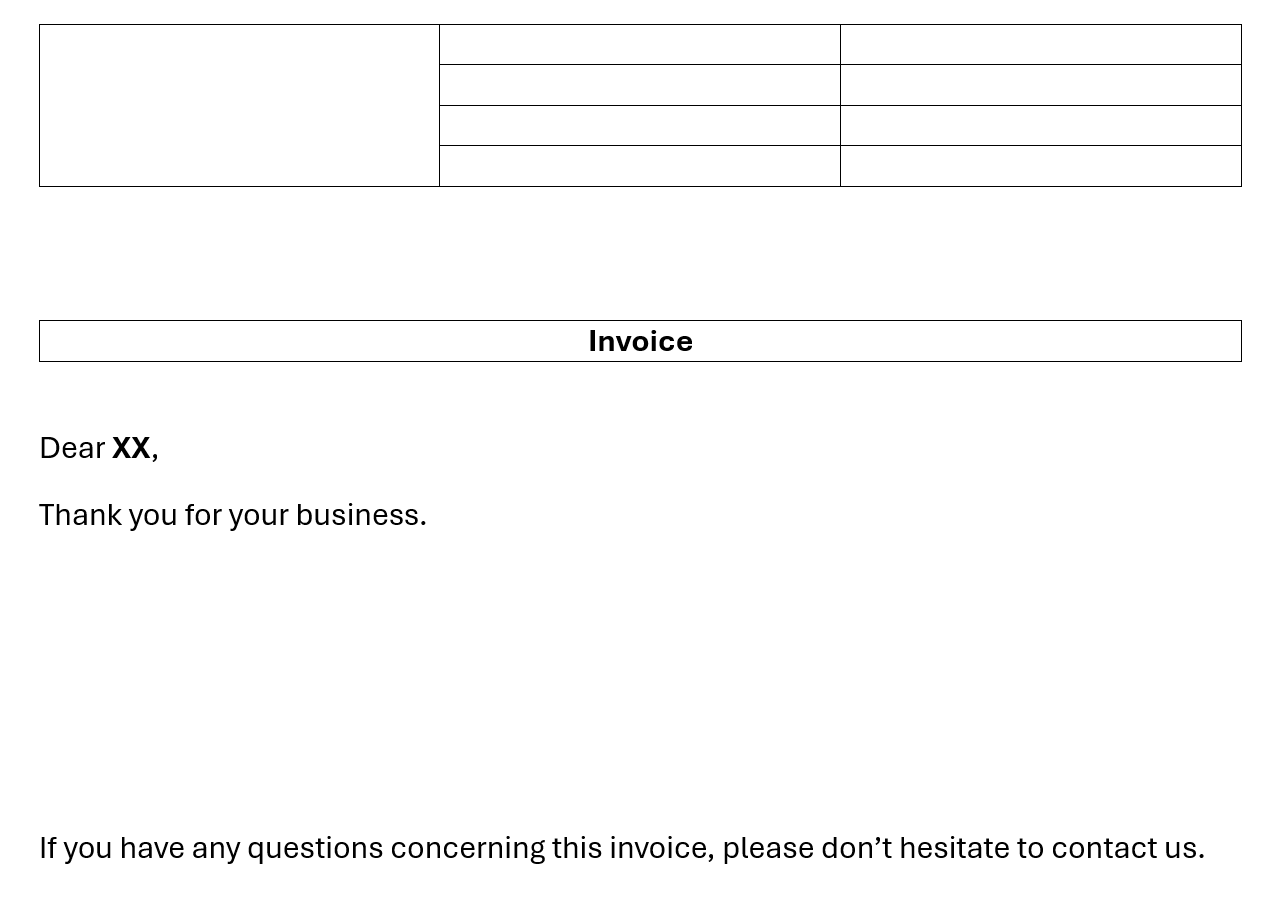
We will start by adding our text and overall structure to our template. This is what our template looks like for this example.
Step 3: Adding our standard fields
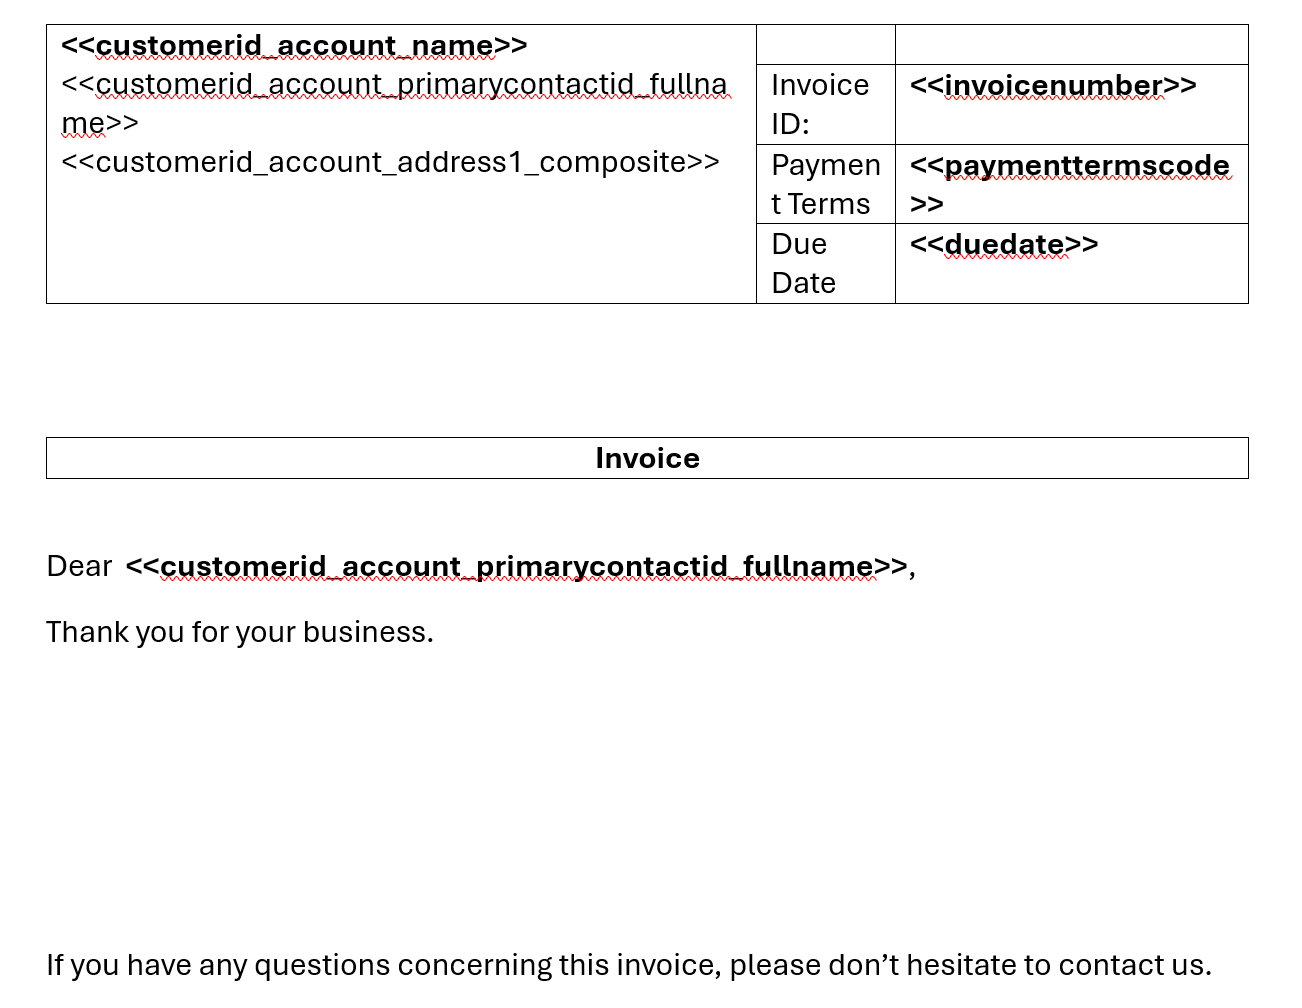
To create our invoice template, we need to incorporate fields that cover essential invoice information, including customer details and invoice-specific data. These standard fields come either directly from the Invoice or from its related lookup fields.
Step 4: Adding our table
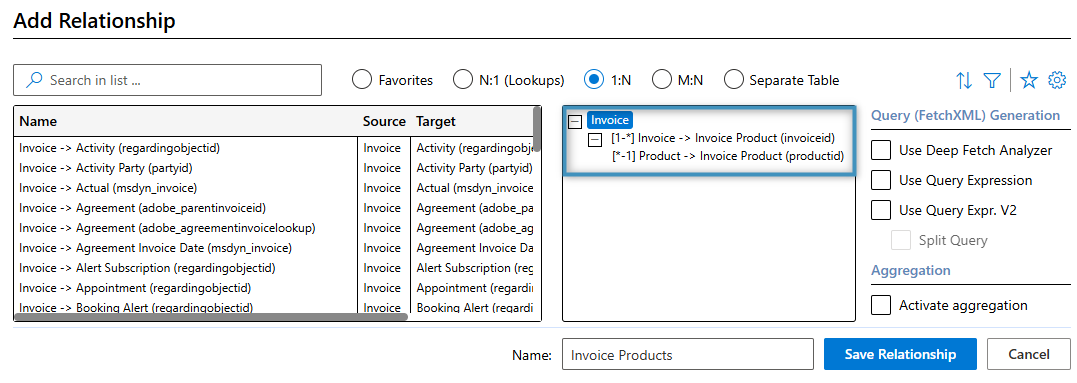
For our table, we will use the Invoice Product entity as the foundation. To set this up, we will open the Relationship Designer and locate the Invoice->Invoice Product relationship. Here we also resolve the Invoice Product->Product relationship, which is needed to add product details such as product name etc. as shown below.
After adding the relationship, the Template Designer will load the respective fields. Your relationships list will then look something like this:

To create the table, double-click on a field you would like to add, in our case the Name field. The table designer opens. We will organize our table as follows:
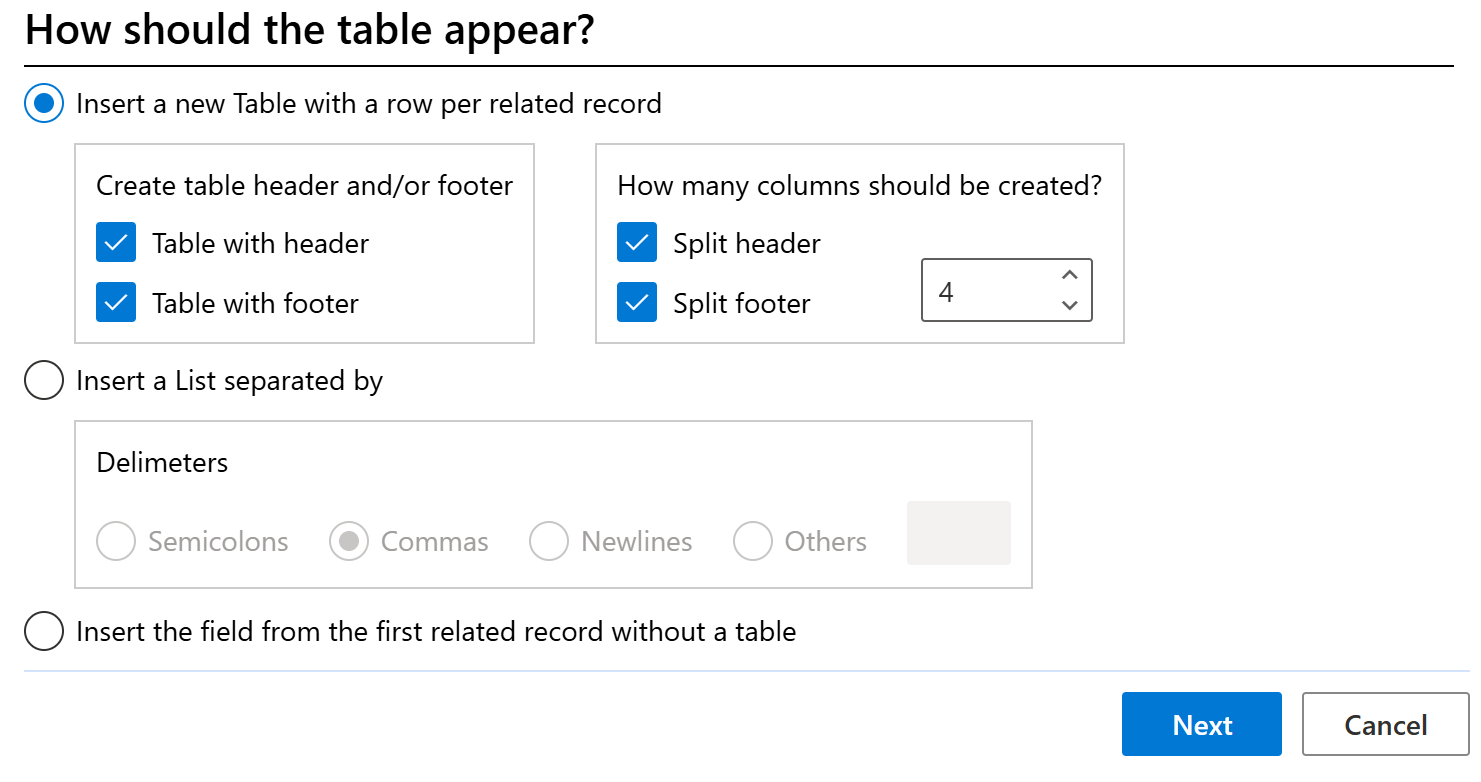
Next, we will insert the required fields into our table and name each column appropriately. We will also add the Total Detail Amount field from the Standard tab in our footer. At this stage, our table should look like this:

Step 5: Adding our condition fields
In addition to our product table, we want to include extra fields that display any applicable discounts or taxes on the invoice. These fields will only be shown if relevant – meaning, for example, the discount field will be omitted if no discounts are available.
This is where Condition Fields become useful. By including them in our template, they enable the application of conditional logic to support the behavior described above.
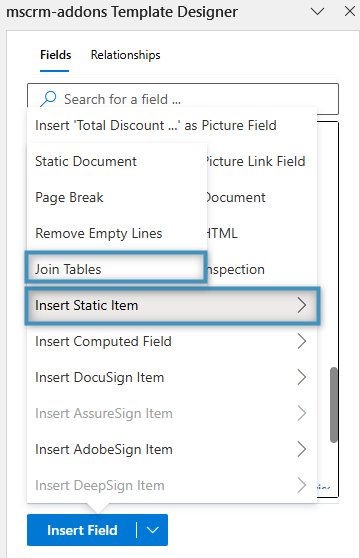
To start, we will add a Condition Field using the Condition button in the Fields group in the DocumentsCorePack tab.

We will first configure a condition for our discounts. In our example, we will assign a name to the condition (as shown below) and choose the Total Discount Amount field. We will set the operator to greater than and enter a value of 0.
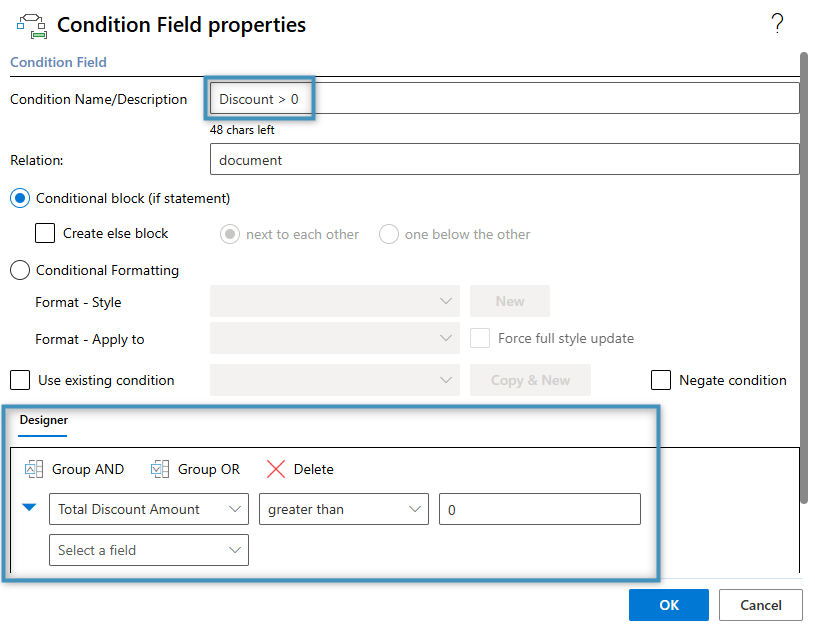
Click OK. The field should now appear in your template as shown below.
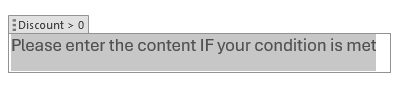
The contents of this field will appear in the final document only if the specified condition is met. In our example, if the discount amount is greater than zero (e.g., the field value is $20), the content will be displayed. If the value is zero, it will be excluded from the result document.
We will insert a Word table within this field and include the Total Discount Amount field inside it. This ensures the value is displayed when the condition is met.
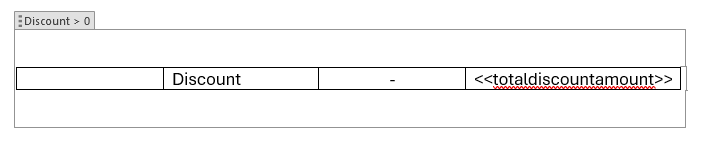
This is the desired structure for our condition fields in the template. We will create two additional fields following this format. However, within this condition field we want to include one more element: the Join Table field.
The Join Table field can be inserted between two tables to merge them into one table. In our case, since we want to include two other condition fields similar to the one above, we can insert the Join Table field between the table to join them into one structure.
To insert this field, go to the Insert Field menu again. You will find it under the Insert Static Item submenu.
Once selected, the Join Table field will be inserted at your cursor’s location. Be sure to place your cursor below the discount table before inserting the field.
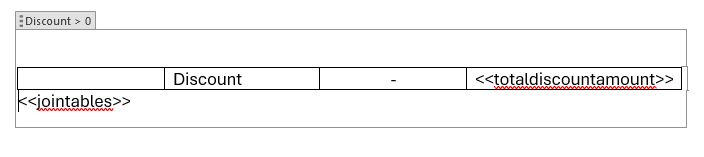
Figure 13: The Join Table field inserted in our condition, under the Word table
This condition field is now finished, and we can move on to the next one: the Total Tax field.
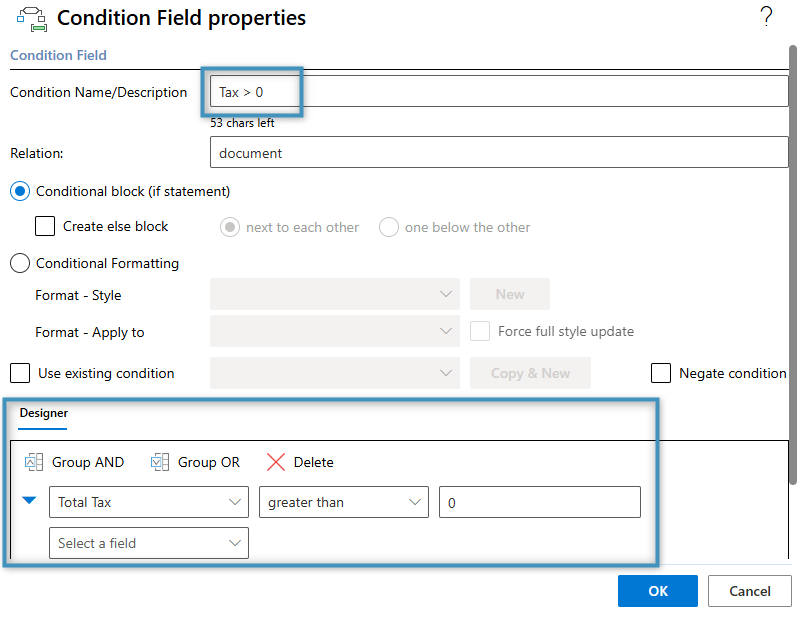
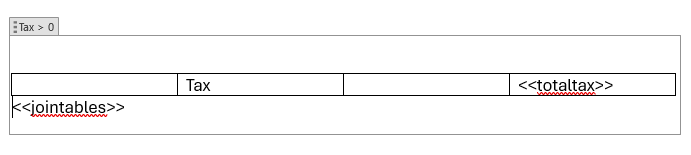
This condition field is configured in the same way as the previous one. In the end, it should look similar to the example shown below.
For our last condition field, we want the Total Amount field to be displayed only if either the Total Discount Amount or Total Tax is greater than zero. To achieve this, we will create a condition field that includes two separate conditions. Simply set up the field as usual, then add both conditions. Once they’re in place, select both rows and click the Group OR button. This will group them under a single OR condition statement.
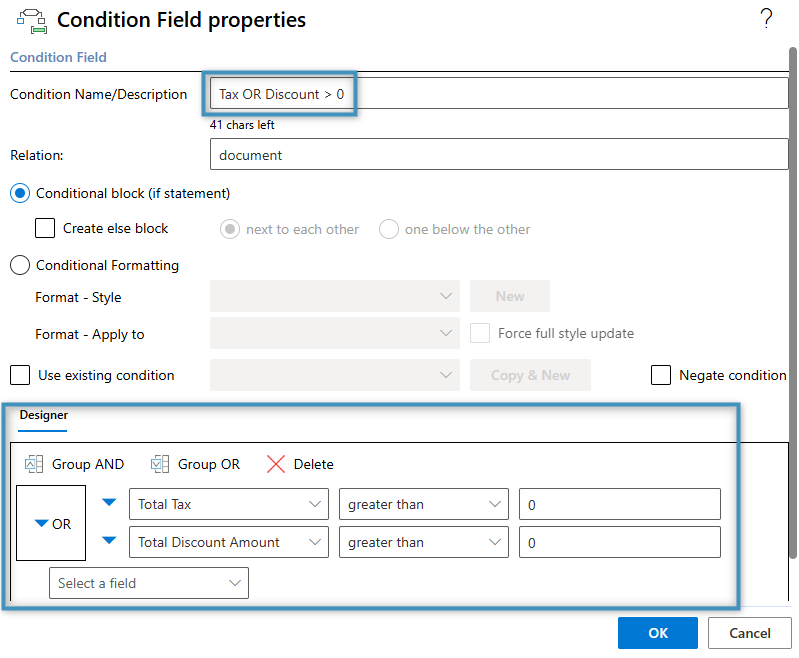
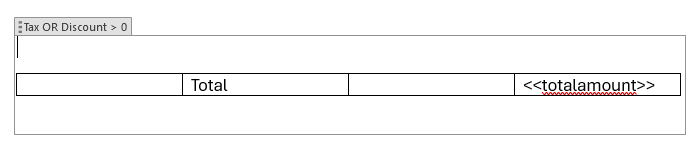
Click OK. You can then insert a Word table into the condition field and add the Total Amount field, just as we have done previously. Since this is the final condition field, there is no need to include another Join Table field.
Step 6: The Result
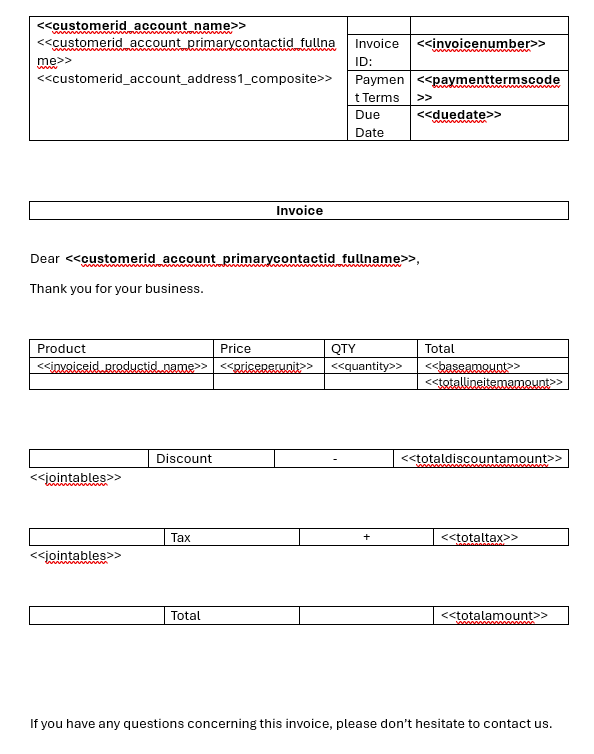
With all fields, tables, and condition fields now in place, we are ready to test our template. For reference, this is what our current template looks like:
When we merge the template with an Invoice record from our system, the resulting document will look like this:
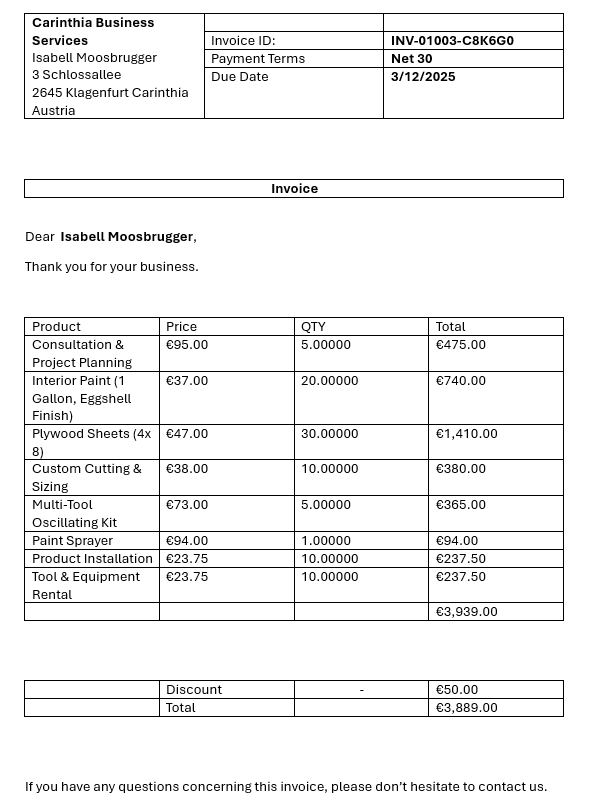
Note that the Discount and Total are merged thanks to the Join Tables field. The Tax field is not present since it is not greater than zero.