By default, the Create Document button is displayed in all records across all Dynamics 365 tables. This can be changed; by accessing the DocumentsCorePack Online Service Configuration, you can manage which tables hide or show the button.
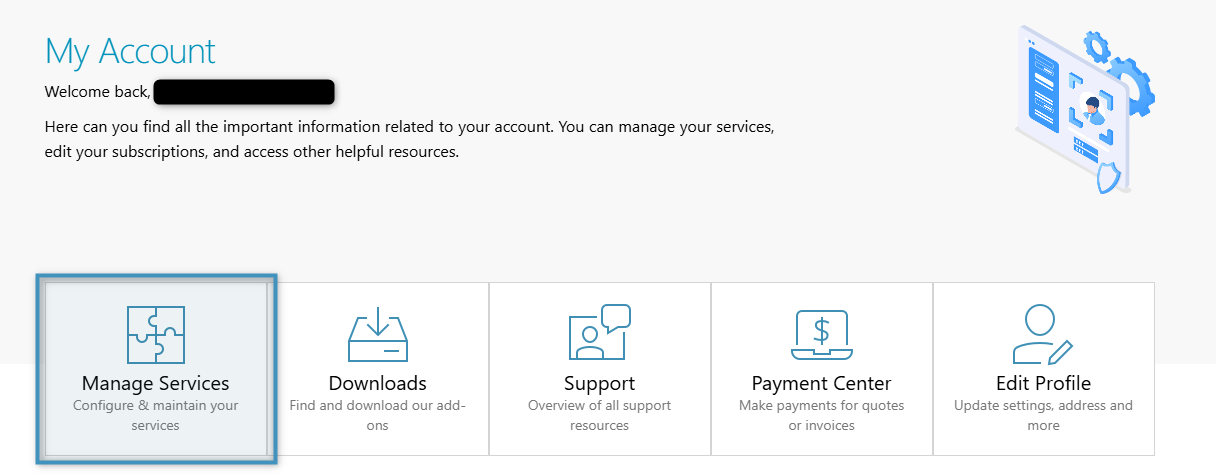
To access the Online Service Configuration, open mscrm-addons.com and click the Manage Services button in your account.
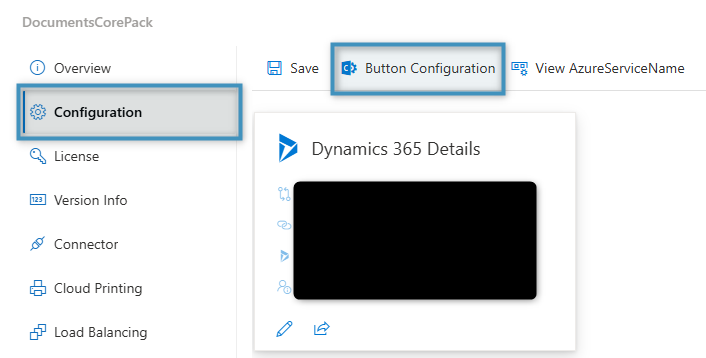
Select your service and click on the Configuration tab. Then, click Button Configuration.
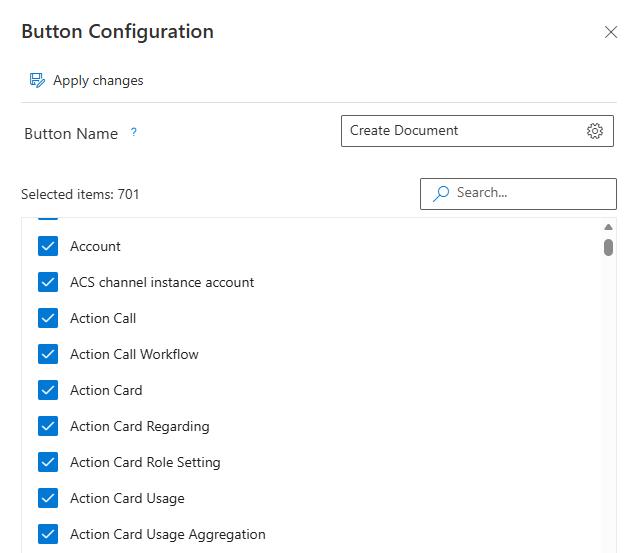
This will open the Button Configuration pane. Here, you can select which tables should display the Create Document button. Additionally, you can change the name of the button if desired.
That’s it! We appreciate your feedback! Please share your thoughts by sending an email to support@mscrm-addons.com.