The Insert Special menu adds advanced field types to your template. These fields go beyond simple text merges, enabling QR codes, conditional content, calculations, and more.
When you click on the Insert Special button in the DocumentsCorePack ribbon, you will be provided with the options below:
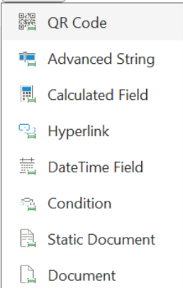
QR Code
Quickly insert a QR code into your template to share links, IDs, or record-specific information in a scannable format.
Click Insert Special → QR Code.
- In the field picker, choose the Dynamics 365 field you want the QR code to represent (e.g., Website URL, Case ID).
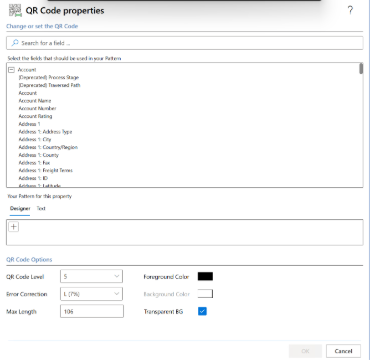
- Click OK.
- When the document is generated, the QR code will display and can be scanned to open the related data.
For more information related to adding QR Codes, visit this article
Advanced String
Use the Advanced String feature to customize text by combining multiple fields, adding static text, or formatting values for more flexible document outputs.
In your DCP Ribbon, go to Insert Special → Advanced String.
- The Advanced String Properties window will open.
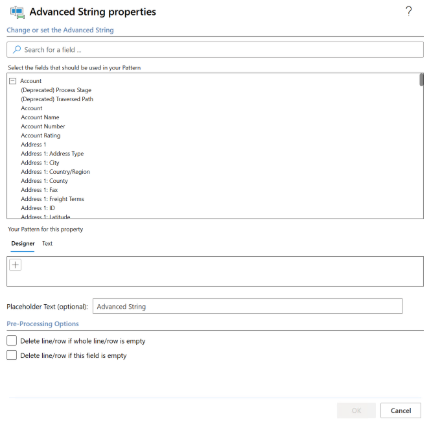
Select the Data Source
- In the “Select the fields that should be used in your Pattern” section, expand the entity you’re working with (e.g., Account).
- Click the field(s) you want to include in your combined text, such as:
- Account Name
- Address 1: City
- Address 1: Country/Region
Build Your Pattern
- In the Designer tab, click the + button to add each chosen field to your pattern.
- You can add multiple fields in sequence.
- To include static text (like commas, spaces, or labels), switch to the Text tab and manually type, inserting fields where needed.
Set Placeholder Text (Optional)
- In the “Placeholder Text” field, type text that will appear in the document if the field value isn’t available.
- Example: “Information not provided”
Configure Pre-Processing Options
- Delete line/row if whole line/row is empty – Removes the entire line if no field has data.
- Delete line/row if this field is empty – Removes only the Advanced String placeholder if it’s empty.
For more information related to adding QR Codes, visit this article.
Calculated Field
Insert a Calculated Field to perform basic math or logic directly in your template, such as adding discounts, calculating totals, or formatting numeric results.
In your DCP Ribbon, go to Insert Special → CalculatedField.
- The Calculated Field Properties window will appear.
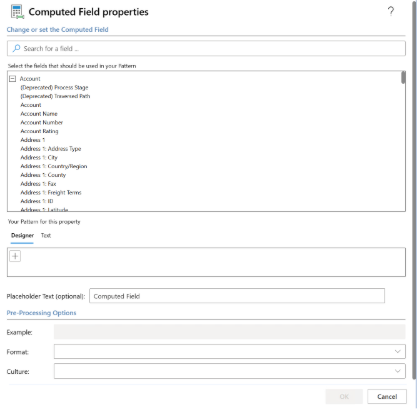
Select the Field(s) to Calculate From
- Expand the entity you’re working with (e.g., Account).
- Select one or more fields to use in your calculation or transformation. Examples:
- Account Number
- Address 1: City
- Annual Revenue
Build Your Calculation Pattern
- In the Designer tab, click the + button to add the field(s) to your computation.
- Switch to the Text tab if you want to manually write an expression, such as combining values or applying operations.
Set a Placeholder Text (Optional)
- Type text that will appear if the computed value can’t be generated. Example: “N/A”.
Configure Formatting Options
- Example: Shows how your output will look based on the selected field and format.
- Format: Choose a formatting style based on the field type:
- Numbers: #,##0.00
- Dates
- Percentages: 0.00%
- Culture: Select a locale (e.g., en-US, fr-FR) to control date, time, and number formatting rules.
Apply Pre-Processing Rules (Optional)
- Delete line/row if whole line/row is empty – Removes the entire line if no value is generated.
- Delete line/row if this field is empty – Removes just the calculated field placeholder if no value is available.
For more information on Calculated Fields, visit this article.
Insert Hyperlink
Add a hyperlink to your template that can point to a website, a file, or a record-specific URL from Dynamics 365, making it easy for recipients to access related content directly.
In your Template Designer, go to Insert Special → Hyperlink. This feature allows you to place dynamic links, where parts of the URL can be automatically pulled from Dynamics 365 fields.
For example, you might create a link to a payment portal where the Quote-ID is passed as a parameter. This is a common use case that makes it easy for clients to directly access the relevant payment page from the generated document.
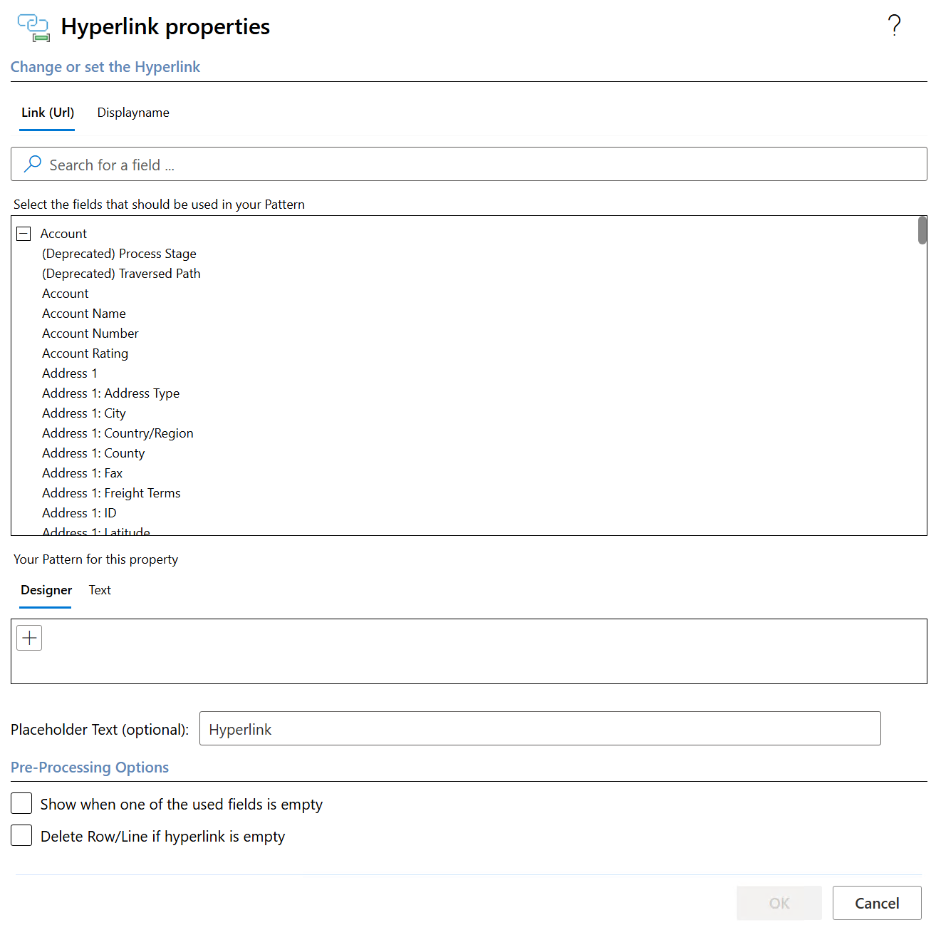
- In the Link (URL) tab, select fields (e.g., Account Number or Billing Account) to dynamically generate the hyperlink.
- Optionally, enter placeholder text (e.g., Hyperlink) that will be shown in the document.
- Choose whether to delete the row/line if the hyperlink is empty.
- Confirm with OK.
Example: If you insert a hyperlink for the Billing Account, the document will automatically generate a link like: https://crm.example.com/account/[BillingAccountID]
For more information on inserting hyperlinks, visit this article.
DateTime Field
Insert a DateTime field to display dates and times in your template, whether it’s the current system date or a specific value pulled from Dynamics 365.
In your DCP ribbon, go to Insert Special → DateTime Field.
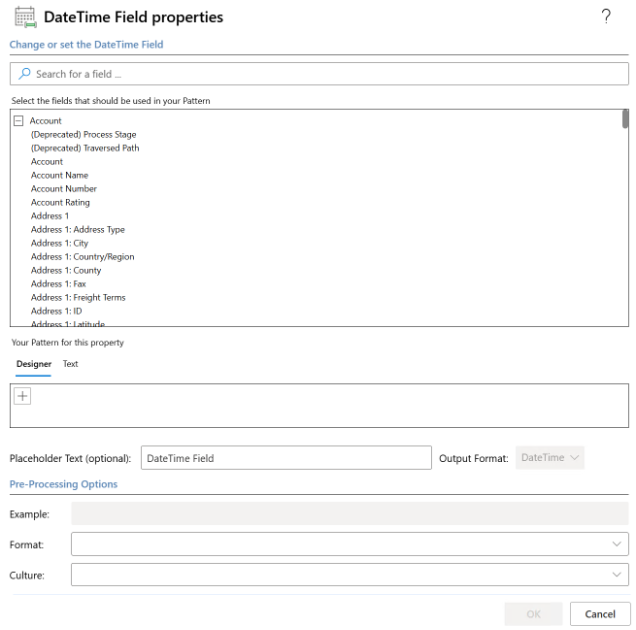
The DateTime Field Properties window will appear.
Configure the Date/Time Output
- Select a DateTime Source
- Use the current system date/time, or insert a DateTime value from an entity field (e.g., Created On, Modified On).
- Set the Format
- Choose how the value should appear:
- Short Date (e.g., 03/18/2025)
- Long Date (e.g., Tuesday, March 18, 2025)
- Time Only (e.g., 14:30)
- Date + Time (e.g., 03/18/2025 14:30)
- Choose Culture/Locale
- Control how the date/time displays for different regions.
- Example:
- en-US → 03/18/2025
- de-DE → 18.03.2025
- Placeholder Text (Optional)
- Add fallback text if no DateTime value is available (e.g., “N/A”).
Apply Pre-Processing Rules (Optional)
- Delete line/row if whole line/row is empty.
- Delete line/row if this field is empty.
For more information on DateTime fields, visit this article.
Conditions
See current documentation at here.
Static Document
Attach a static document (such as terms & conditions, disclaimers, or a cover page) to your template so it’s always included in the generated output, regardless of the data record.
In your Template Designer, go to Insert Special → Static Document.
The Static Document Properties window will appear.
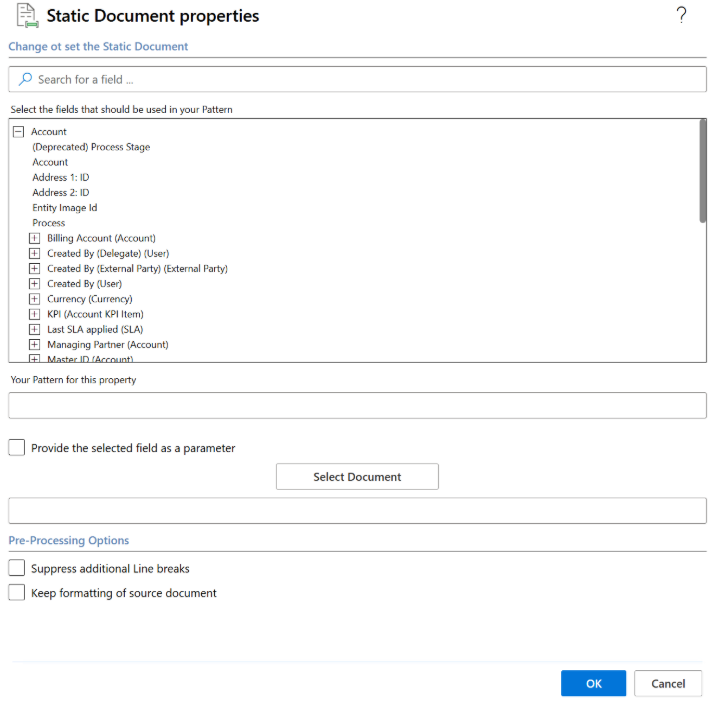
Select the Fields
In the top section, you can choose fields that should be used in your pattern.
- Expand an entity (e.g., Account, Process, Currency)
- Select the field(s) you want to reference inside your static document
These fields are not dynamically merged like in a Word Template — instead, they define placeholders or metadata tied to the static content.
Pattern
In Your Pattern for this property, you can specify how the selected field should appear when the document is generated.
Example:
- Just the field value → <<Account Name>>
- With custom text → “Customer: <<Account Name>>”
Provide the Selected Field as a Parameter
Check this box if you want to pass the selected field as a parameter for later use inside the template.
Select Document
Click Select Document to browse and attach the file you want to embed (e.g., PDF, Word).
This is the static document that will be merged into the output.
Pre-Processing Options
- Suppress additional line breaks → Removes extra line breaks when inserting the static doc.
- Keep formatting of source document → Preserves the exact styling, fonts, and layout from the original static file.
Insert into Template
Click OK. The static document placeholder will be added to your template.
When generated, the attached static file will be merged in, with fields replaced according to your pattern.
For more information on static documents, visit this article.