This article describes how you can insert the current date with datetime function using Advanced String.
Note: Do not use the DateTime Field option if you only want to insert the current date. The DateTime Field option is only for performing calculations with Dynamics 365 date fields (see this article).
Step-by-Step description
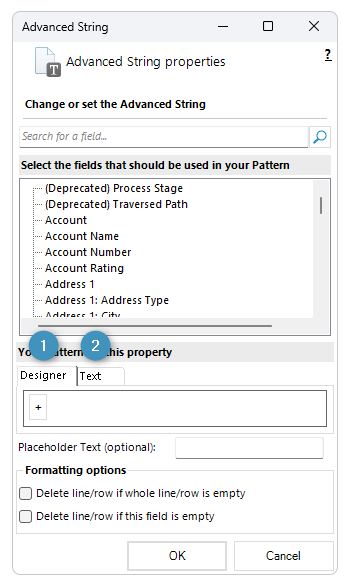
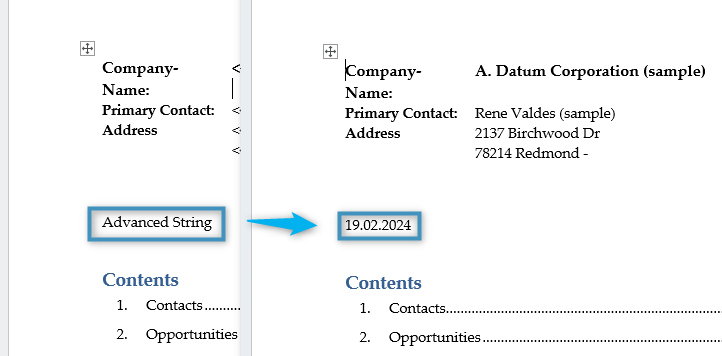
To insert the current date, first select the Advanced String option under the Insert Field menu as shown below.

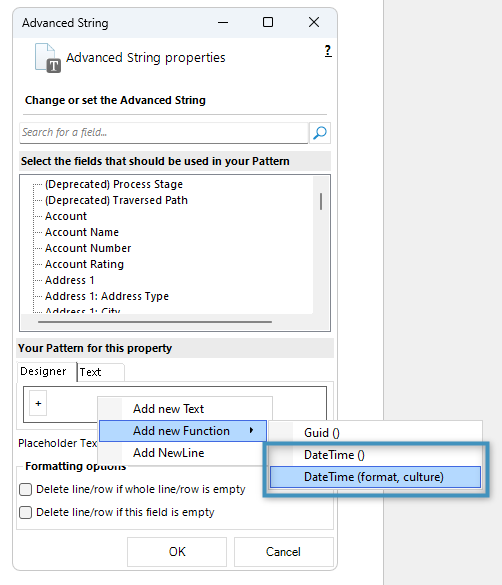
To add it through the Property Designer, right-click within the field and select either DateTime() or DateTime(format, culture). The latter is used to format the resulting date according to the specified format strings.
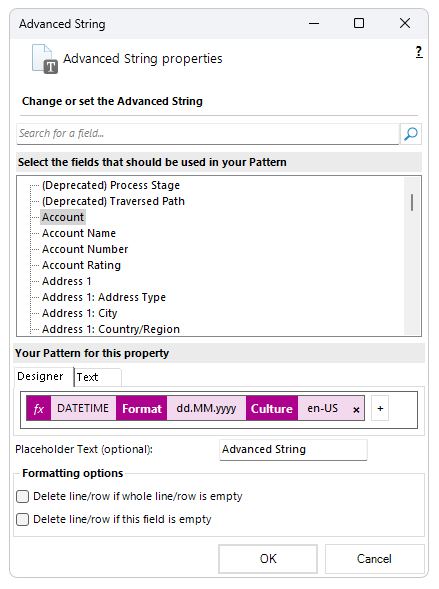
In the text property designer, you must manually enter the DATETIME() field and any desired formatting.
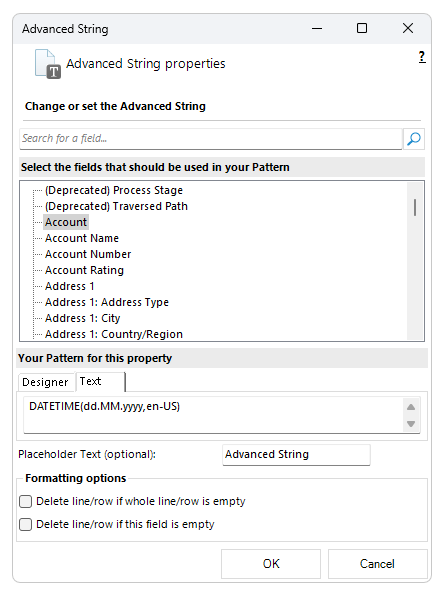
Note: When you add fields to the Property Designer, they display in text when you switch to the Text Property Designer.
Click OK, after entering the value. The resulting document will show the current date, formatted as specified.
That’s it! We appreciate your feedback! Please share your thoughts by sending an email to support@mscrm-addons.com.