Our new feature for the Create Document-Dialog allows you to trigger actions from the dialog and to pass on entity parameters to this action (for example the AutoMergeWorkingItem, the Activity and the main record). This allows you to create complex post processing actions.
Create an Action
First you have to create an Action. Let´s start in your Dynamics 365 > Advanced Settings > ❶ Processes and press the ❷ [New]-button.


The “Create Process“-window opens. Fill out the mandatory fields (with an asterisk) like
- Process name – you can give any name
- Category – Action
- Entity – You can decide between a [None (global)] (like in this example) or you can select an entity.
- Type is by default “New blank process”.
Press the [OK]-button.
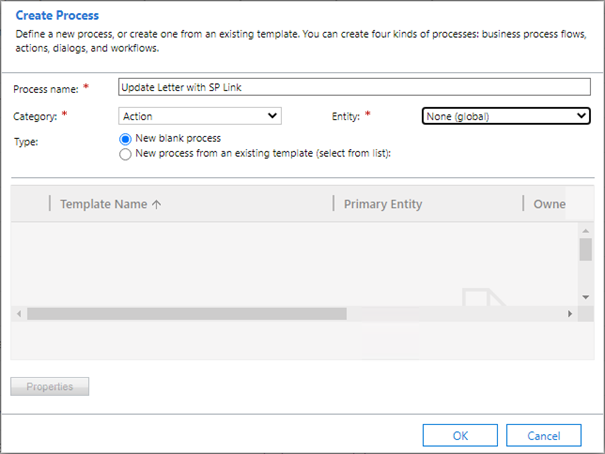
Figure 2: Create Process-Window
Now add with the yellow marked [+] your process arguments. You need to fill out a name (You can give any name) and Type “EntityReference”. In this example we selected the Entity “Letter”. The “Direction” setting is standard with “Input”.
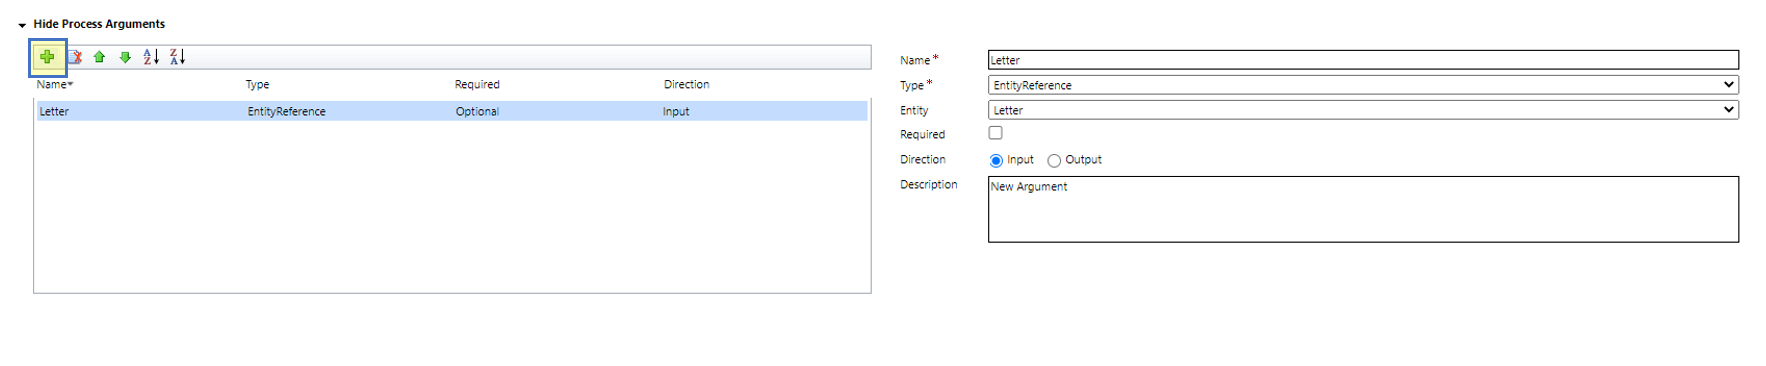
Figure 3: Add Process Arguments
You need another process argument: “AutoMergeWorkingItem” to access the “ReturnValue 2” (SharePointLink).

Figure 4: Add another process argument
Please Note: The dialog will provide you the following input parameters which you can use in the action:
- Type: EntityReference
Entity: MSCRM-ADDONS.com User/Temp Settings - Type: EntityReference
Entity: MSCRM-ADDONS.com AutoMergeWorkingItems - Type: EntityReference
Entity: Note - Type: EntityReference
Entity: The created activity (e.g. Letter, Fax, Task…) if you select the “Attach document as other activity” option in the dialog. - Type: EntityReference
Entity: Email if you select the “Attach document as email attachment or as email content” option in the dialog.
Also, the dialog will open all EntityReference output parameter from the action after he runs successfully.
Now scroll down on the same page, and “Add Step”. We want to Update the letter. If you click the [Set Properties]-button.
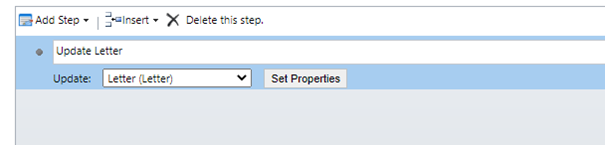
Figure 5: Add Steps
A form opens. Please navigate to the “Form Assistant” on the right side where to look for the “AutoMergeWorkingItem” and the “ReturnValue 2”. Confirm with [OK] to add the “ReturnValue 2” to the description of the letter.
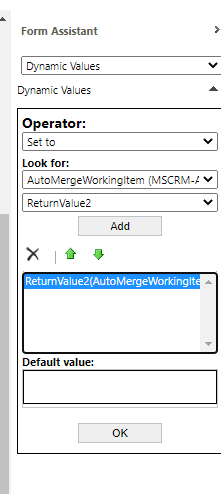
Figure 6: Form Assistant to look for AutoMergeWorkingItem
In the result you can see the “ReturnValue2” in the description field.
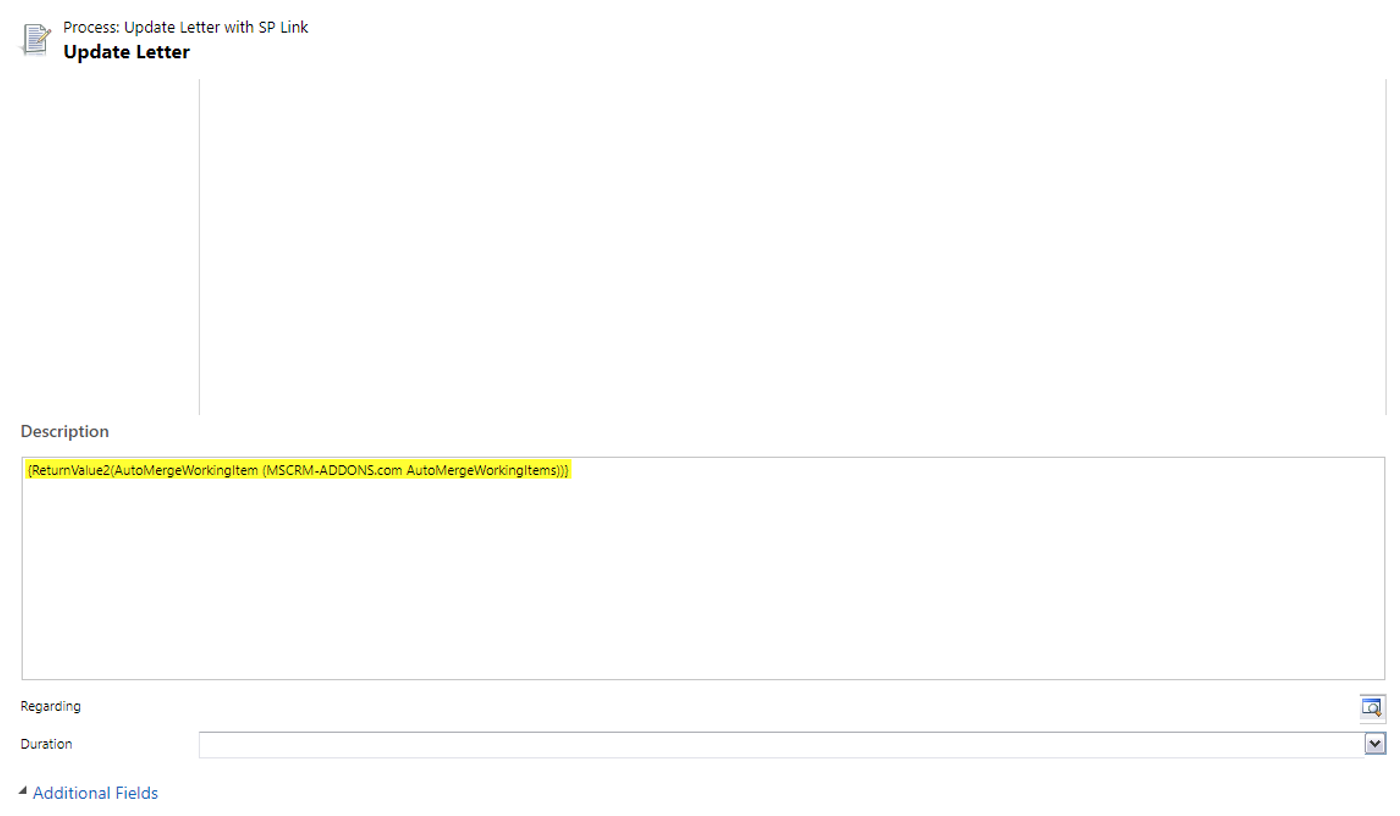
Figure 7: Result “ReturnValue 2” in description field
Trigger your Action
Click on the [Create Document]-button and select in the upcoming window to attach document as other activity (Letter), save it to SharePoint and run the action you just created.
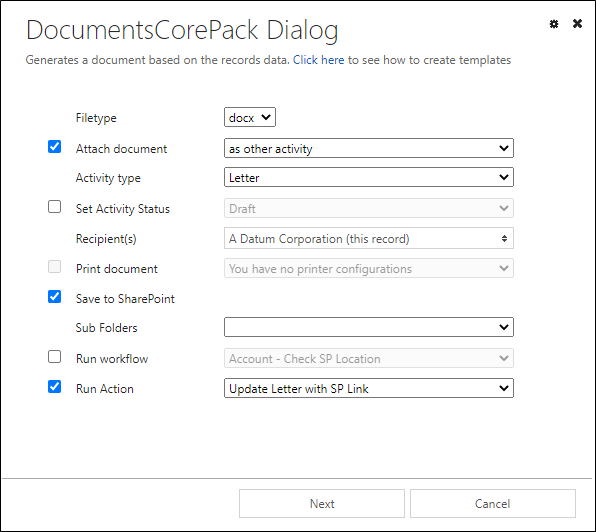
Figure 8: DCP-Dialog
You can see in your result the link to the SharePoint Location where the document is saved.
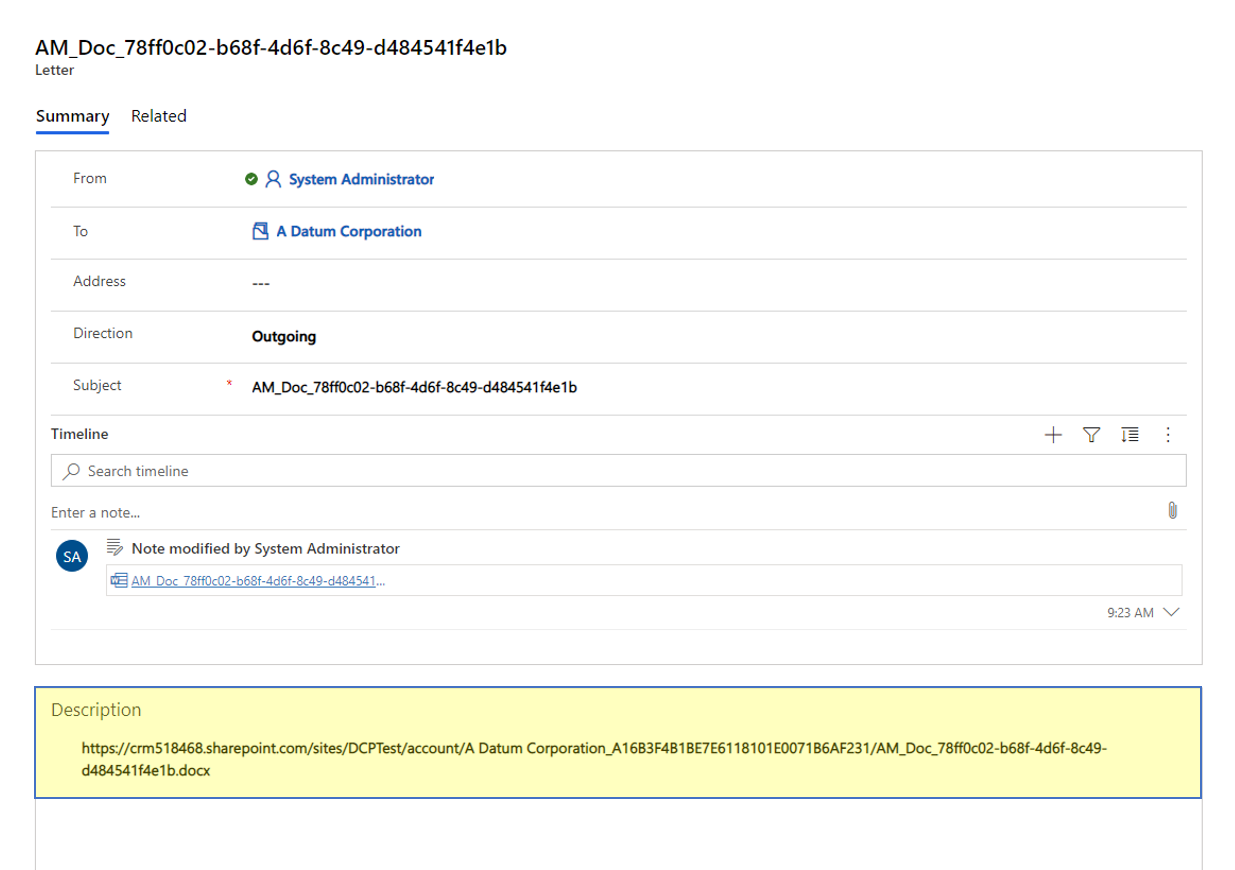
Figure 9: Link to SP location
That’s it! We appreciate your feedback! Please share your thoughts by sending an email to support@mscrm-addons.com!