This article outlines a step-by-step guide on automatically generating and sending a quote document when a quote is activated in Dynamics 365, using Power Automate in combination with the DocumentsCorePack Connector.
In this example, our goal is to automatically generate and send a quote with an email description to a customer once a quote is activated. To achieve this, we will create a new automated flow that runs a DocumentsCorePack quote template and sends the generated quote document as an email attachment in Dynamics 365. Additionally, we will generate another template and insert it directly into the email’s body.
Step 1: Creating the flow
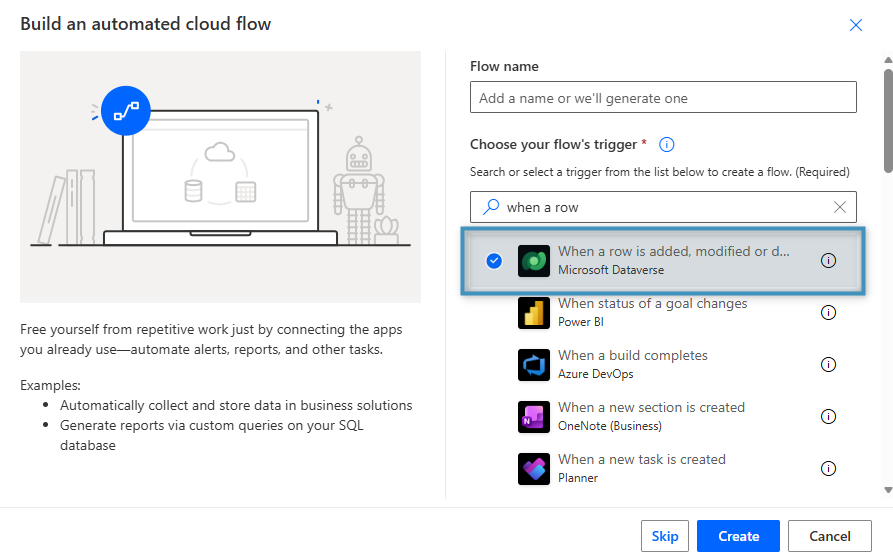
Start by creating a new flow and choosing a trigger. In our example, we will build an automated cloud flow and select When a row is added, modified, or deleted as the trigger.
Step 2: Setting our starting parameters
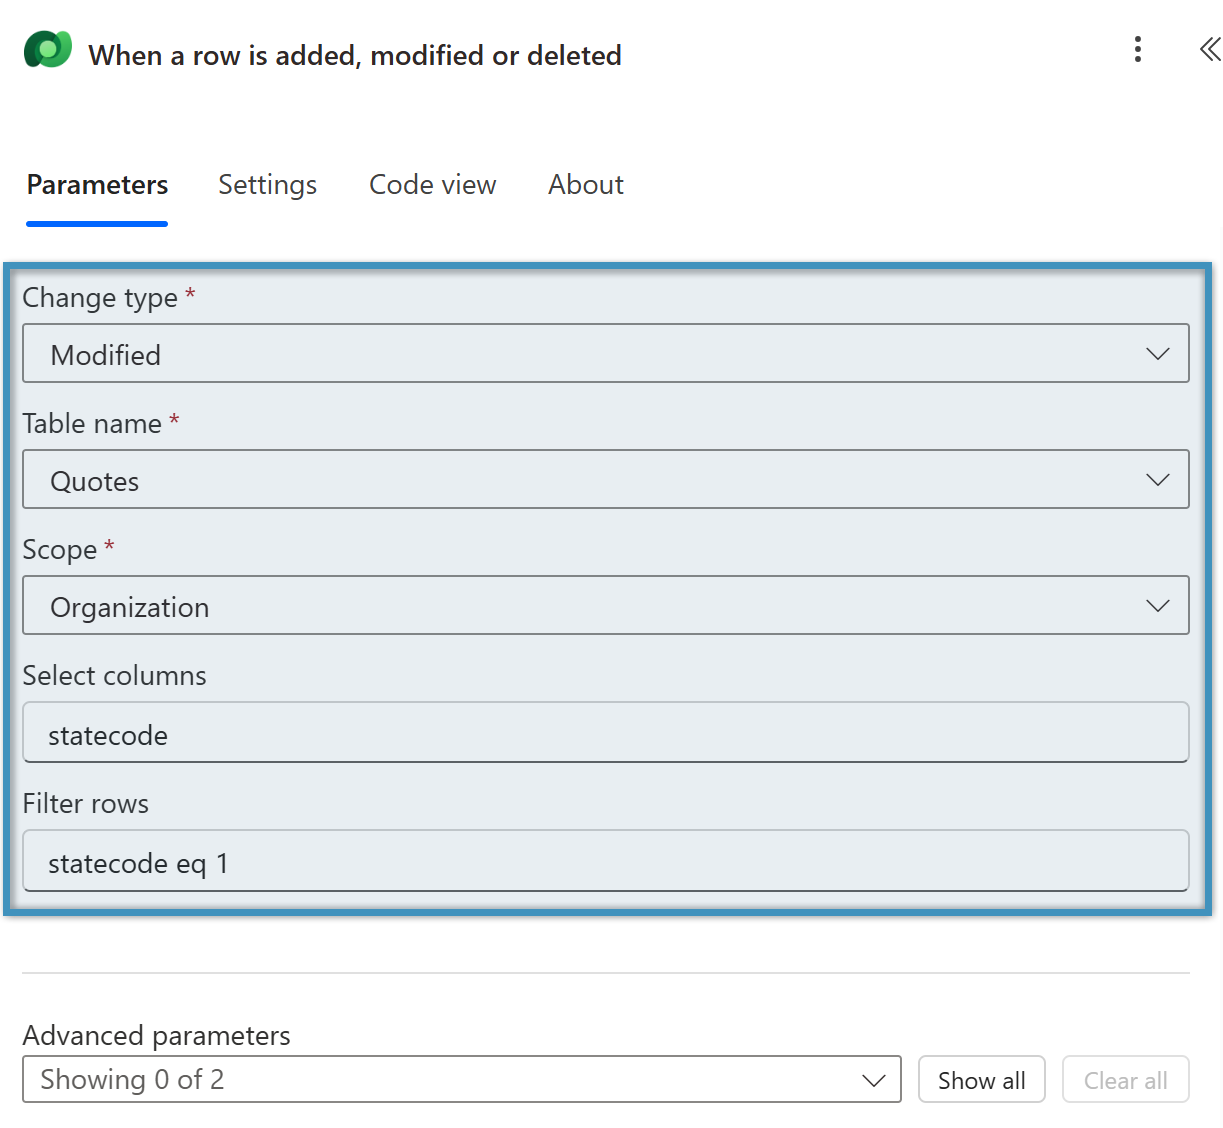
Fill in the required parameters. Select Modified as the Change Type. For Table Name, select the primary entity the flow will target—in this case, the Quotes table. Then set the Scope to Organization.
When a quote’s statecode is set to 1, it indicates that the quote has been activated. To ensure the flow triggers only for activated quotes, enter statecode in the Select Columns field, and type statecode eq 1 in the Filter Rows field, as shown in Figure 2.
Note: For the flow to work, the quote must be set to Active in Microsoft Dynamics 365.
Step 3: Adding the “Add a new row” action
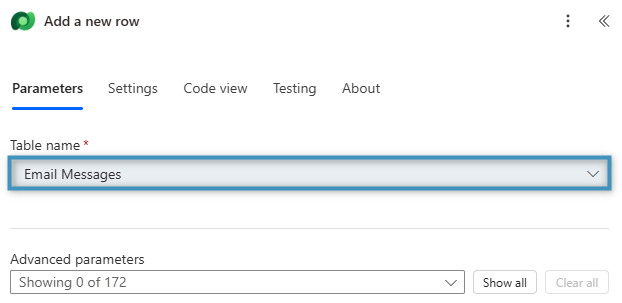
Next, we will add a new action to our flow. Search for the Microsoft Dataverse connector and select Add a new row action. Since we want to send an email, select Email Messages for the Table name, then click on the plus (+) icon on the right to add a new action.
Step 4a: Adding the “Create document” action
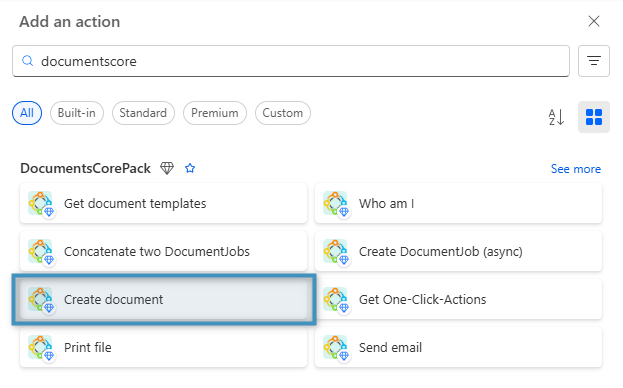
Search for the DocumentsCorePack Connector and select Create document from the list of available actions.
Step 4b: Filling out the fields
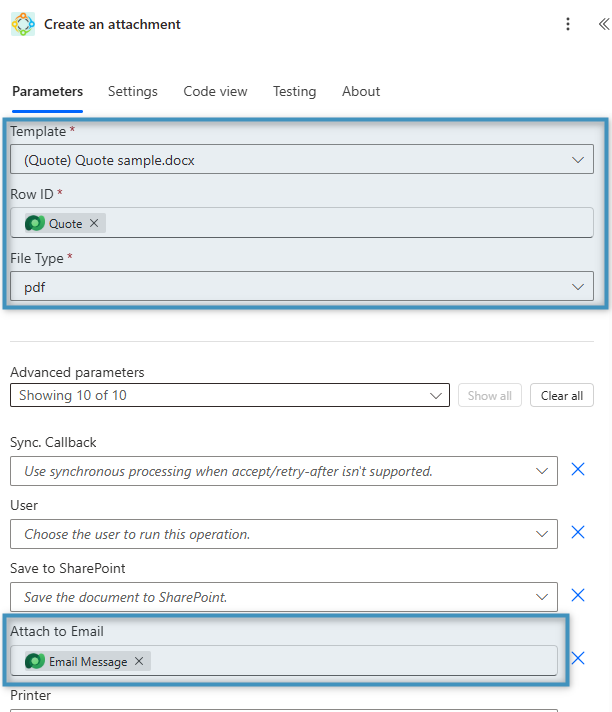
After selecting the action, the corresponding window will appear as shown below. Fill in the fields as follows:
- Template: Select the DocumentsCorePack template that will be used to generate the document. In this example, we are using the Quote Template. (Click here to learn how to create a DocumentsCorePack template.)
- Row ID: Add Quote from the Dynamic content window.
- File Type: Select PDF to generate and attach the document as a PDF in the email.
- Attach to Email: Select Email Message from the Dynamic content window.
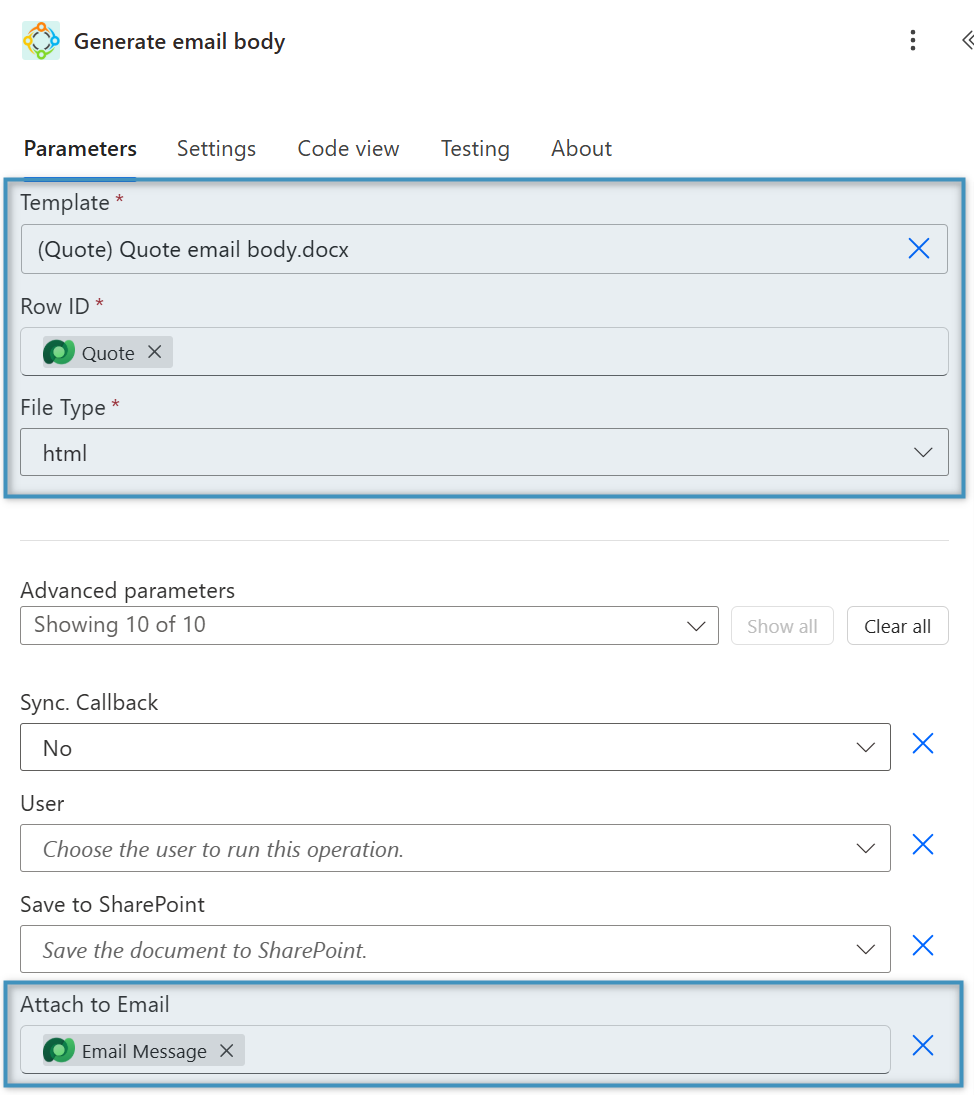
Step 5: Adding the email content document
To add the email content, insert another step and select Create document from the DocumentsCorePack connector again. This step works the same way as the previous one; however, we will choose a different template for the email body, and the File Type must be set to HTML.
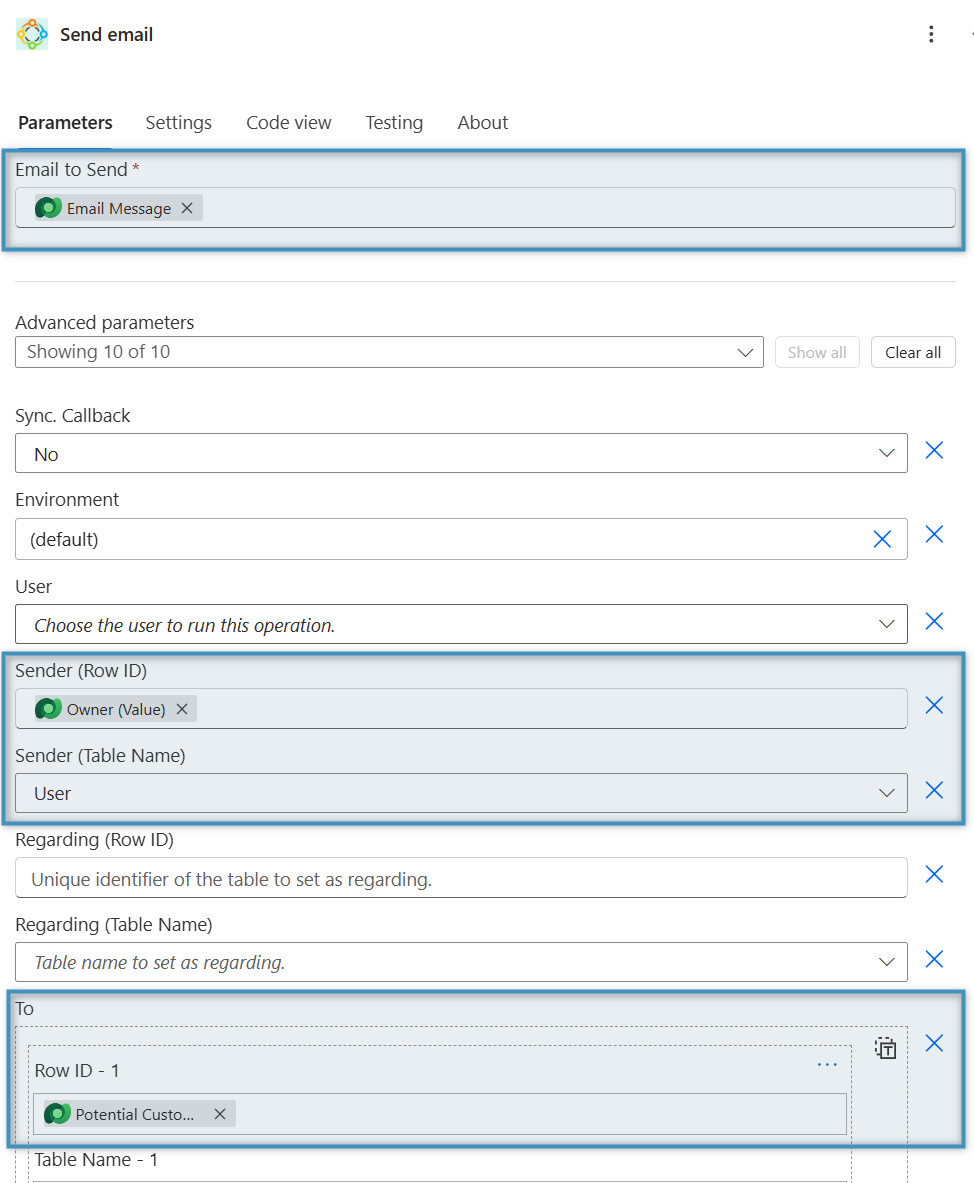
Step 6: Configuring the “Send email” action
Select the (+) plus icon to add a new action and select Send email under the DocumentsCorePack connector. Then provide the email record, sender, and recipient before saving your flow.
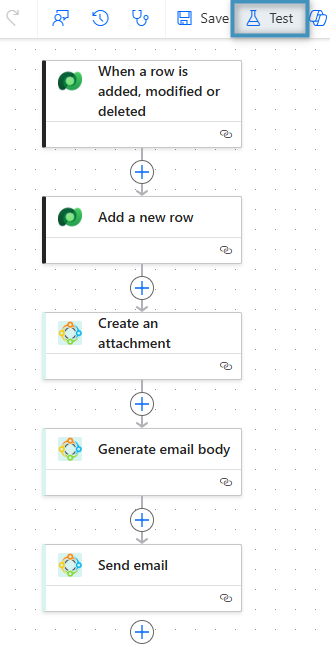
Step 7: Test your flow
Below you can see a complete overview of the flow, showing how each step connects to form the full automation.
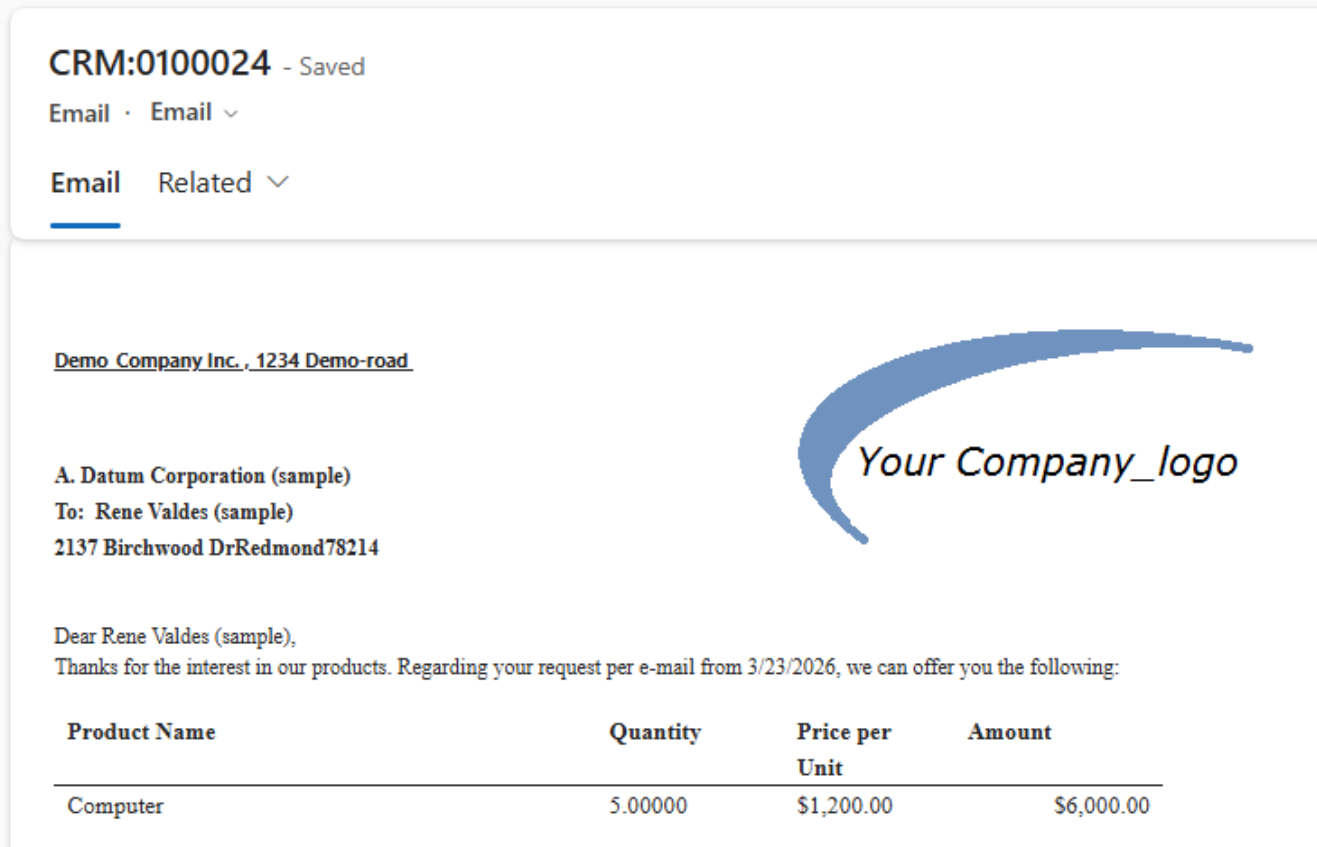
Here is a sample result: