Use DocuSign with DocumentsCorePack to send documents from Microsoft Dynamics 365 for electronic signature. This guide walks you through the initial setup, then shows each user how to connect their DocuSign account in Dynamics 365.
Before you begin
Make sure you have:
- A Microsoft Dynamics 365 online environment. DocuSign supports Dynamics 365 online; on-premises environments are not supported by DocuSign.
- DocumentsCorePack installed and configured.
- A DocuSign plan that supports Microsoft Dynamics 365 integration. DocuSign Business Flex or Advanced Solutions plans are typically required. Confirm the appropriate plan with DocuSign before continuing.
- Administrator permissions in Dynamics 365 to install and configure solutions.
- A DocuSign administrator who can add and manage DocuSign users.
Also, each user must grant consent to the integration. Alternatively, a DocuSign administrator can grant consent on behalf of users within a verified domain. If administrator consent already covers your account, no individual consent is required. For instructions, see Section 2: Giving Consent in this article.
Step 1: Create or confirm your DocuSign account
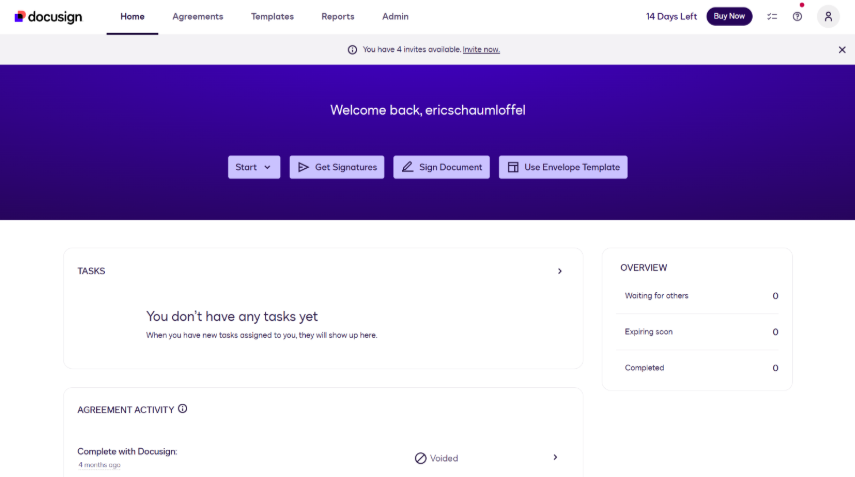
If your organization does not already have a DocuSign account, create one with a plan that includes the Microsoft Dynamics 365 integration.
Before moving on, confirm that:
- Your DocuSign subscription supports Dynamics 365 integration.
- You have access to the DocuSign Admin area.
- Each person who will send documents has a DocuSign user account.
Step 2: Install DocuSign for Dynamics 365

Install the DocuSign app for Dynamics 365 from Microsoft AppSource.
During installation, select the Dynamics 365 environment where you use DocumentsCorePack. Follow the DocuSign installation prompts until the solution is available in that environment.
Step 3: Configure DocuSign in Dynamics 365
Open the DocuSign app in Dynamics 365 and complete its initial configuration.
The exact options can vary by DocuSign version and your organization’s security settings. At a minimum, confirm that:
- The DocuSign integration is connected to the correct DocuSign account.
- Users can access the DocuSign commands in Dynamics 365.
- Your DocuSign administrator has assigned the required permissions.
When the DocuSign app is configured successfully, you can continue with the DocumentsCorePack setup.
Step 4: Configure DocumentsCorePack for DocuSign
DocumentsCorePack uses the native DocuSign integration in Dynamics 365 to send generated documents for signature.
Configure your DocumentsCorePack processes to use DocuSign as the e-signature provider. This allows users to generate a document from a Dynamics 365 record and send it through DocuSign.
You can also customize the sending experience:
- To use a different generated document filename, configure a document name template.
- To change the email subject line or message text sent to recipients, update the relevant DocumentsCorePack email settings.
Note: Older installations may refer to a DocuSignWorkflow SettingsKey. This is no longer required for current installations.
Step 5: Add users in DocuSign
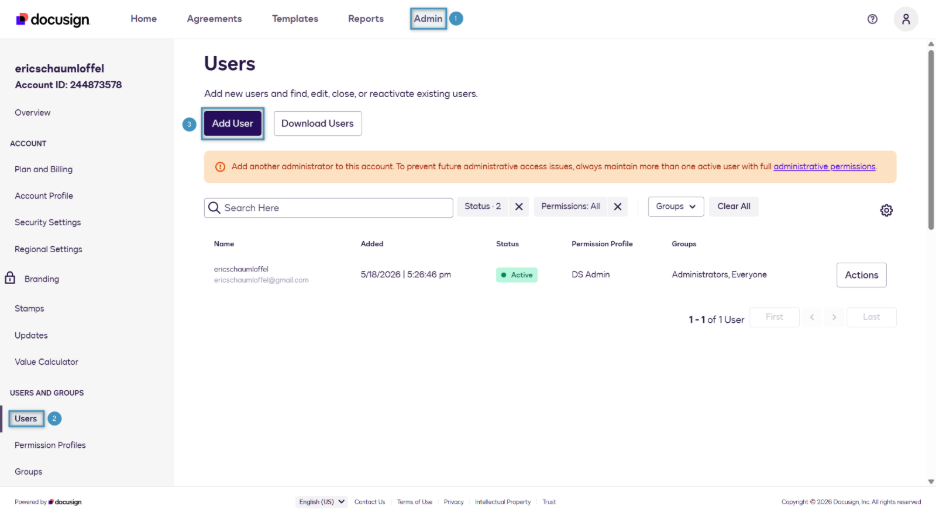
Each Dynamics 365 user who sends documents through DocuSign needs an active DocuSign account. To begin, sign in to DocuSign. Then, follow the steps below:
- Open Admin.
- Select Users.
- Select Add user.
Next, enter the user’s details, including the email address they use in Dynamics 365.
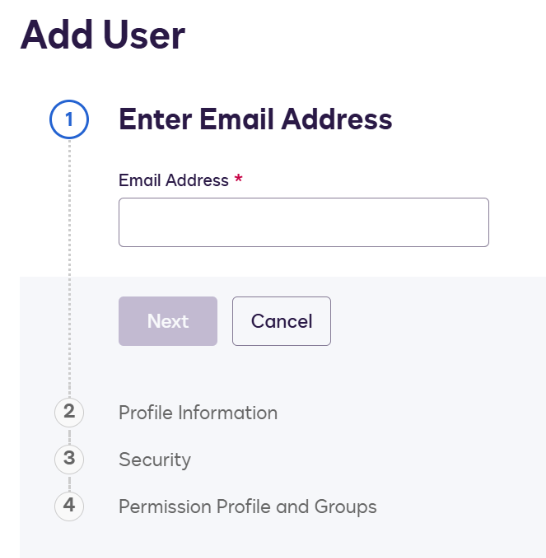
- Send the invitation.
The user must accept the DocuSign invitation, activate their account, and create a password. Until this is complete, their DocuSign user status remains Pending.
Step 6: Connect a user in Dynamics 365
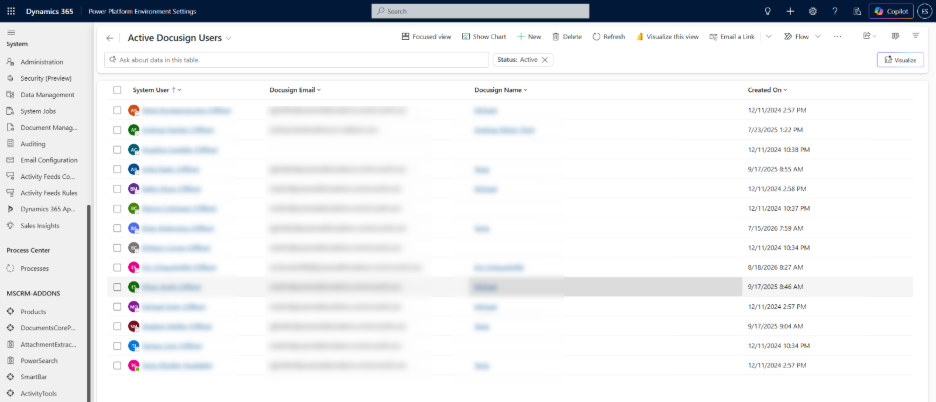
After the DocuSign user is active, the user must open a record in Dynamics 365 to establish the connection.
- Sign in to Dynamics 365 with the user’s account.
- Open an Account, Contact, or another supported record.
- Select Go to DocuSign.
- Complete any DocuSign welcome or sign-in prompts.
DocuSign matches the Dynamics 365 user to a DocuSign account by email address. The email address on the Dynamics 365 user record must therefore match the email address of the DocuSign user.
After the match is successful, the user’s DocuSign record is created in Dynamics 365 and they can send documents for signature.
Step 7: Test the integration
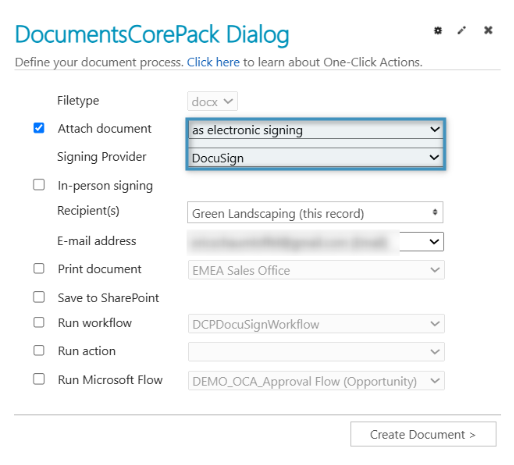
Before rolling out the integration to all users, send a test document.
- Open a Dynamics 365 record.
- Generate a document with DocumentsCorePack.
- Send the document through DocuSign.
- Verify that the recipient receives the envelope.
- Complete the signing process and confirm that the envelope status is visible in Dynamics 365.
- If you installed the optional server solution, also verify that the completed status is pushed back to Dynamics 365.
Troubleshooting
The DocuSign user is not found in Dynamics 365
Check the following:
- The user has accepted the DocuSign invitation and their account is active.
- The email address in DocuSign exactly matches the email address on the Dynamics 365 user record.
- The user has opened a record and selected Go to DocuSign.
- The user has the required permissions in both Dynamics 365 and DocuSign.
The DocuSign option is not available
Confirm that:
- The DocuSign app was installed in the correct Dynamics 365 environment.
- The DocuSign integration setup was completed.
- The user has access to the DocuSign app and commands.
- Your DocuSign plan includes Dynamics 365 integration.
Next steps
Once the connection is working, configure your DocumentsCorePack templates and processes so users can generate and send documents for signature directly from Dynamics 365.