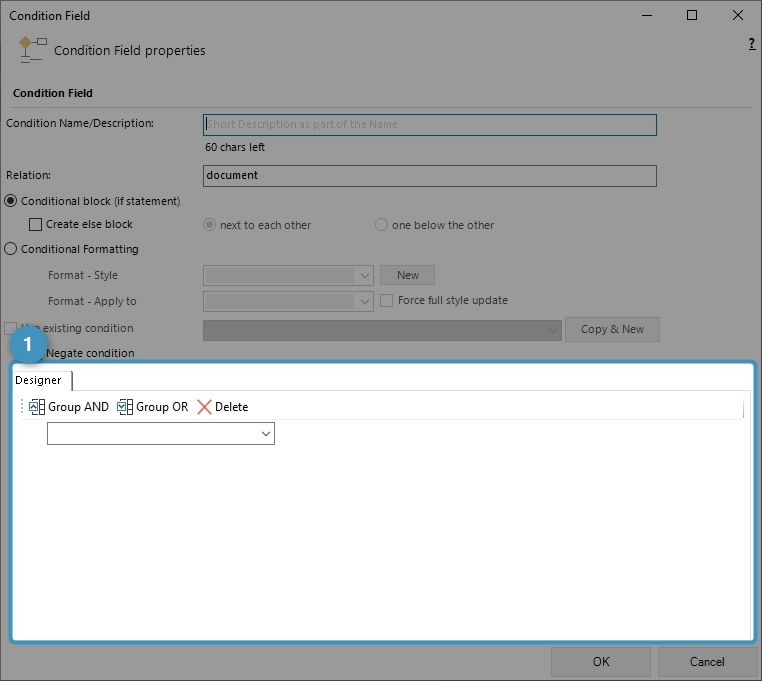
The Condition Designer has similar options to the standard Advanced Find dialog in Dynamics 365.
Conditions allow you to define content that is either displayed or removed from the final document based on a certain condition (for example field values in Dynamics 365).
The Condition Designer ❶ is part of the Condition Field functionality of DocumentsCorePack. Further details about this functionality can be found here.
A step-by-step description of how to use the Condition Designer to create your condition
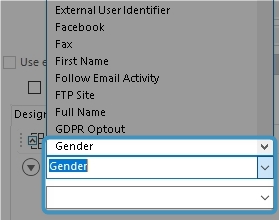
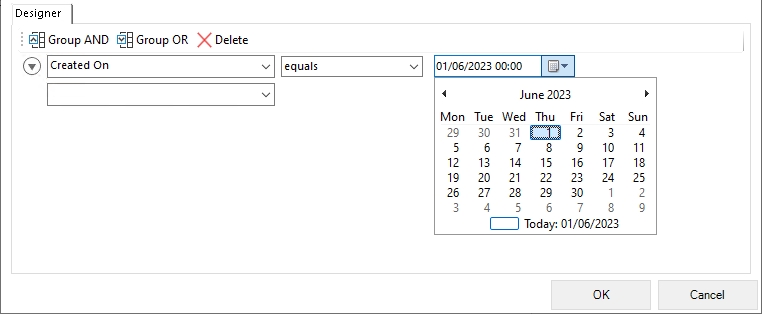
Step 1: Select a field from the drop-down
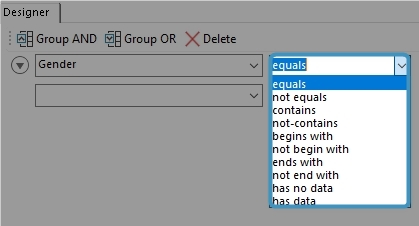
Step 2: Select an operator. Depending on the field type, you will see different available operators.
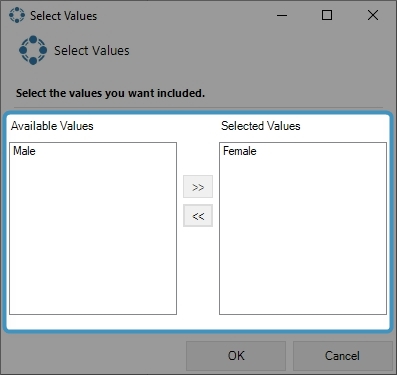
Step 3: Select or enter a compare value. Depending on the field’s data type, you will either have an additional control that opens a new dialog ❷ to select the compare value, or you can enter the value directly by typing.
Step 4: Examples of other data types.

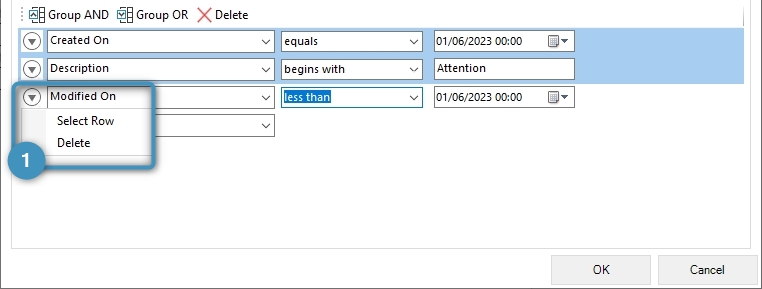
Step 5: Repeat steps 1 – 3 to add other lines to set up more complex conditions.
NOTE 1: All single lines are brought together to form one single condition.
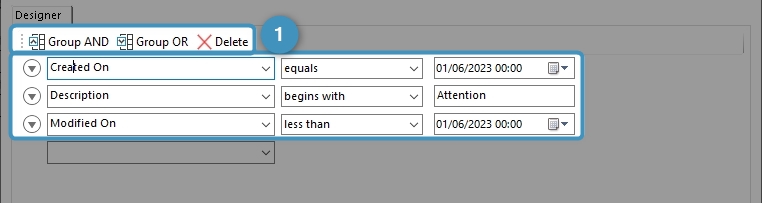
Step 6: Group your lines (Optional). Select the required rows from the menu.
Step 7: Select the required ❶ grouping option.
Step 8: After selecting the grouping, a box will visually show the grouping
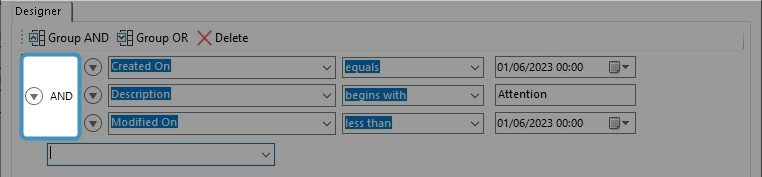
NOTE 2: The “AND” operator is applied to all elements in a condition by default, even if the user did not specify the elements to be grouped as such. Because of this, the “AND” operator box will not be shown in the designer if it is the only grouping applied.
NOTE 3: Fields such as Owner and Customer (special lookup fields) are not available on the actual parent level, but can always be reached by selecting the next level drop-down for this element.
That’s it! We appreciate your feedback! Please share your thoughts by sending an email to support@mscrm-addons.com.